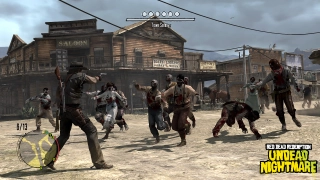
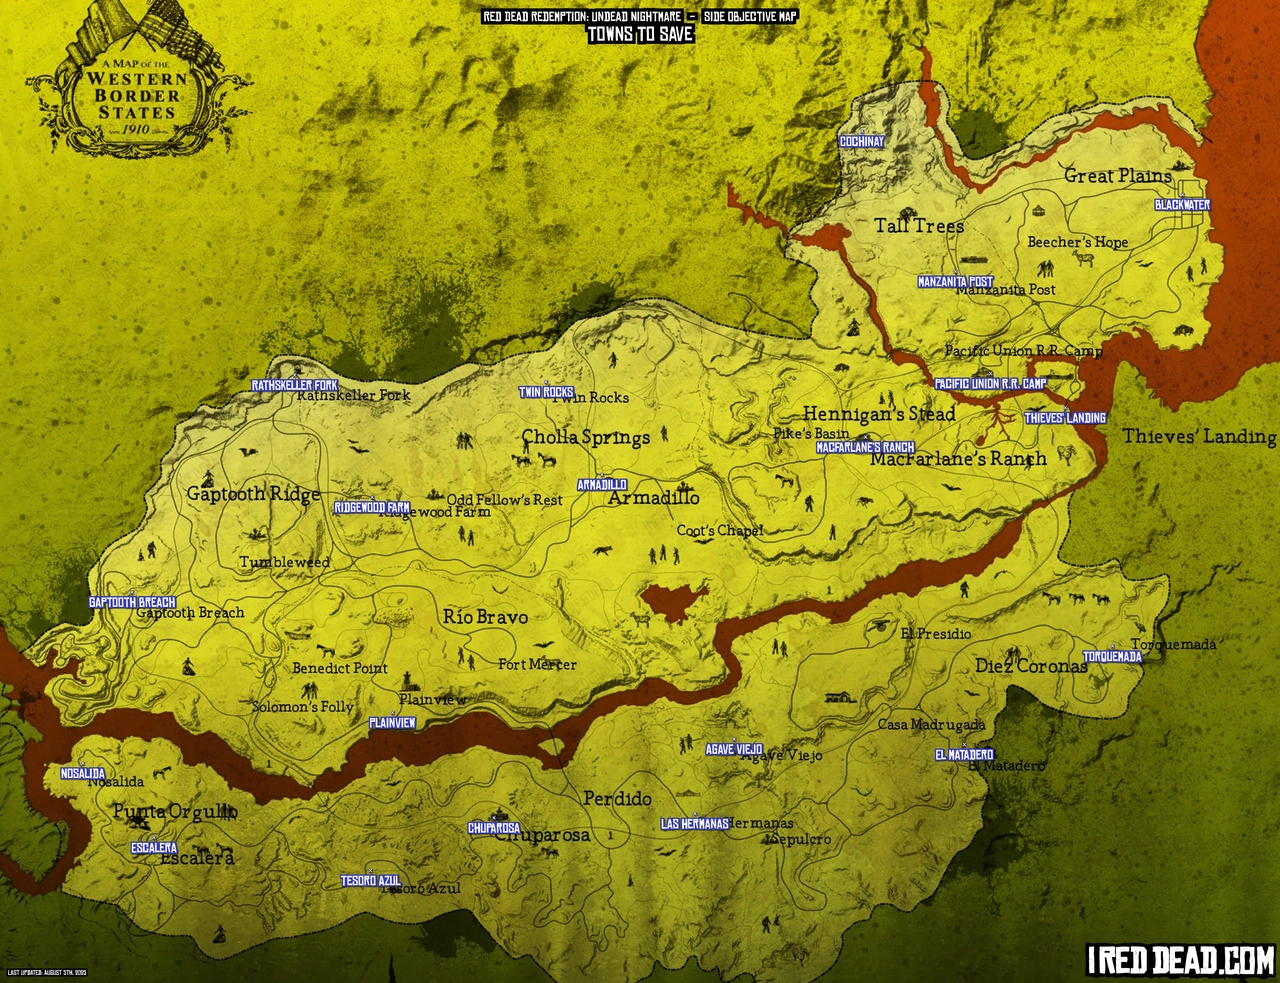
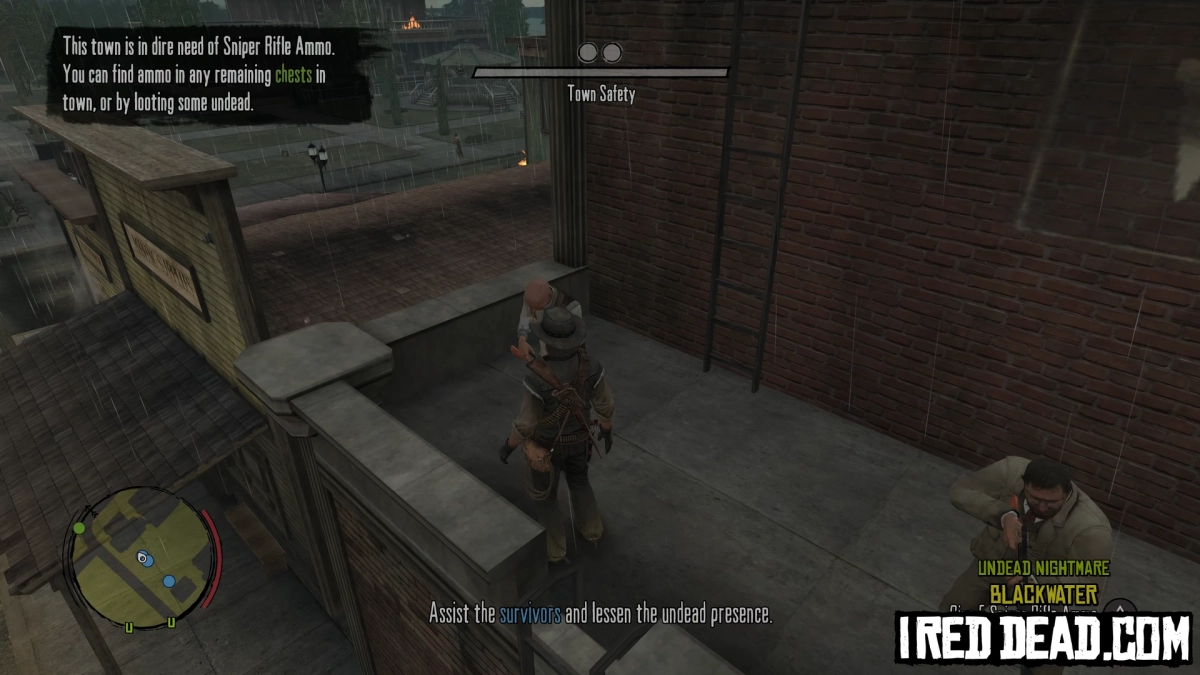
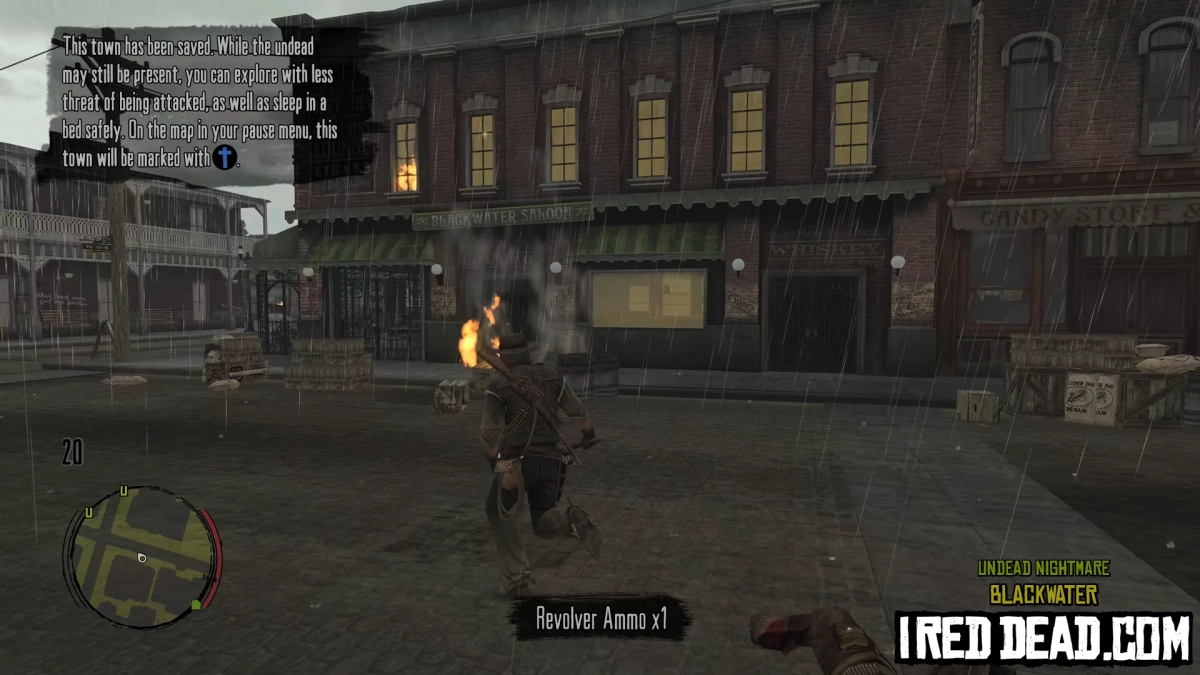
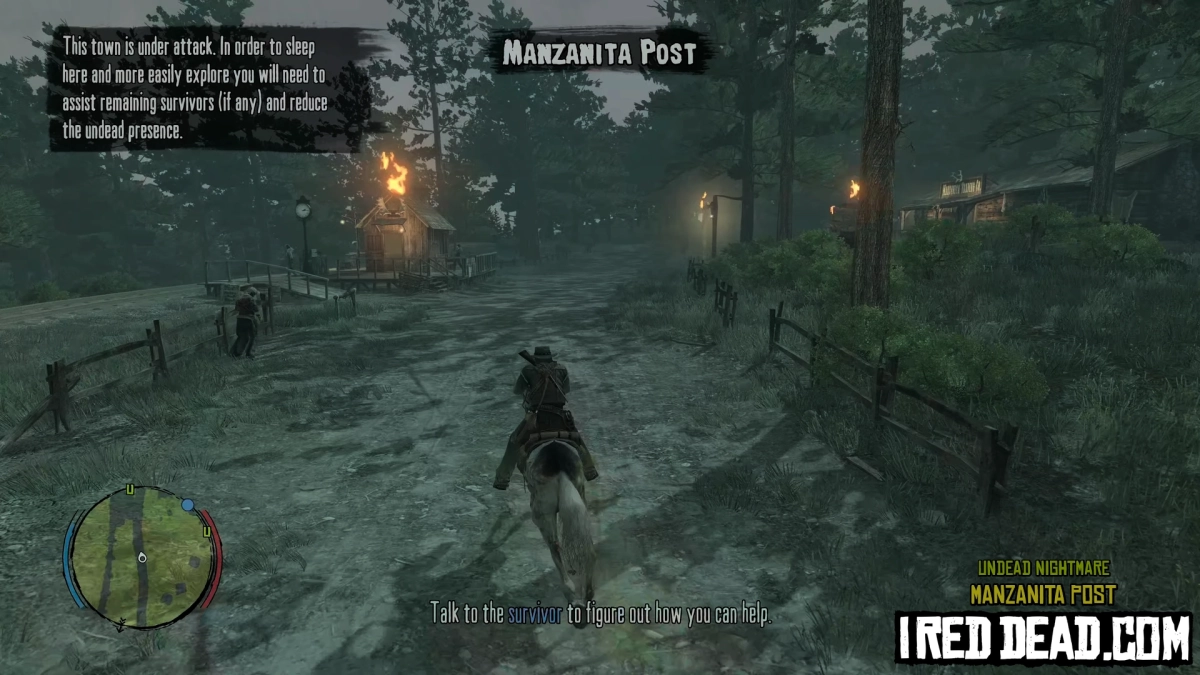
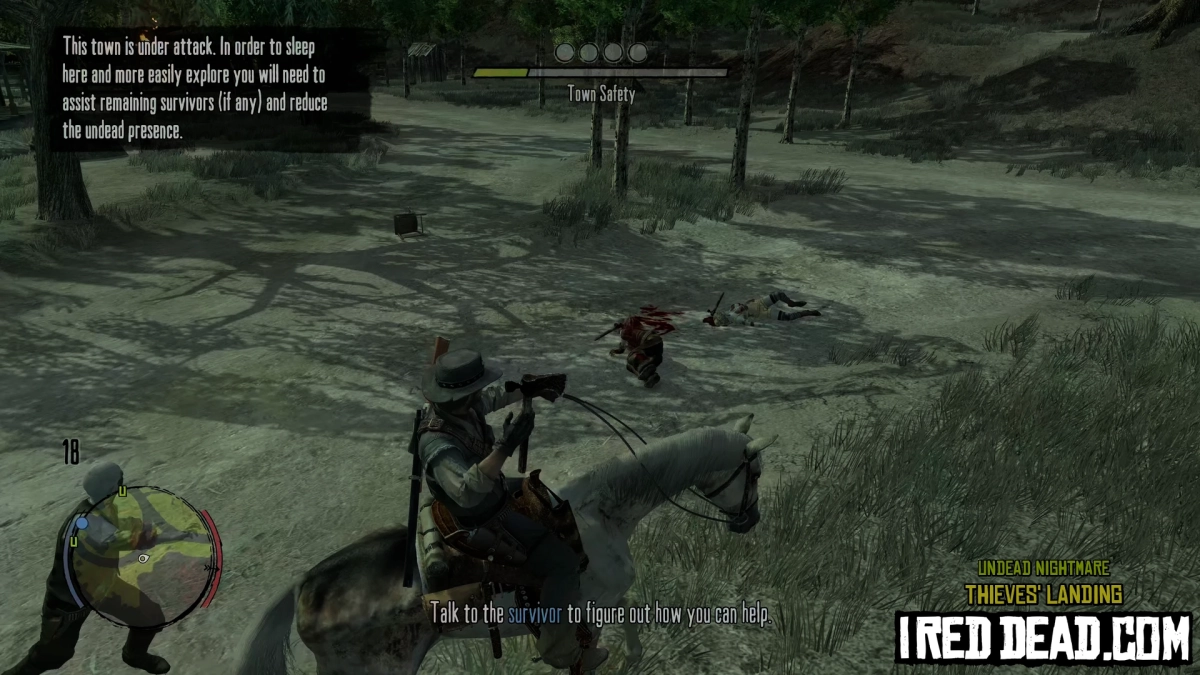
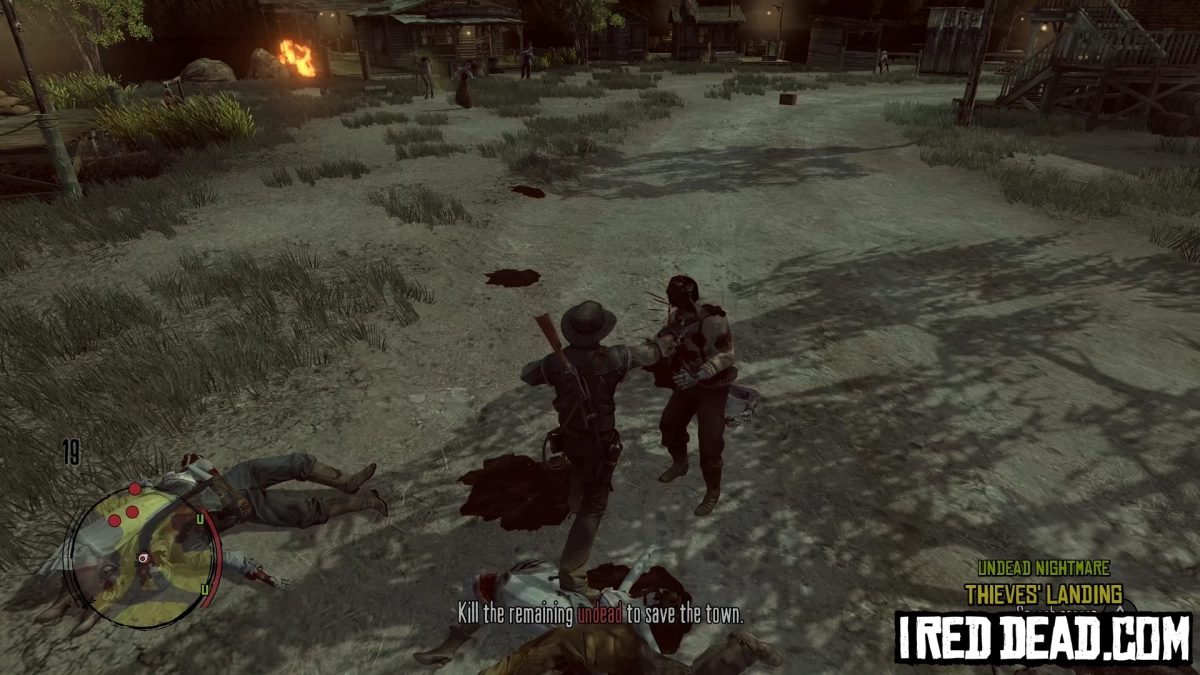
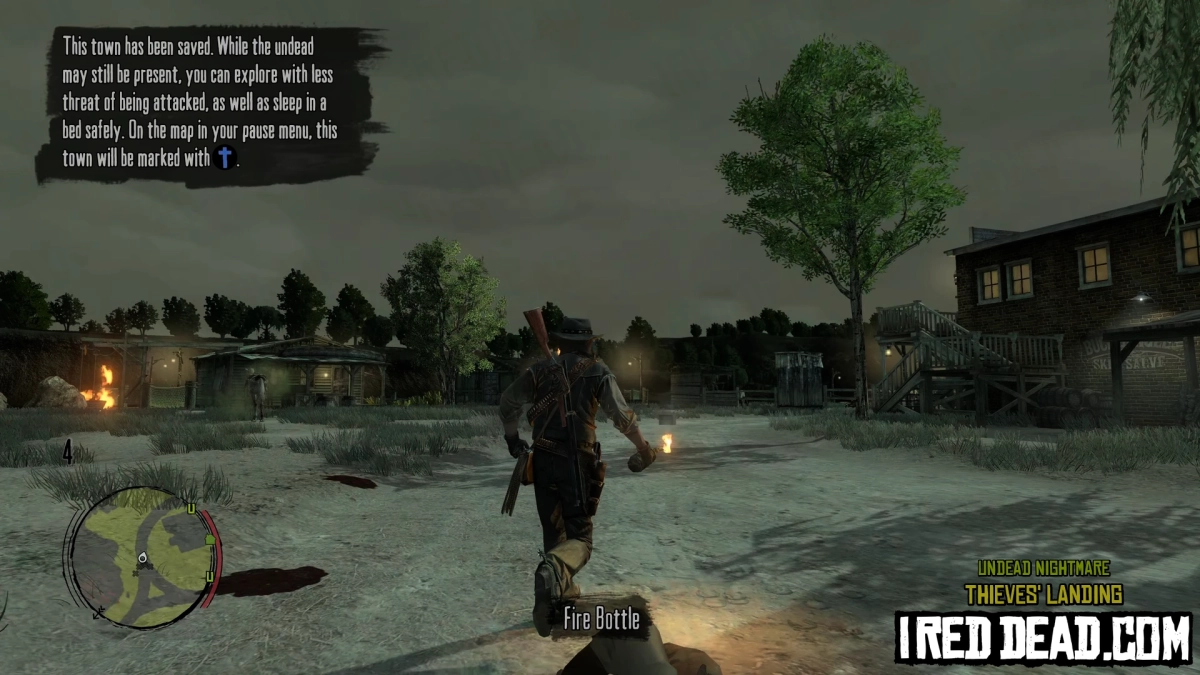
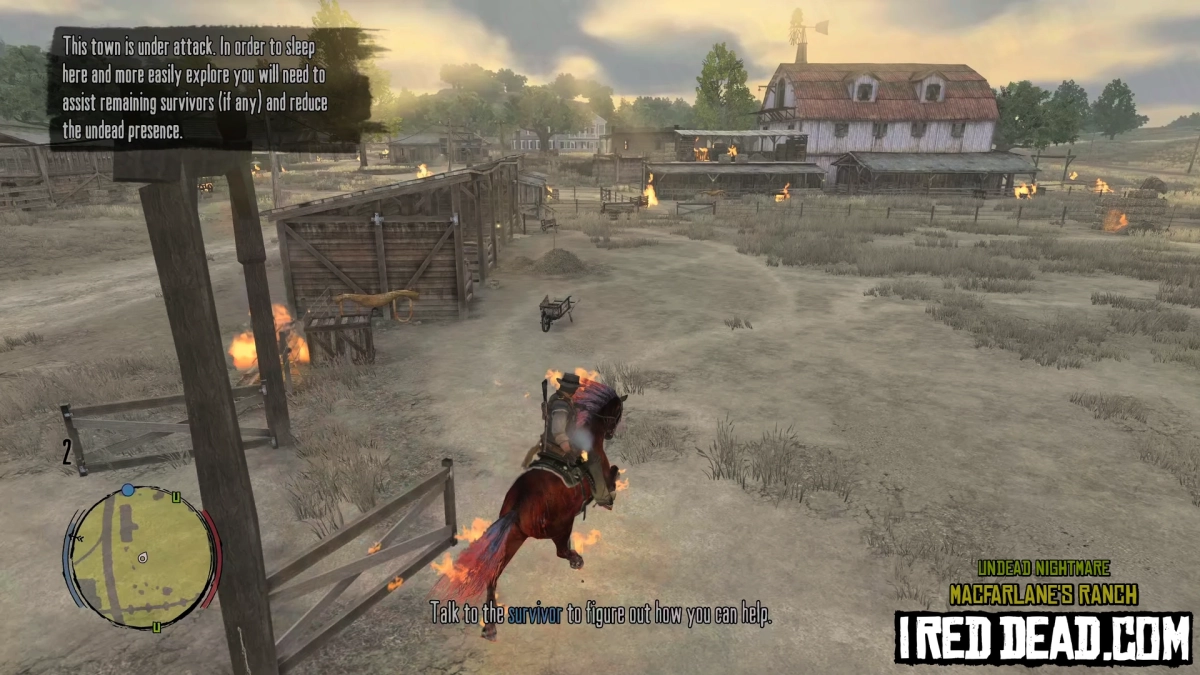
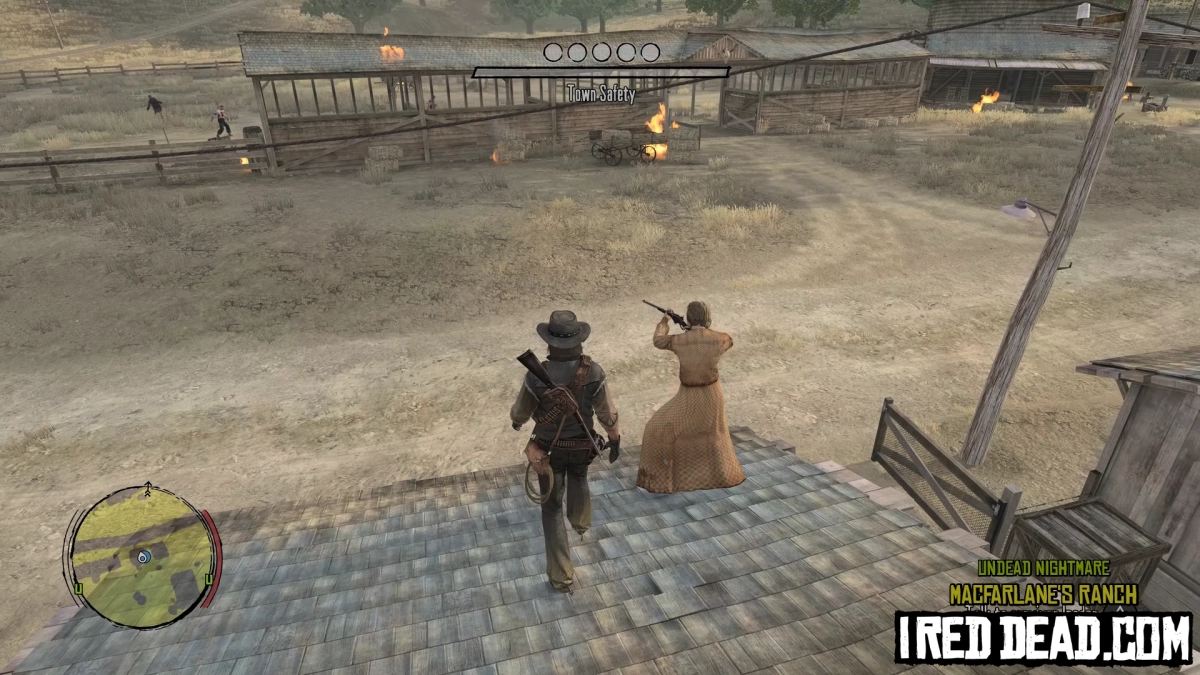
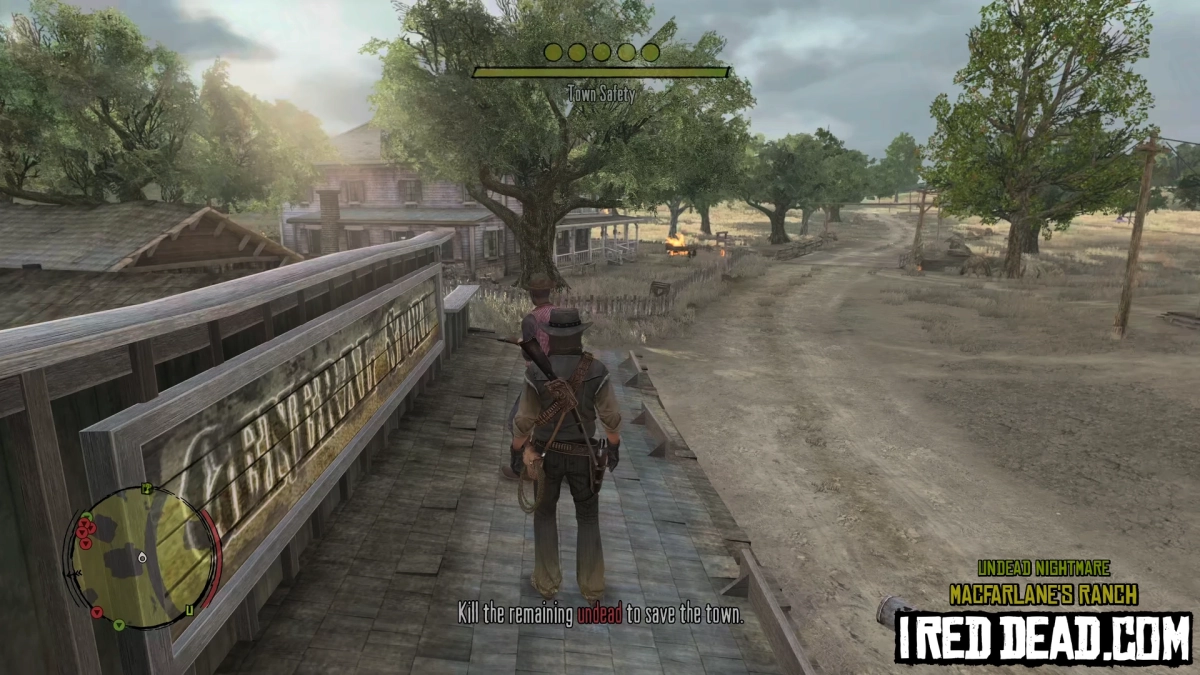
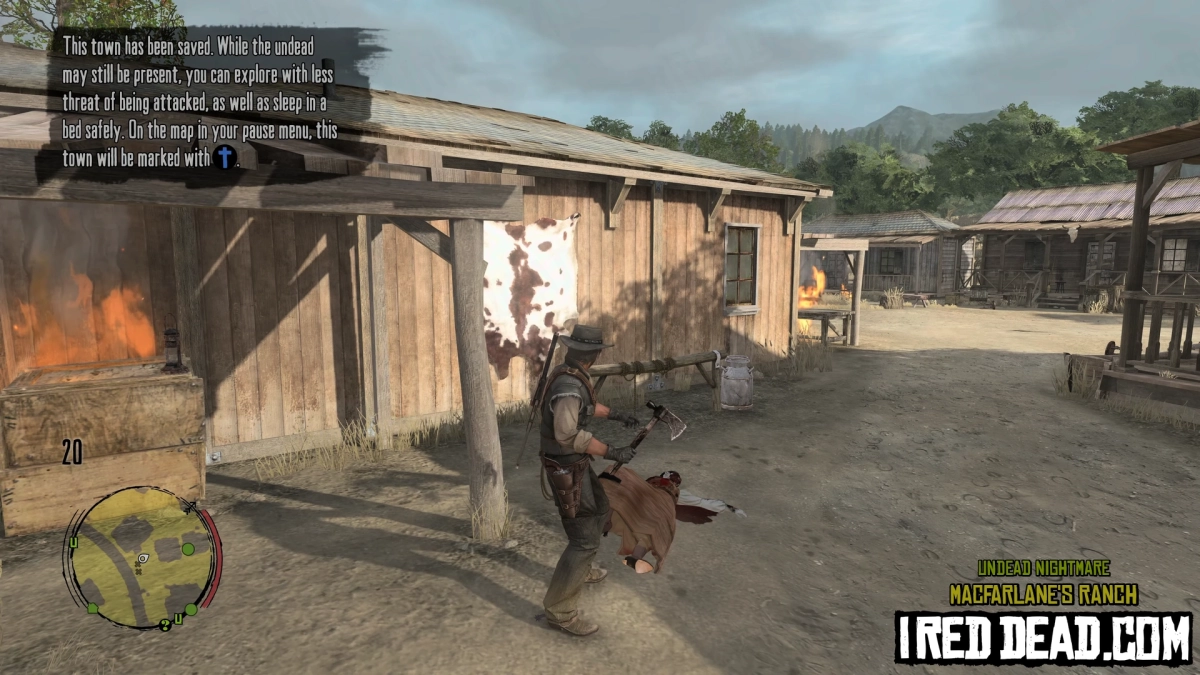
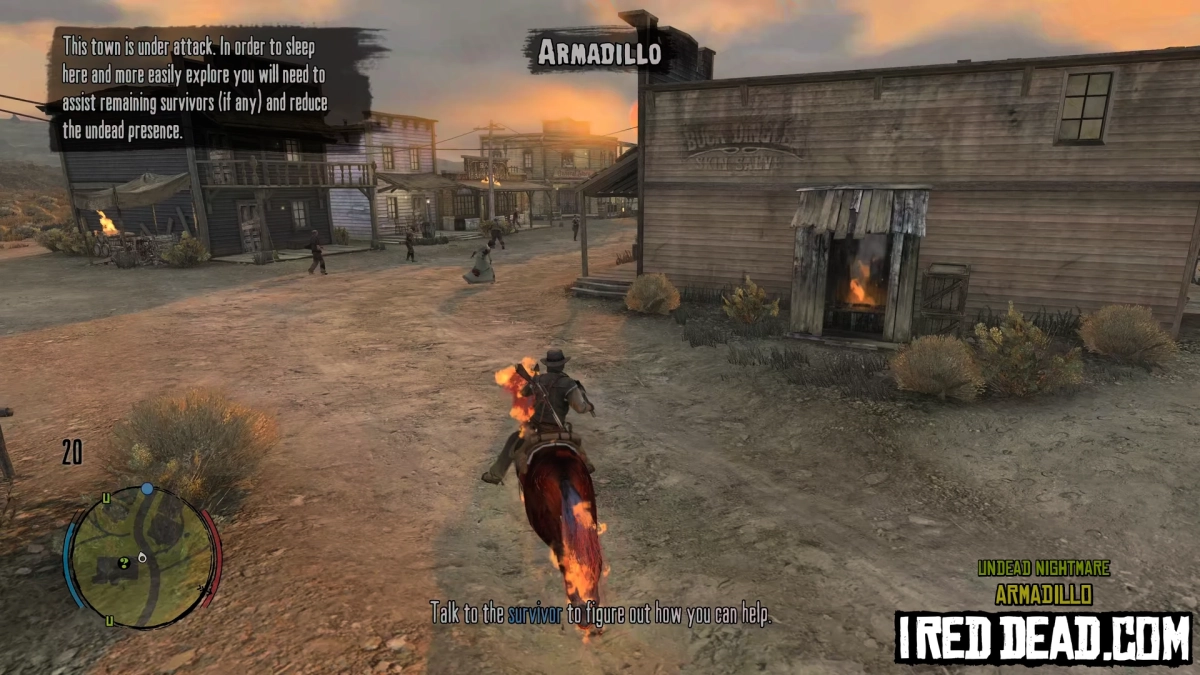
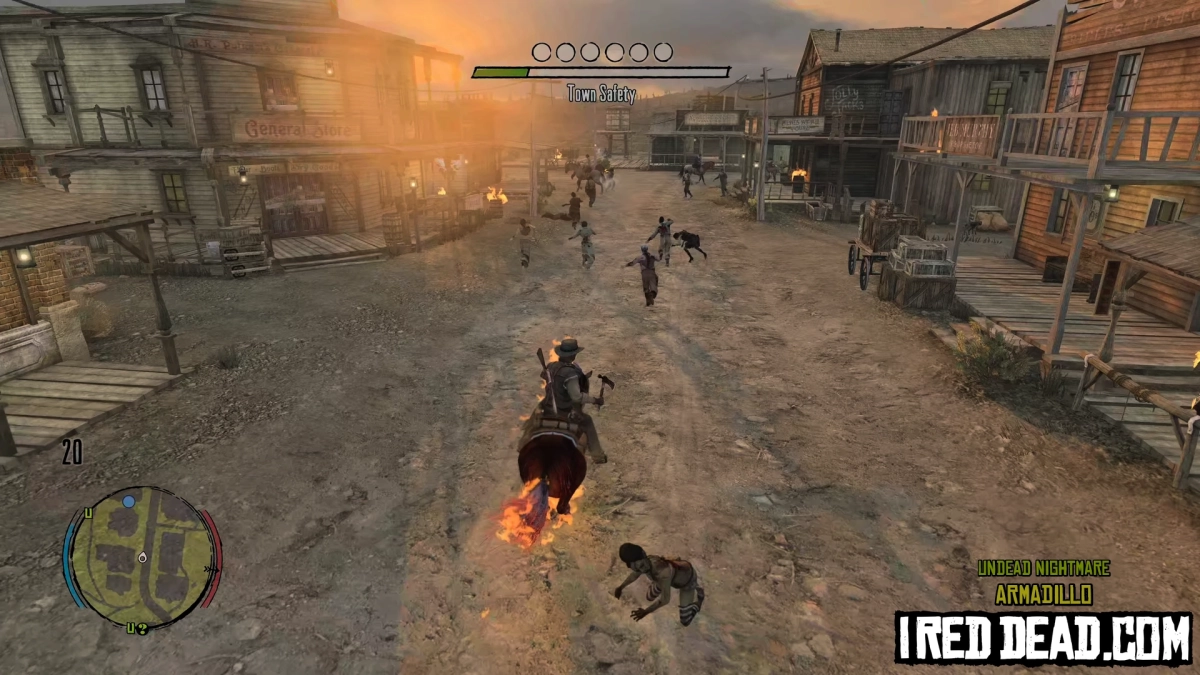
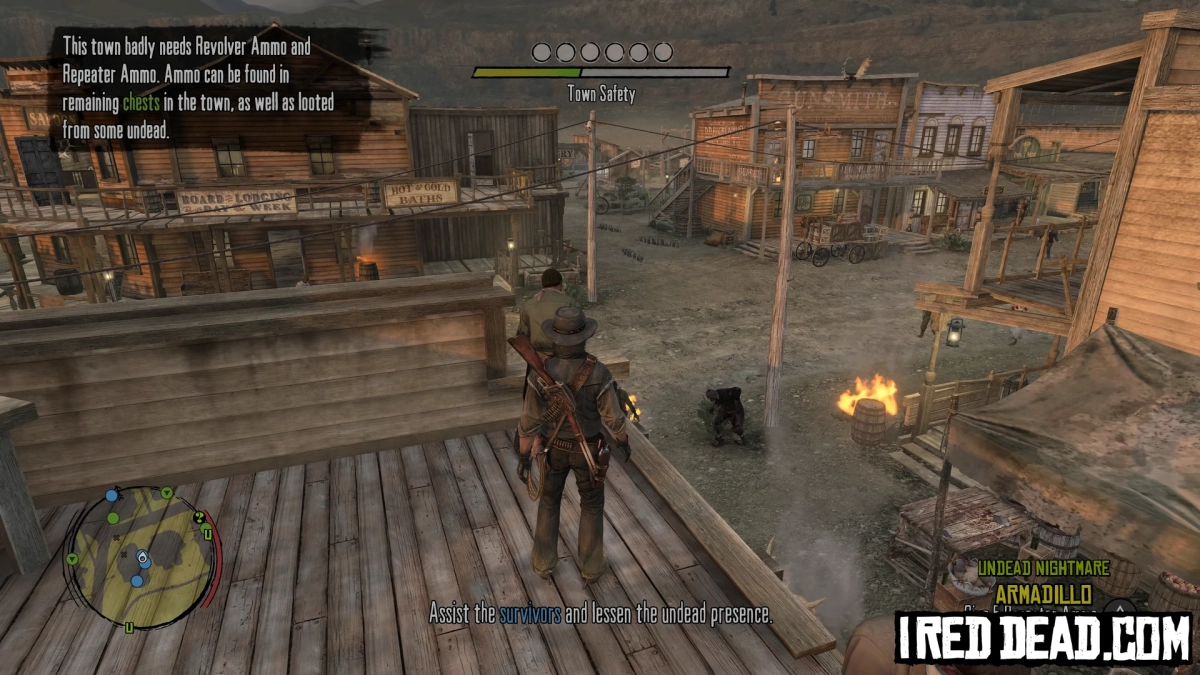
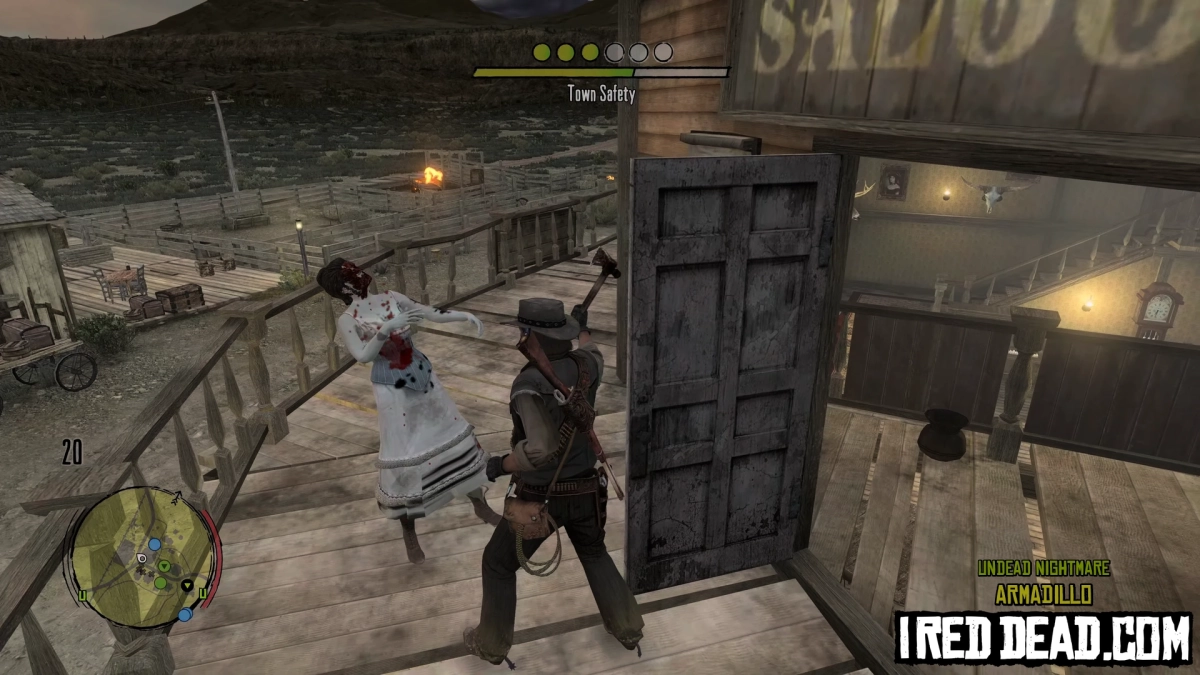
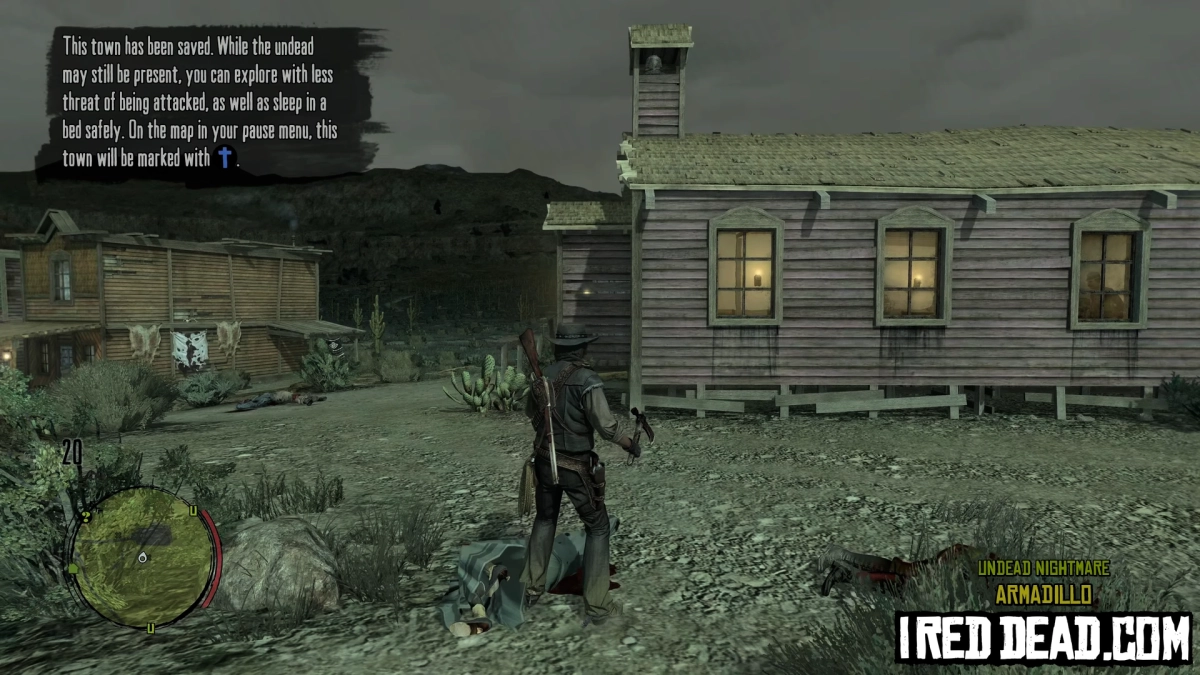
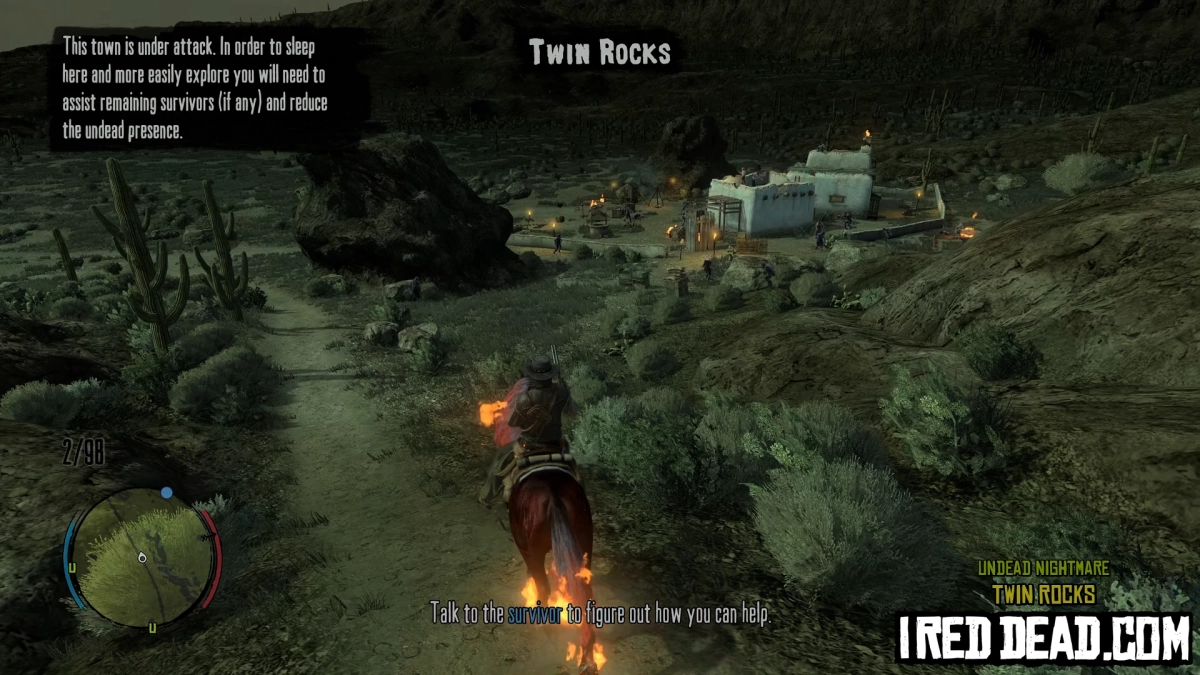
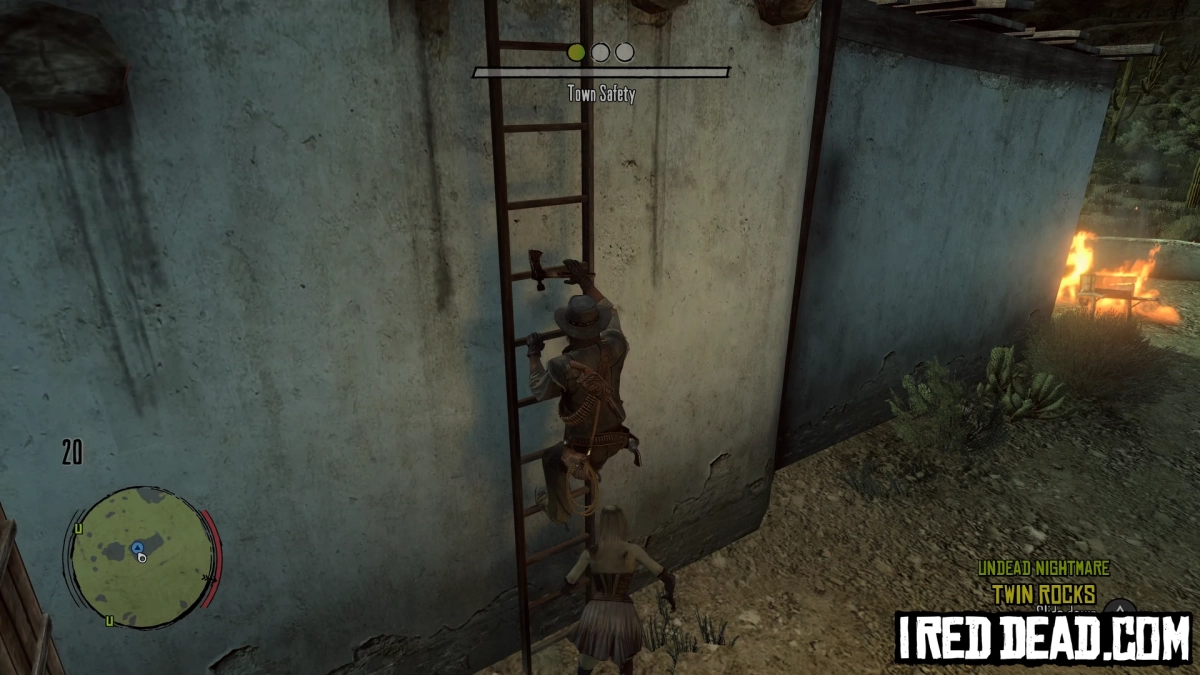
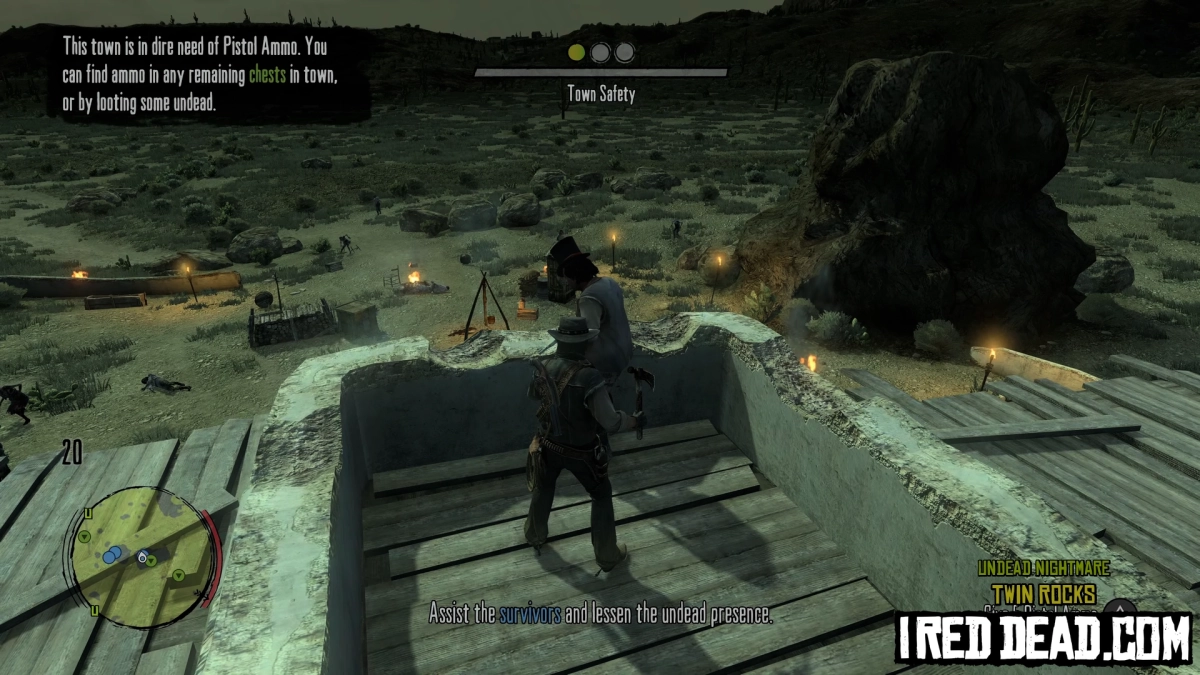
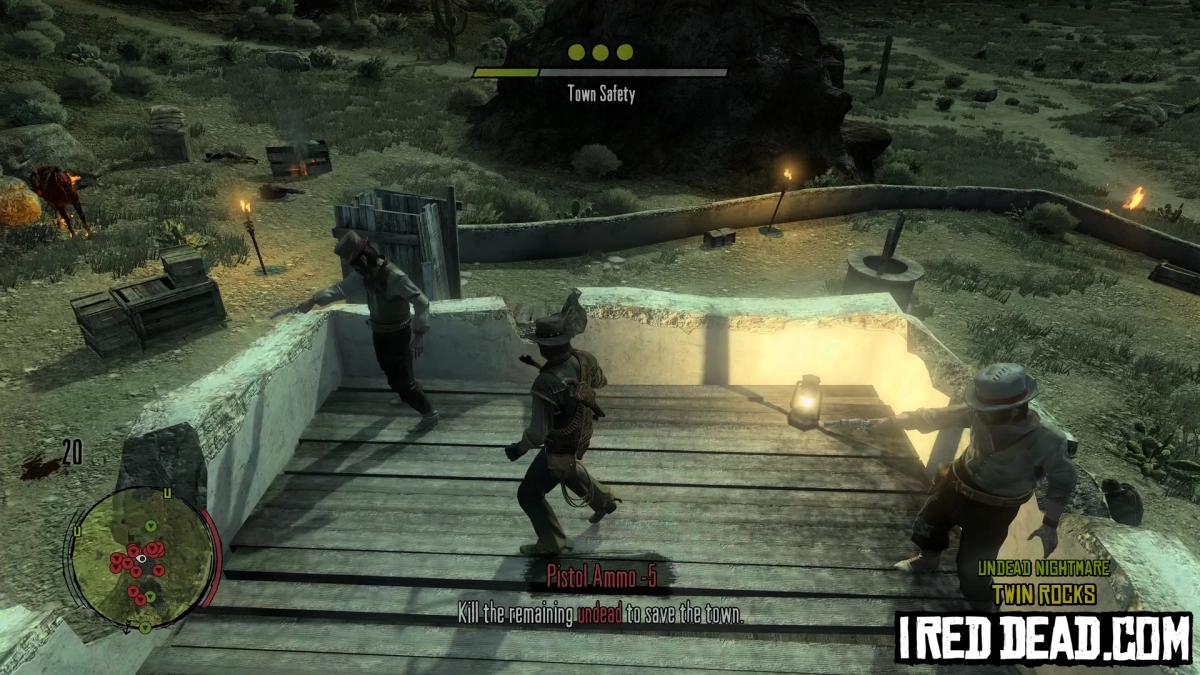
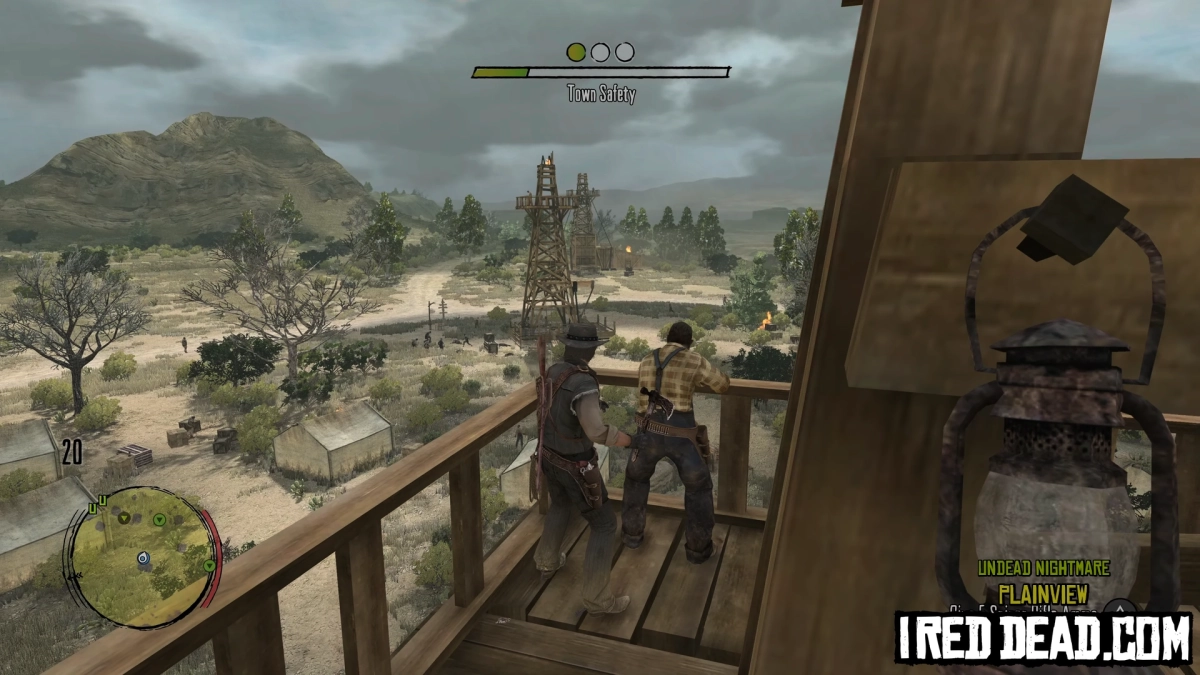
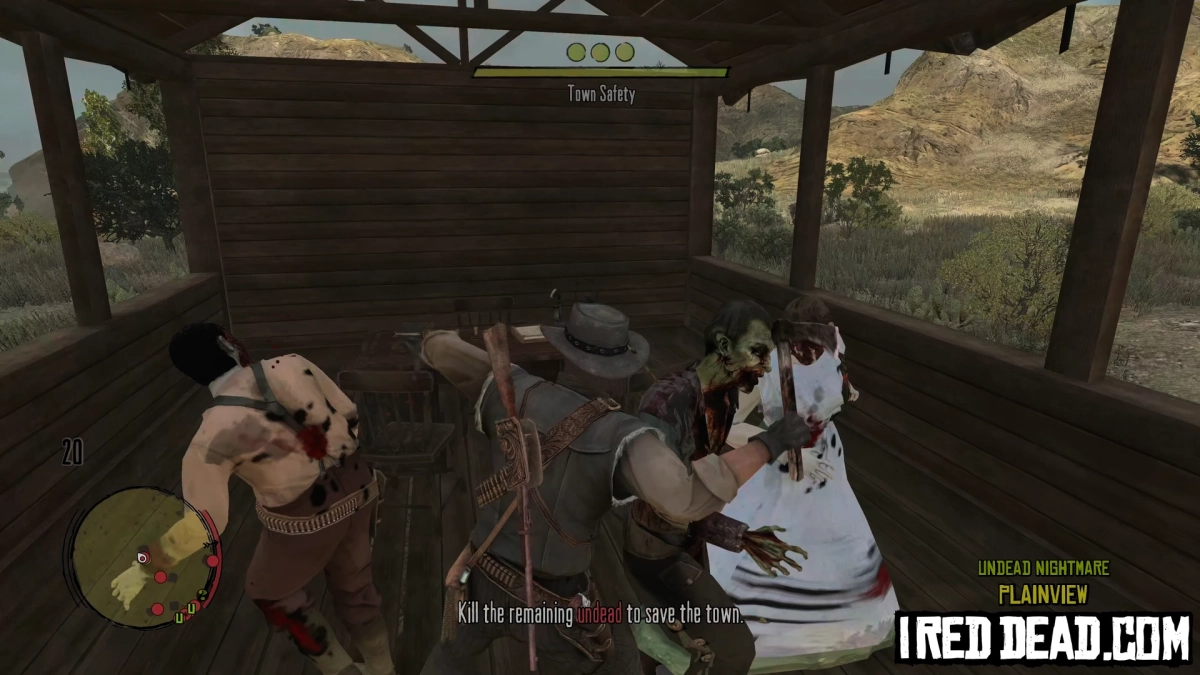
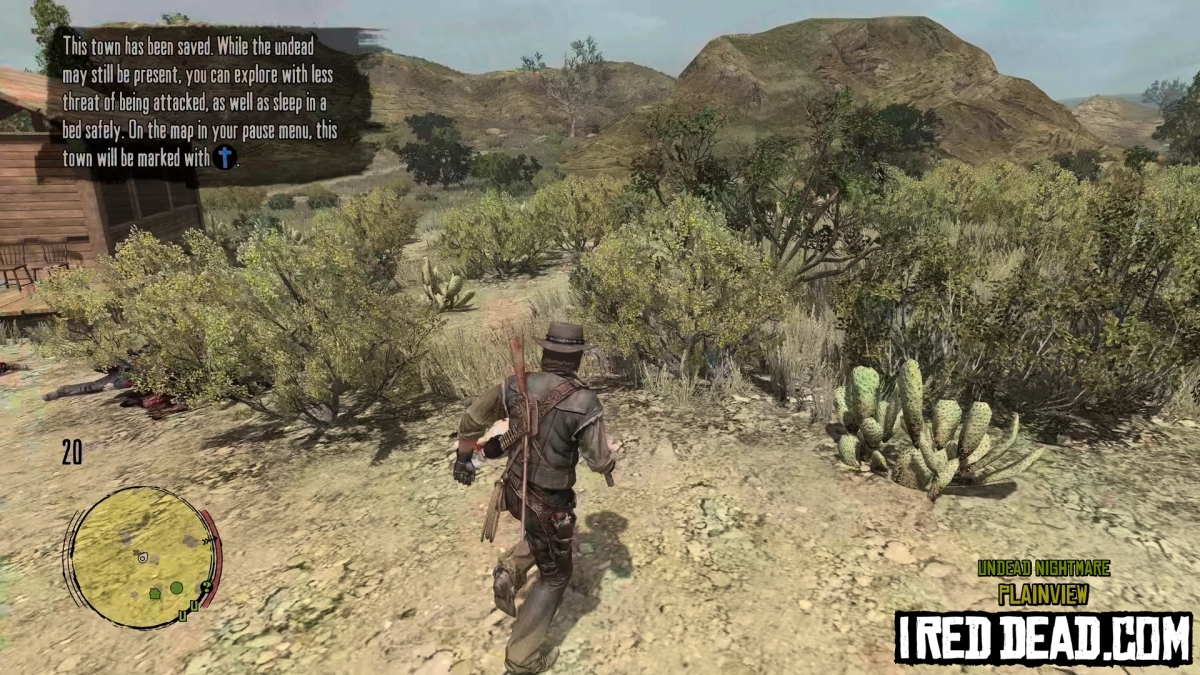
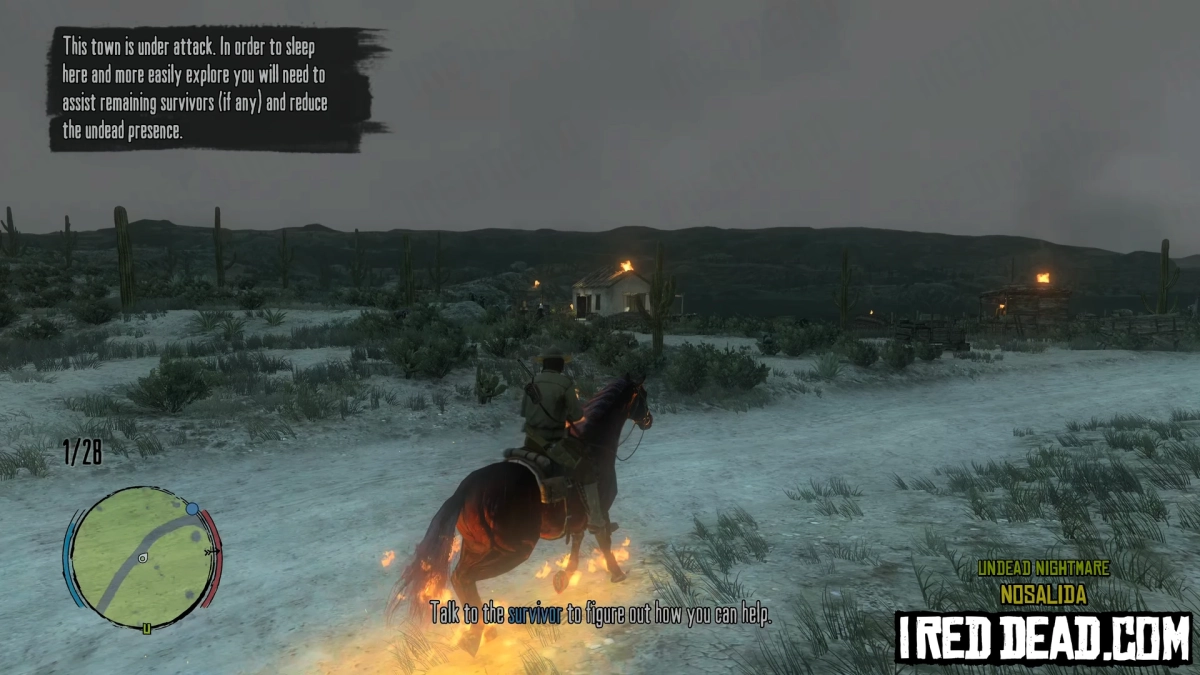
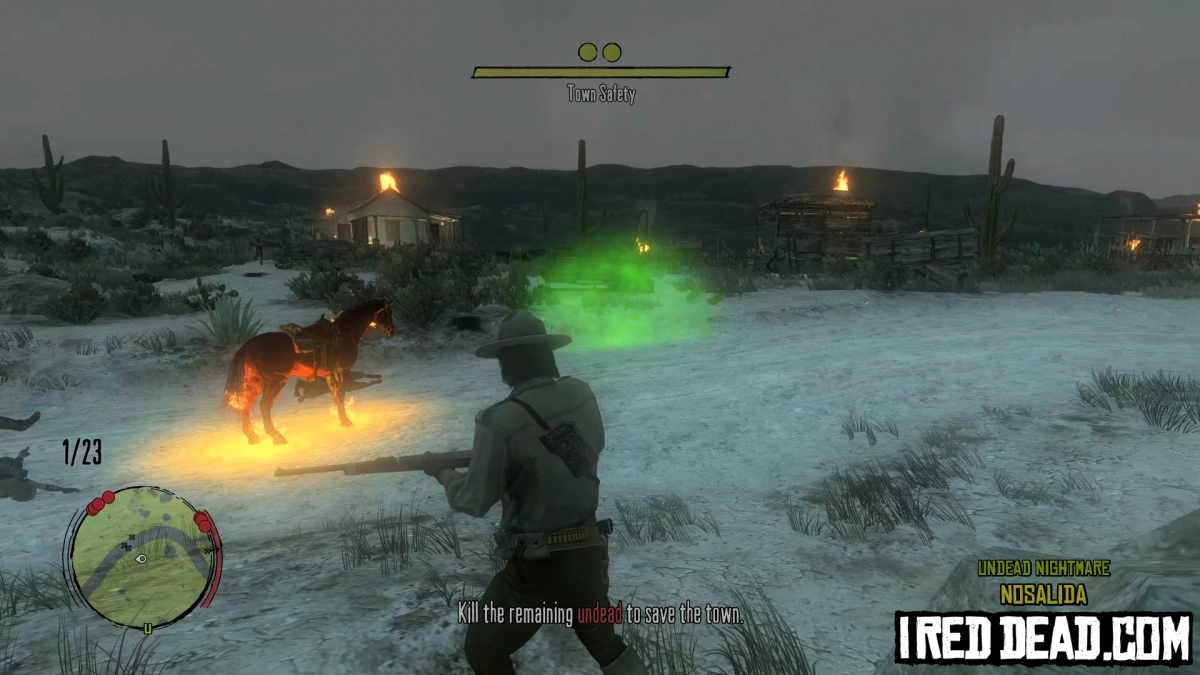
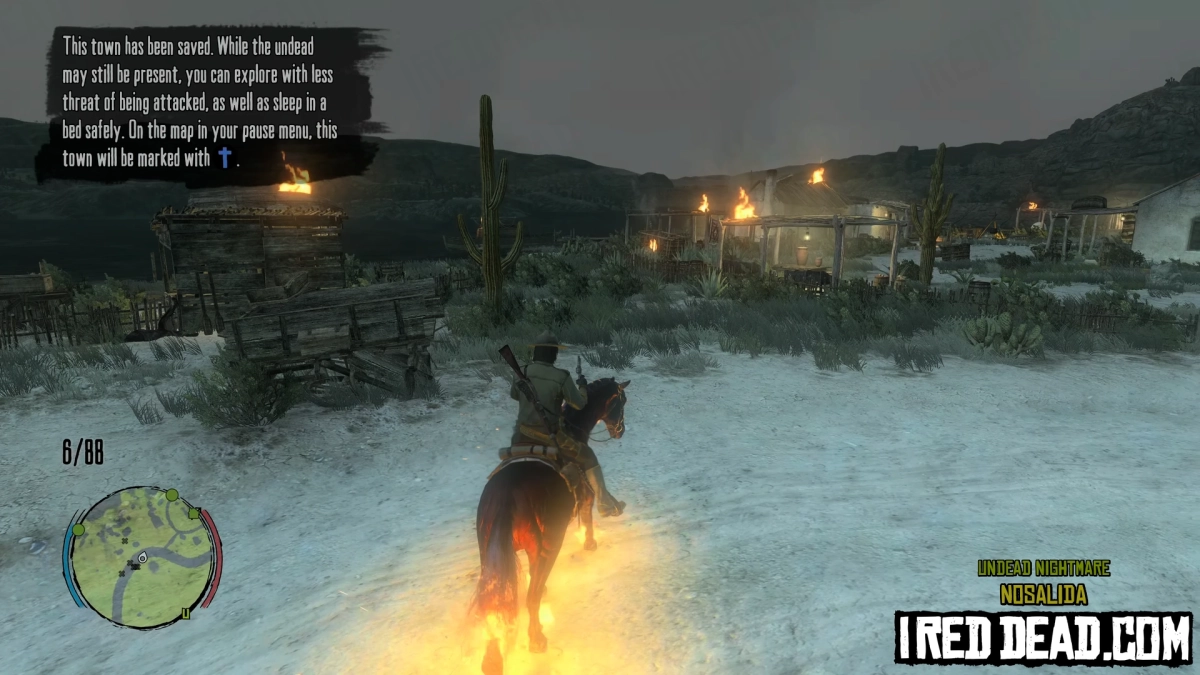
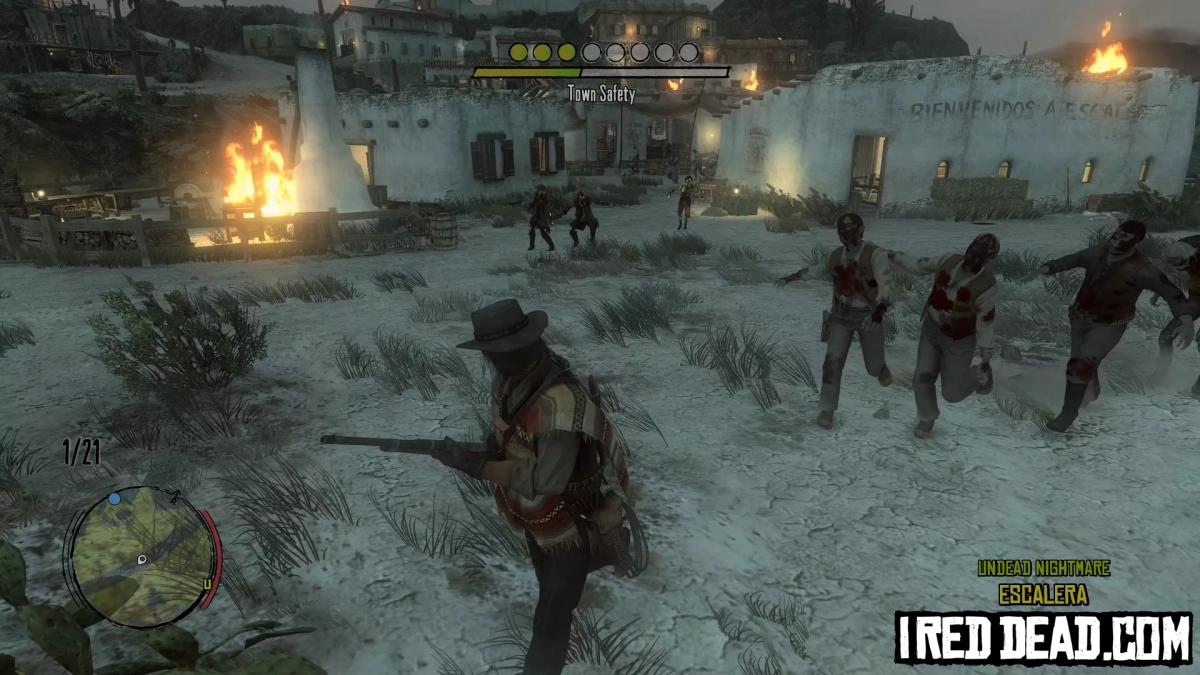
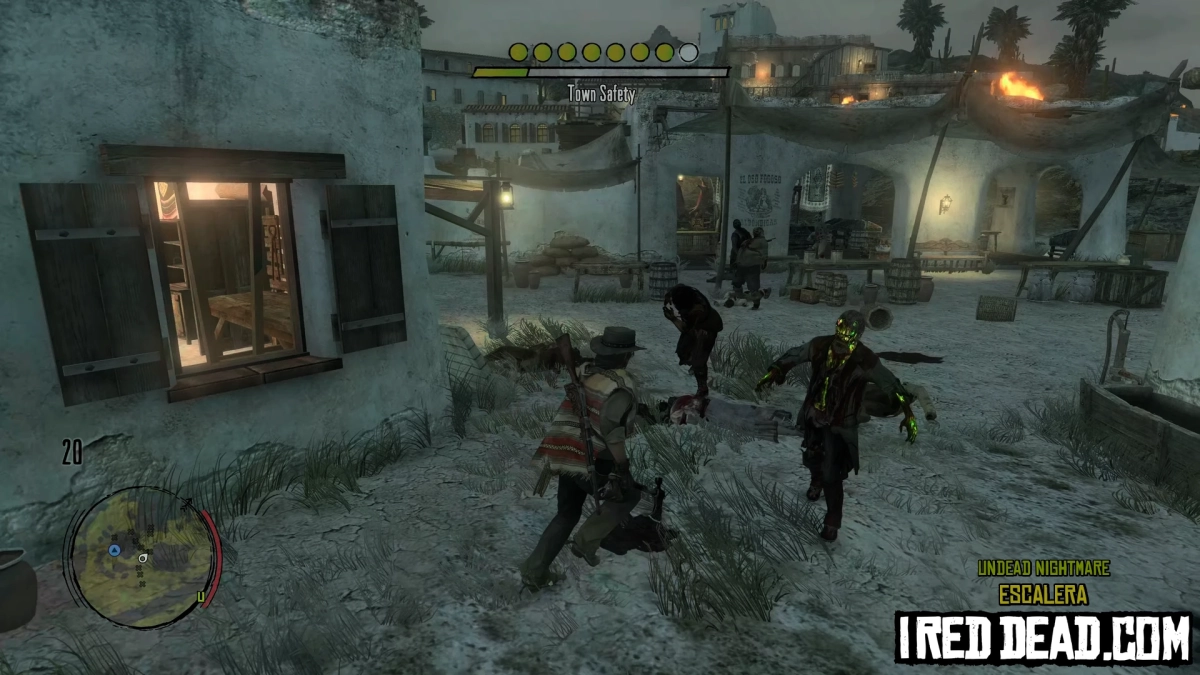
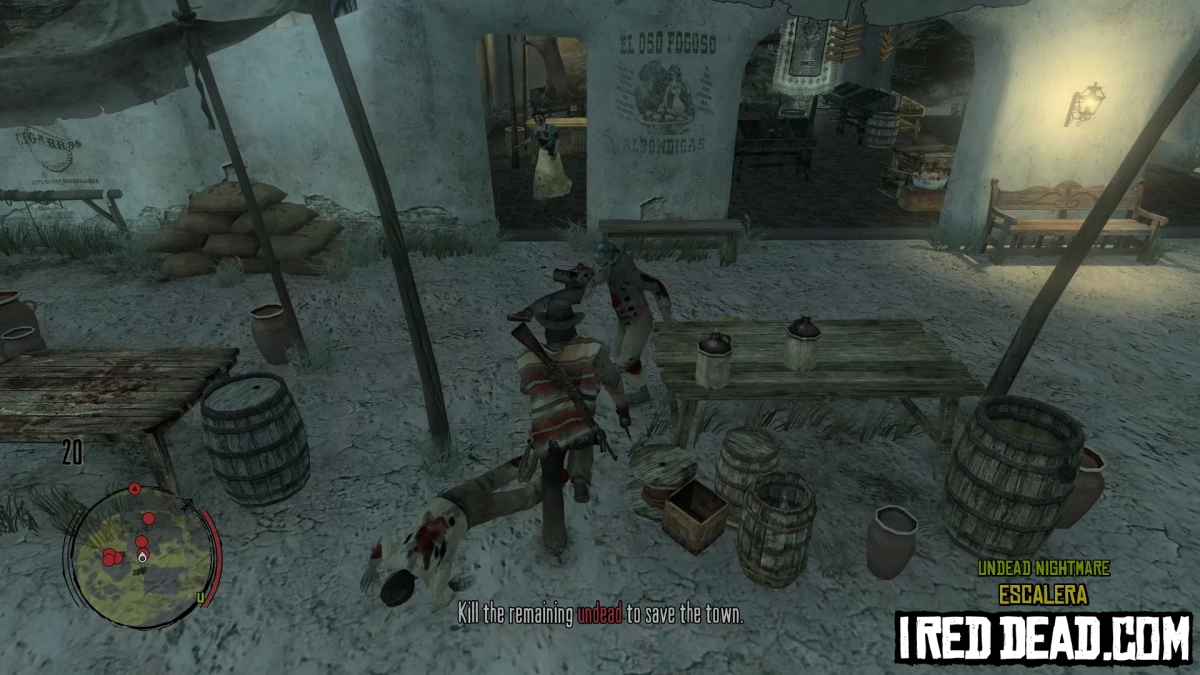
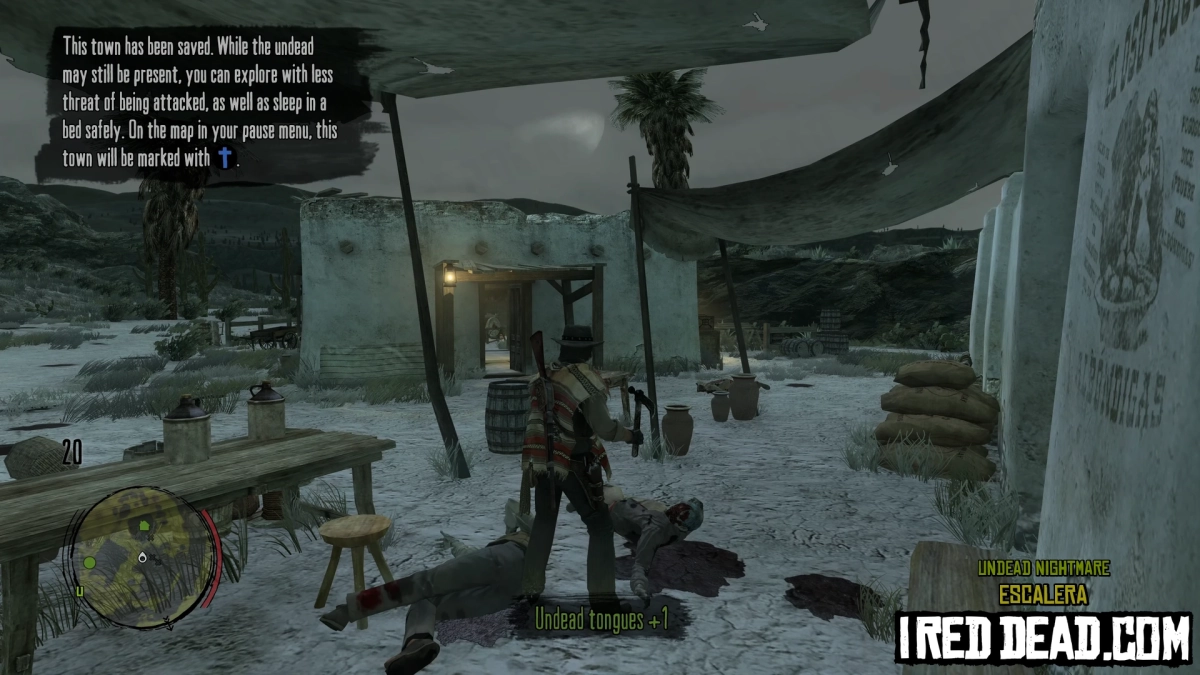
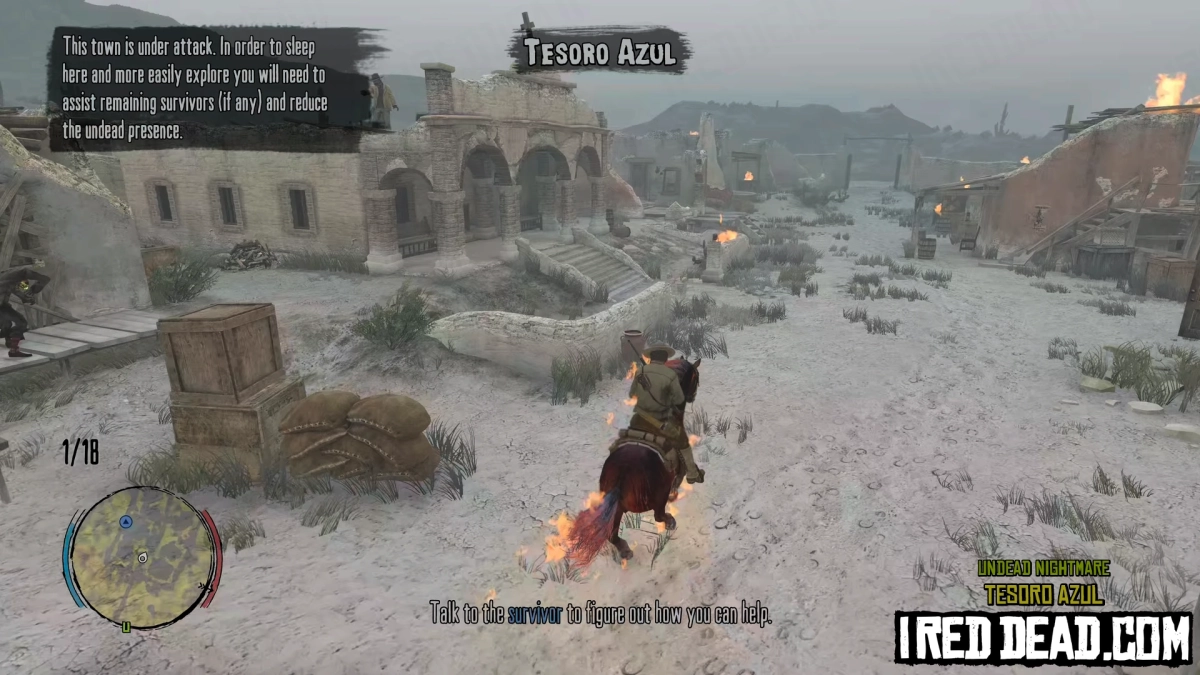
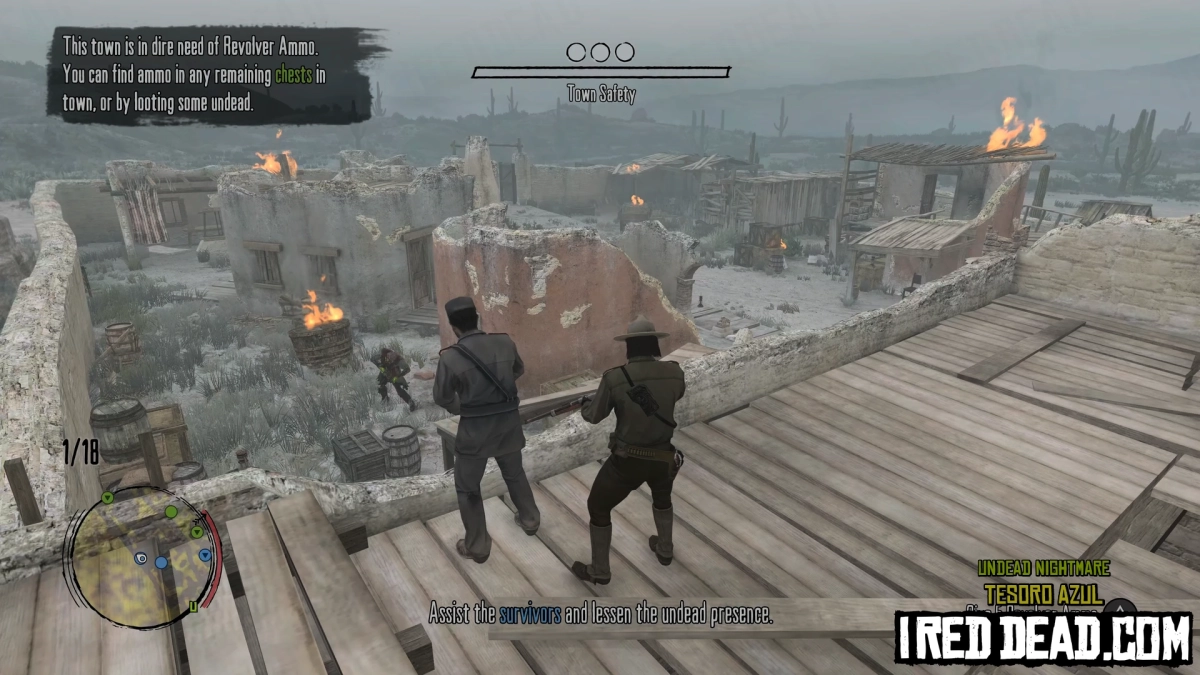
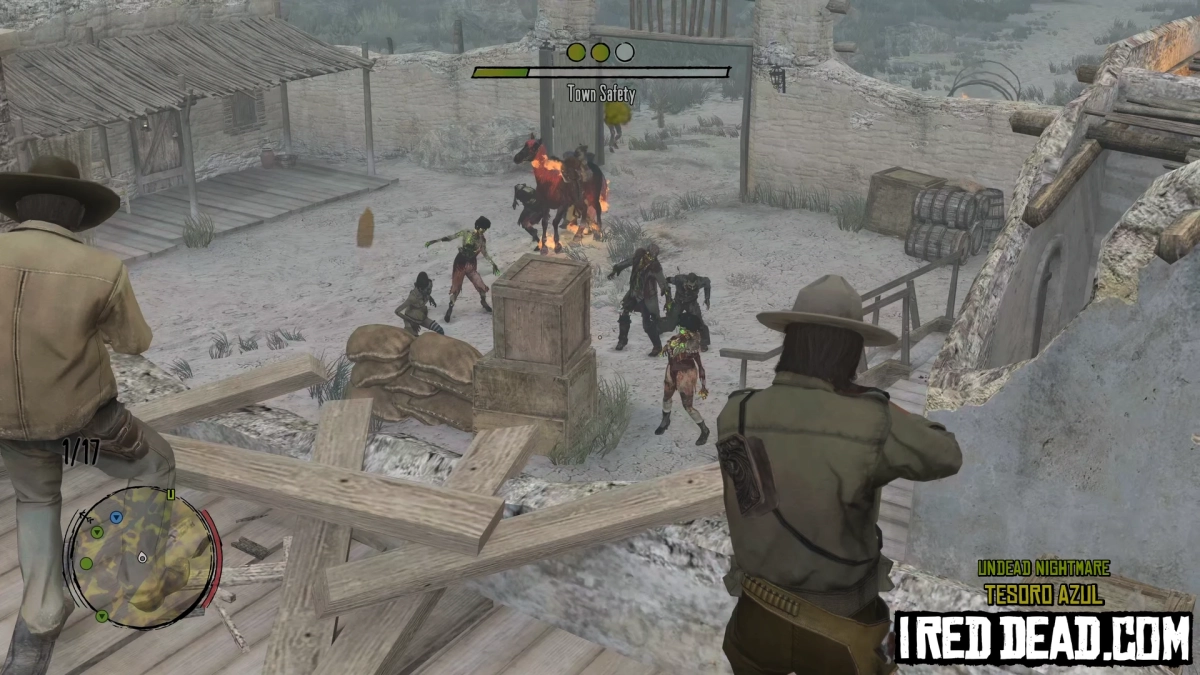
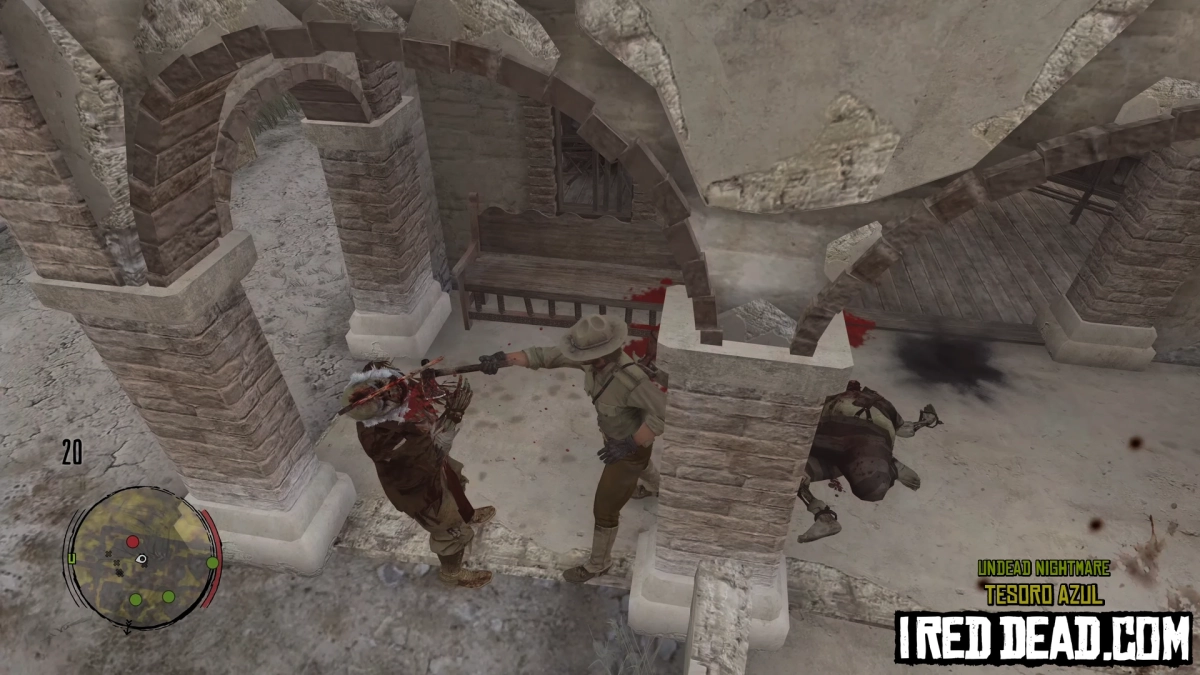
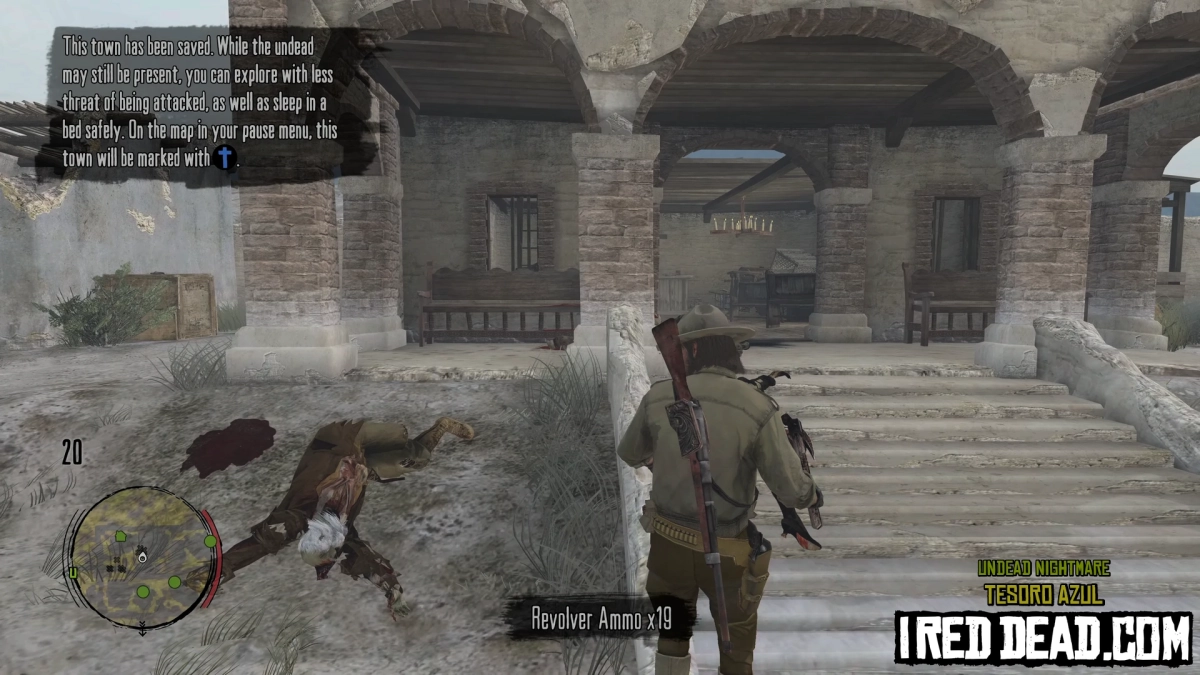
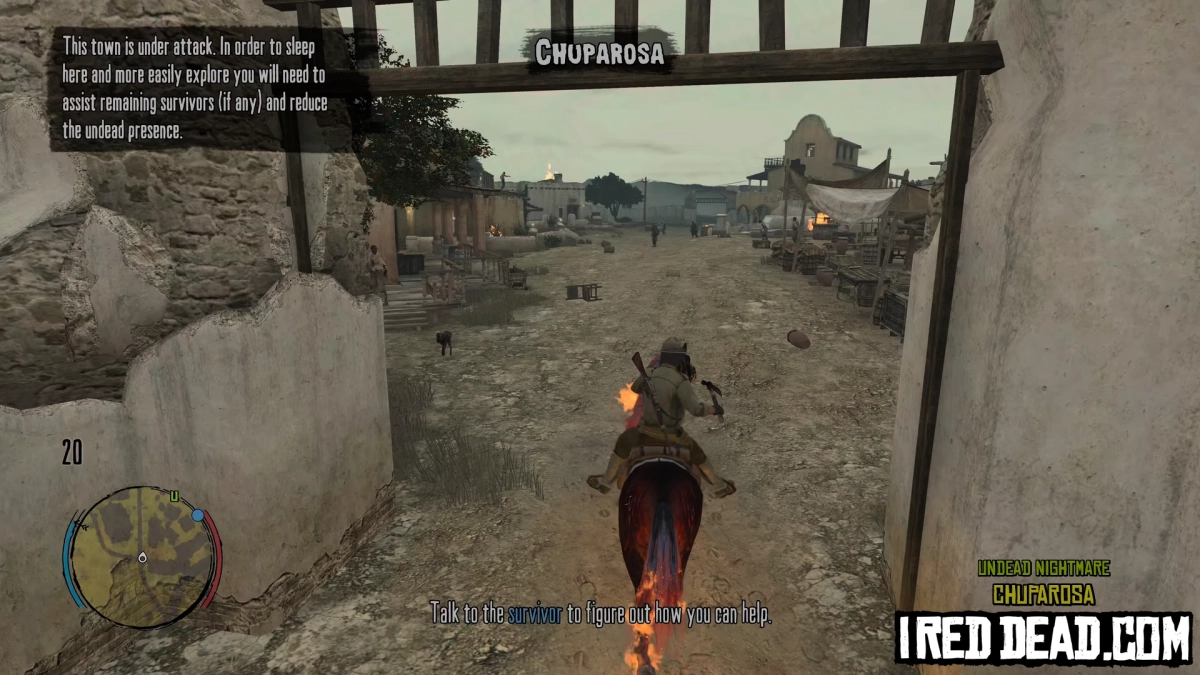
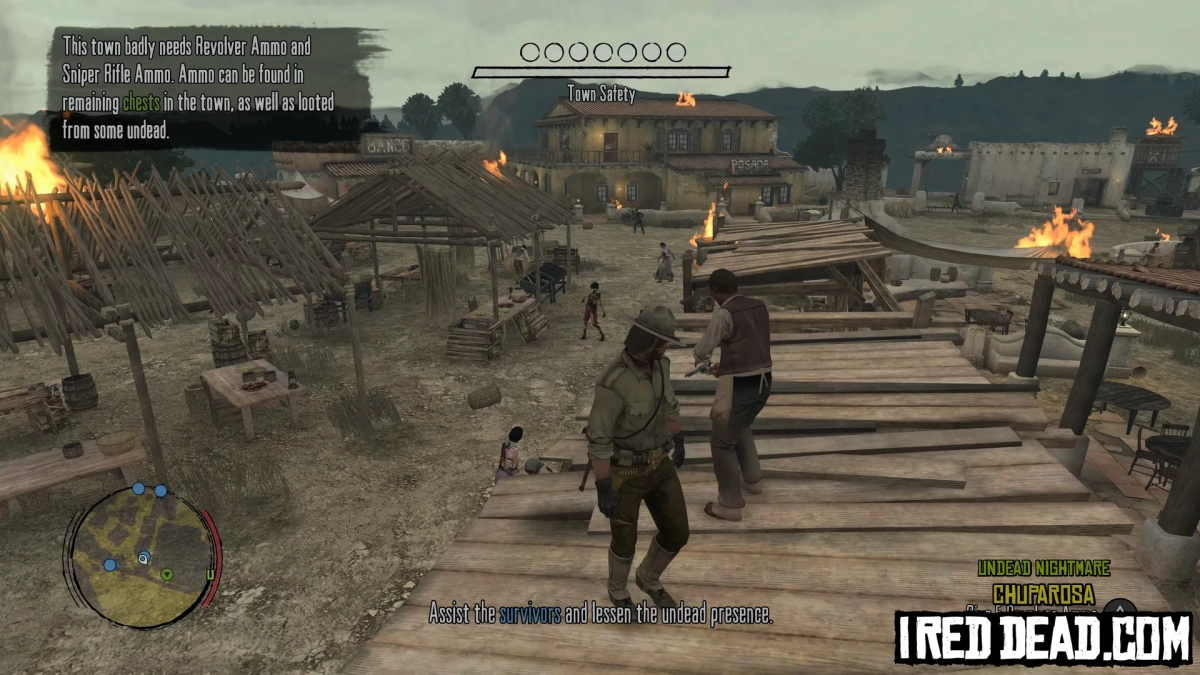
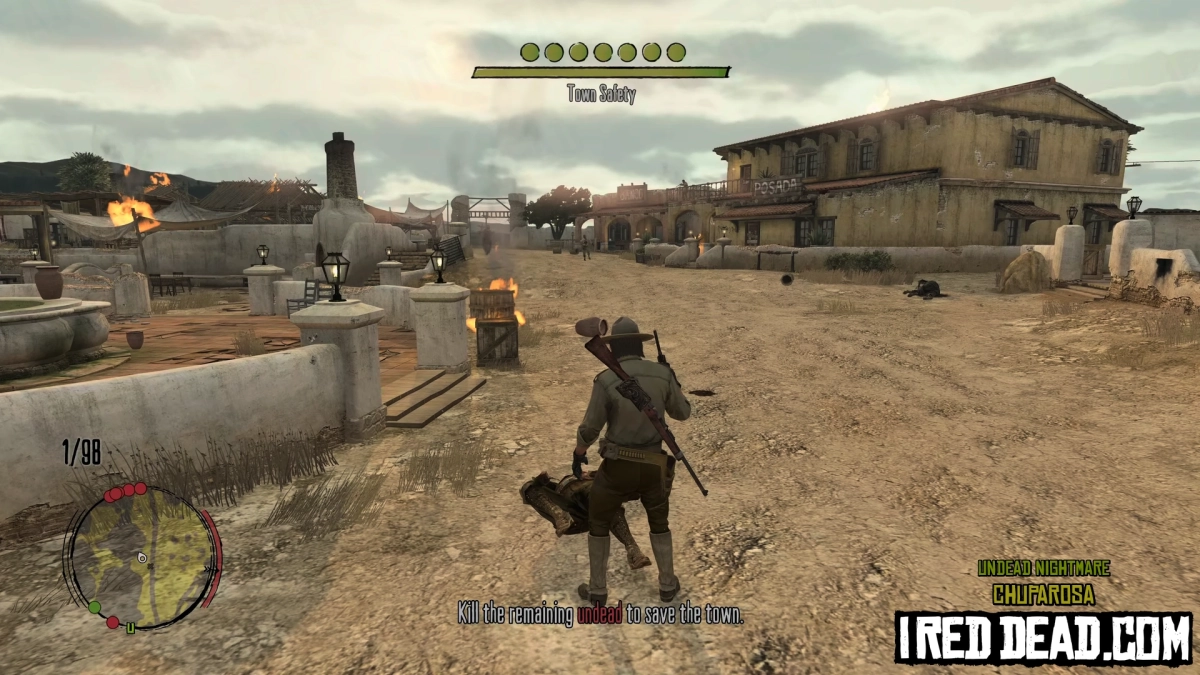
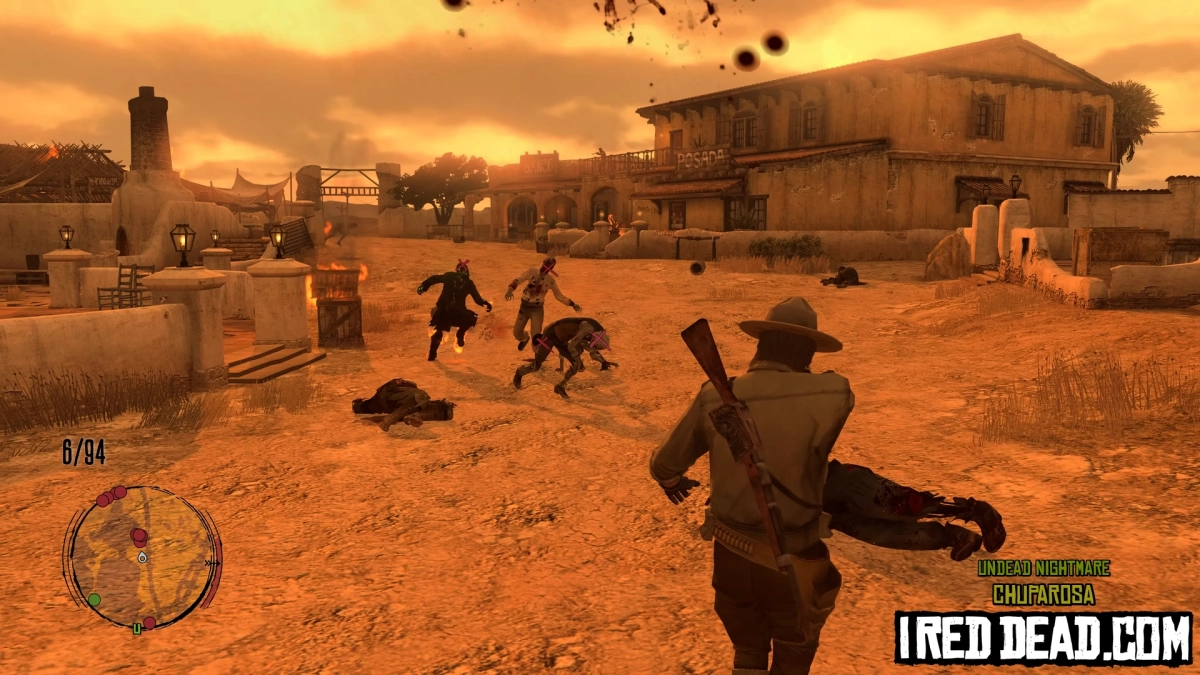
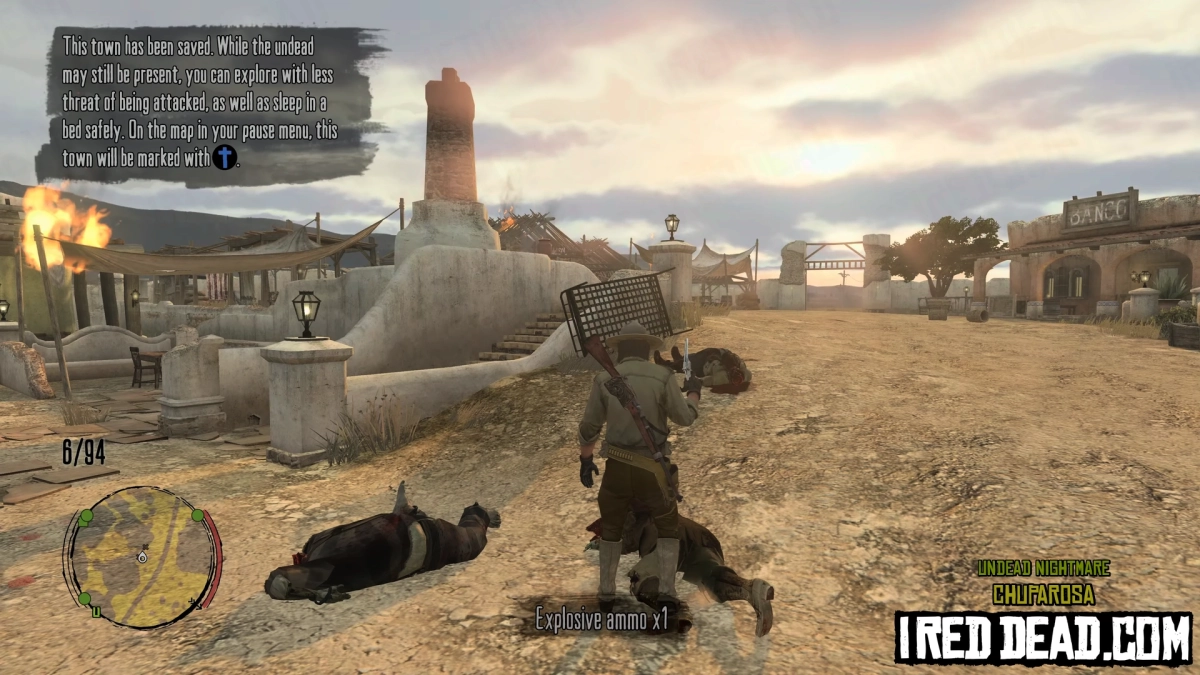
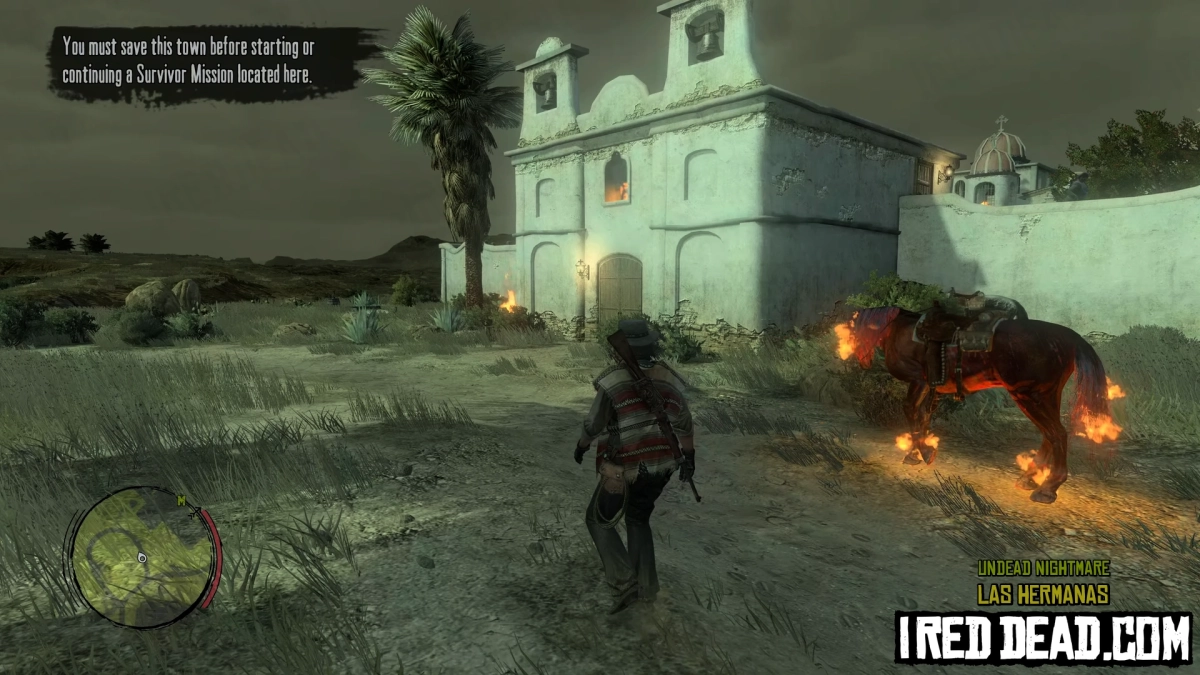
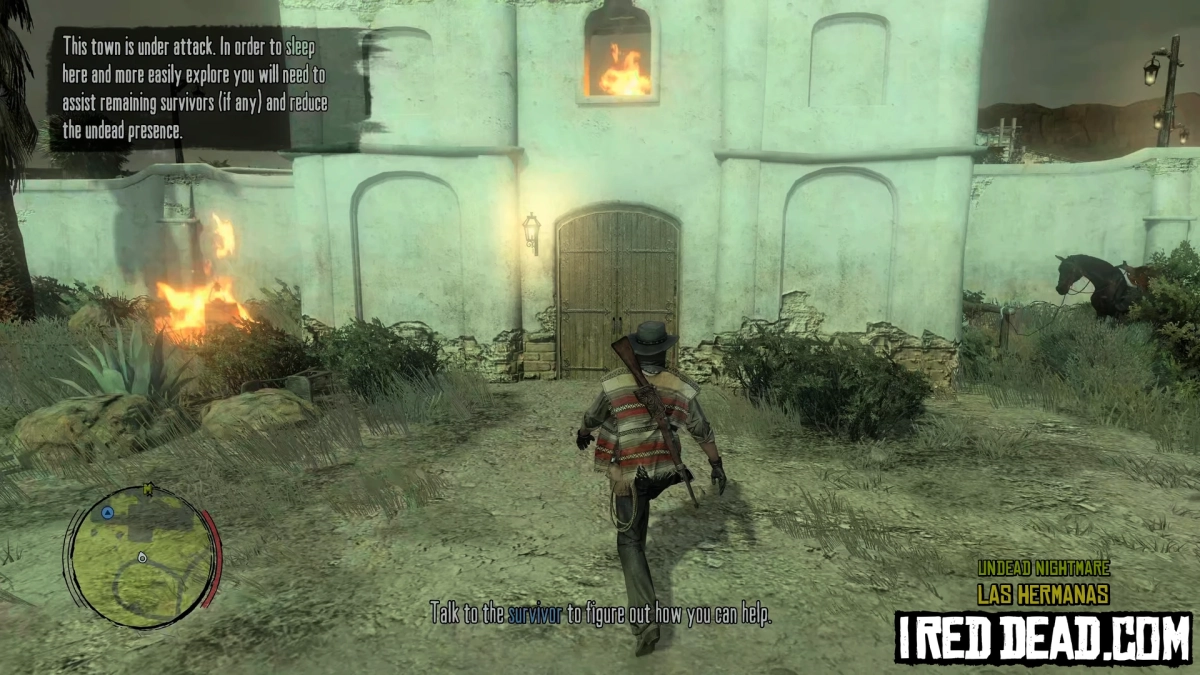
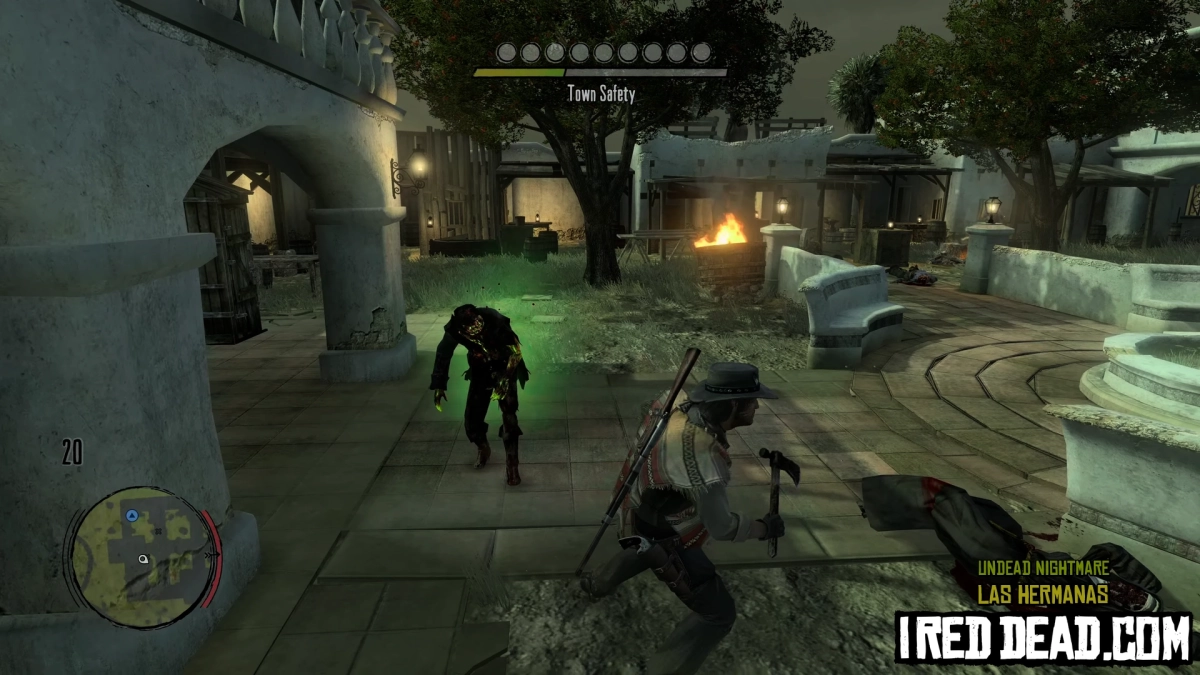
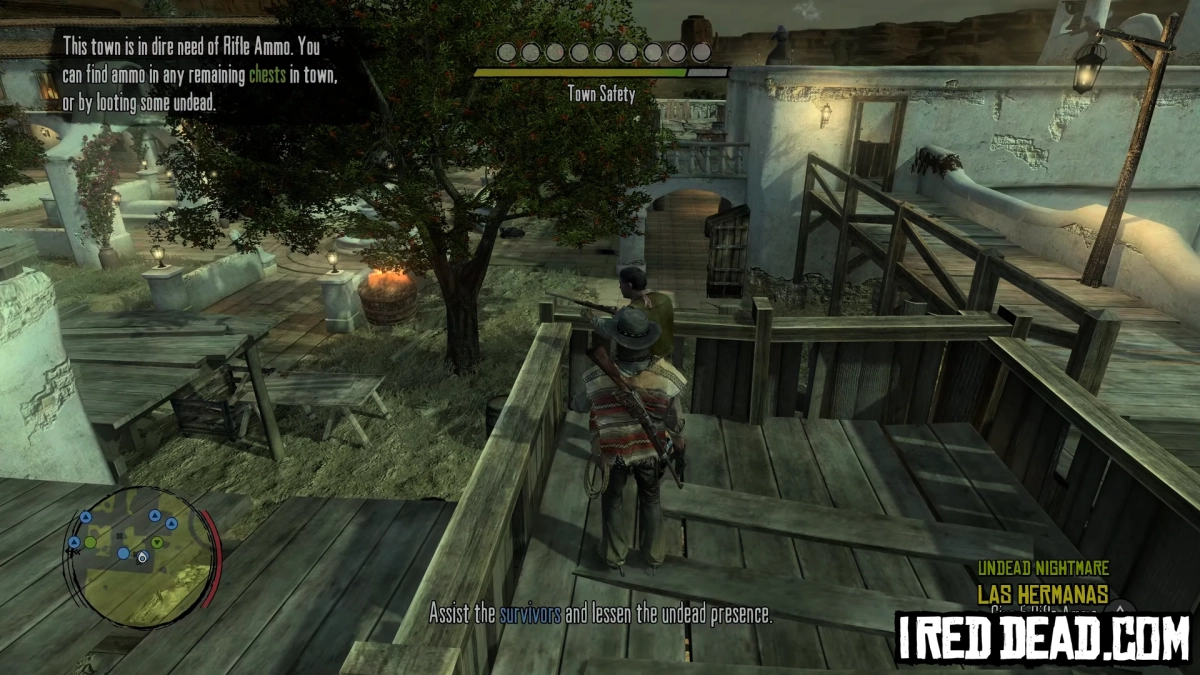
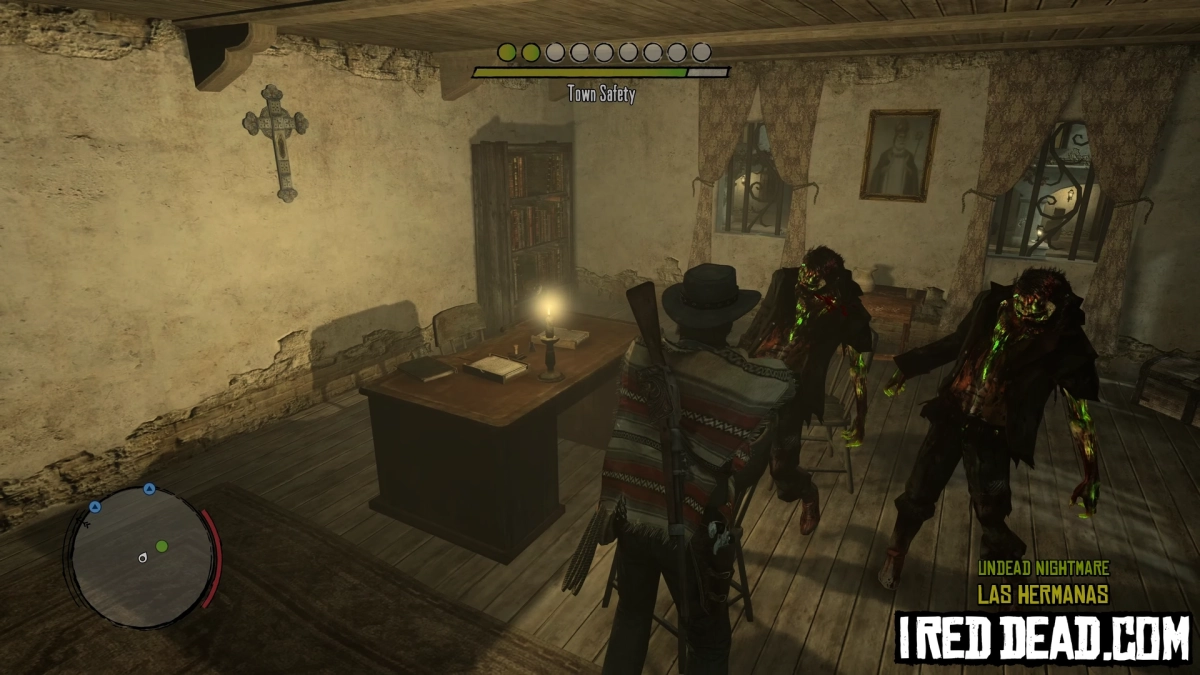
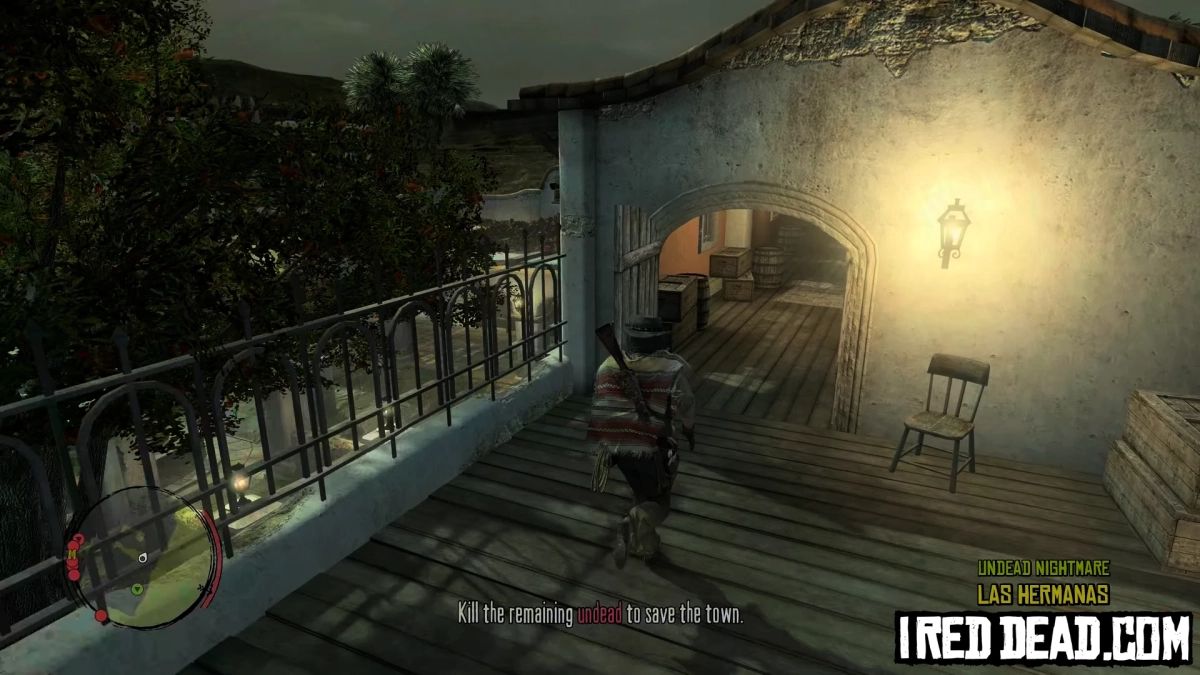
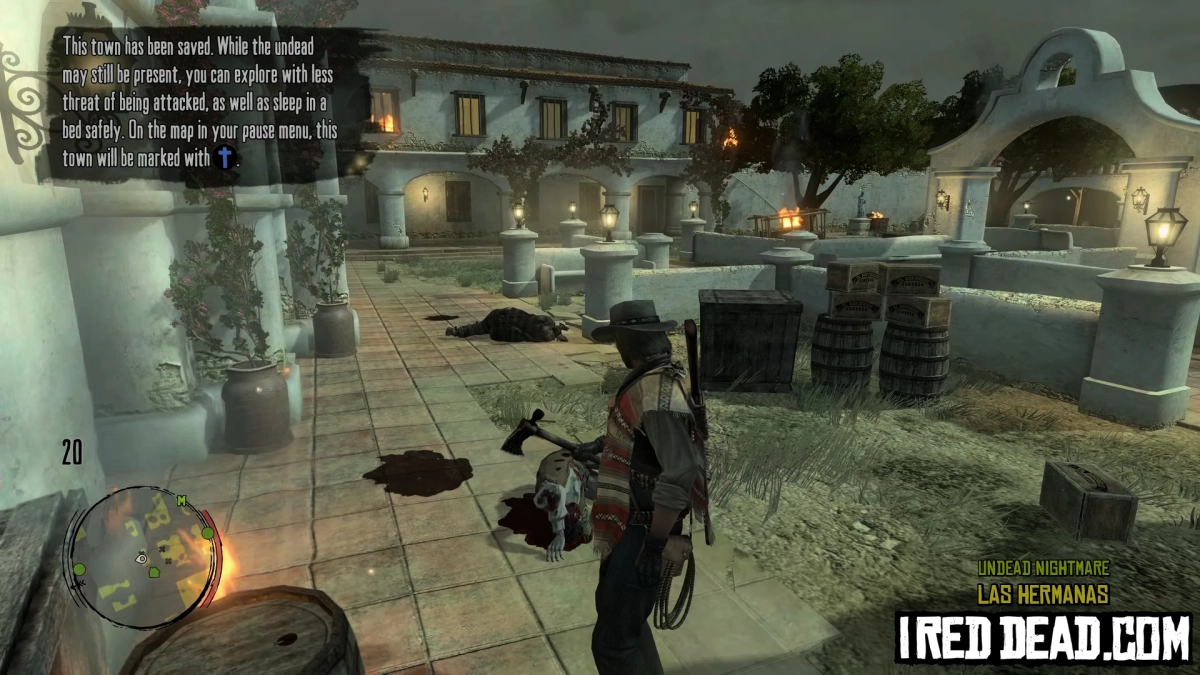
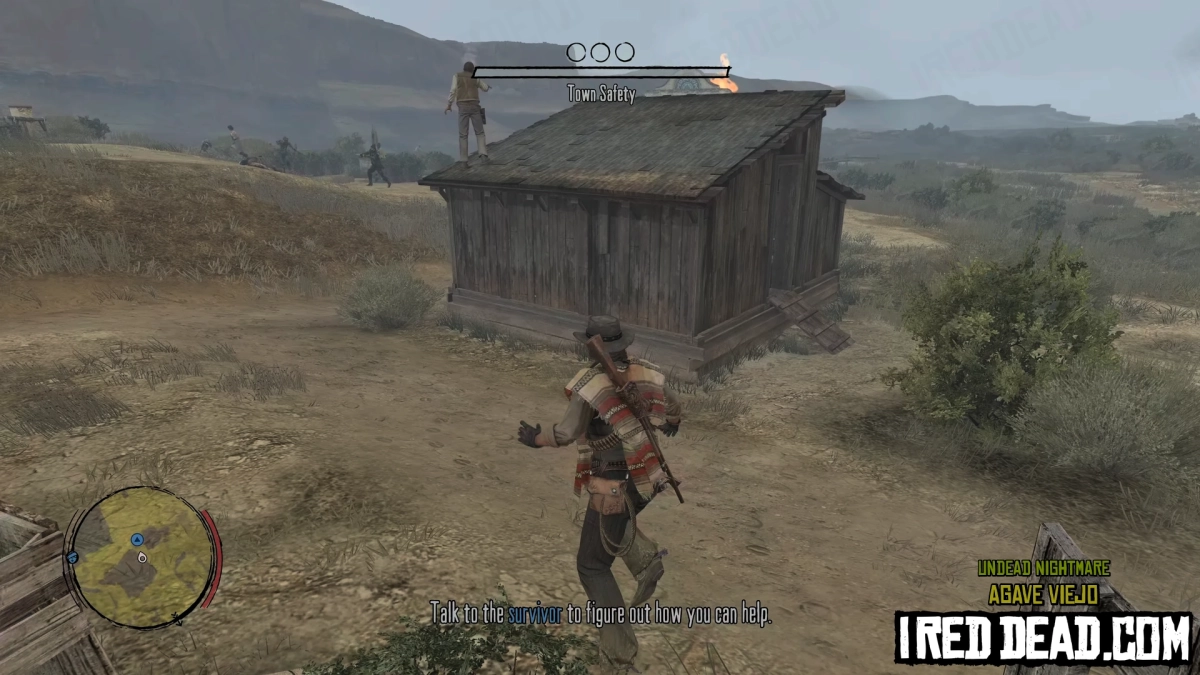
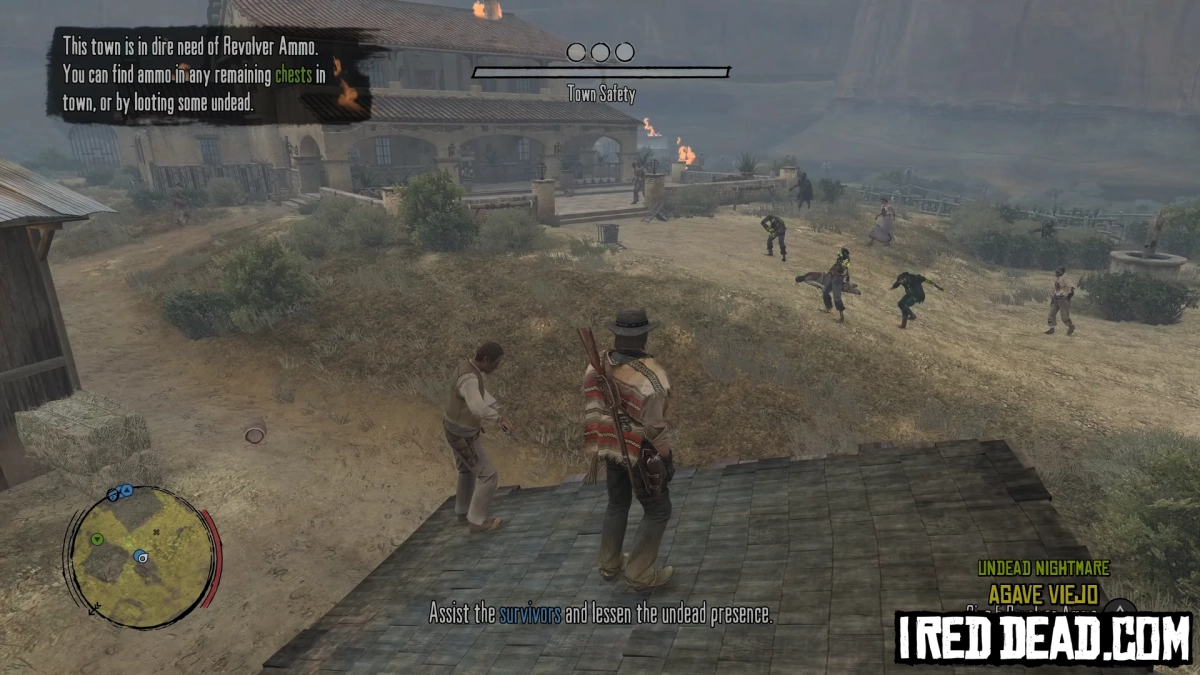
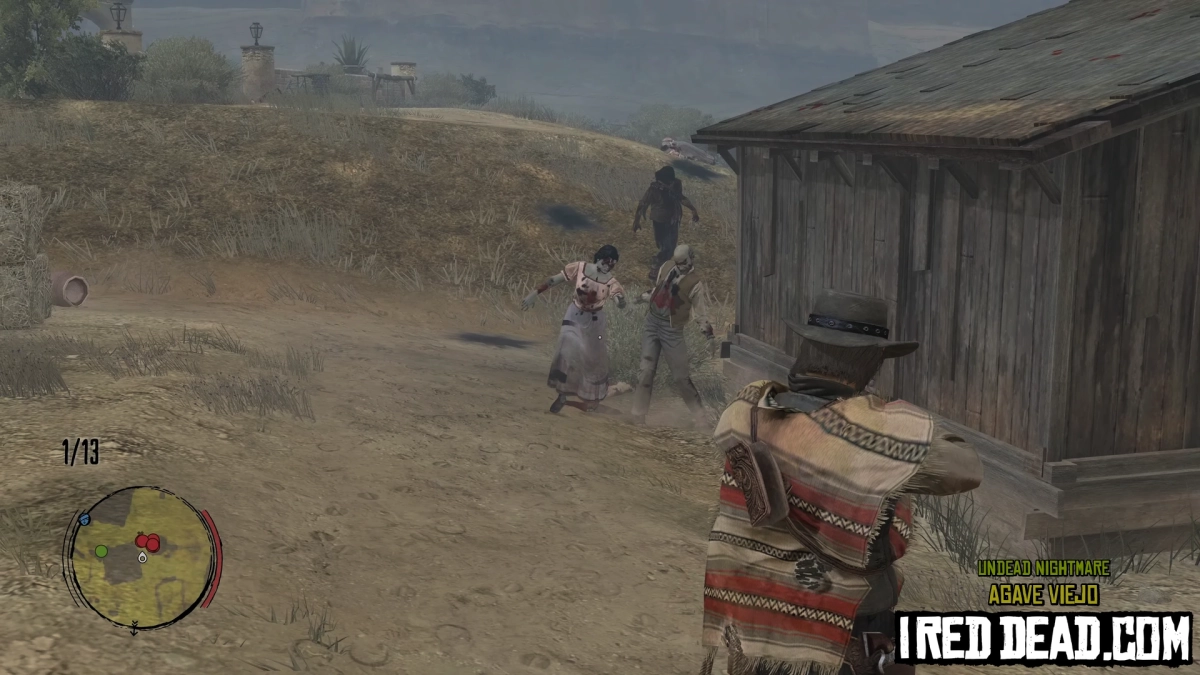
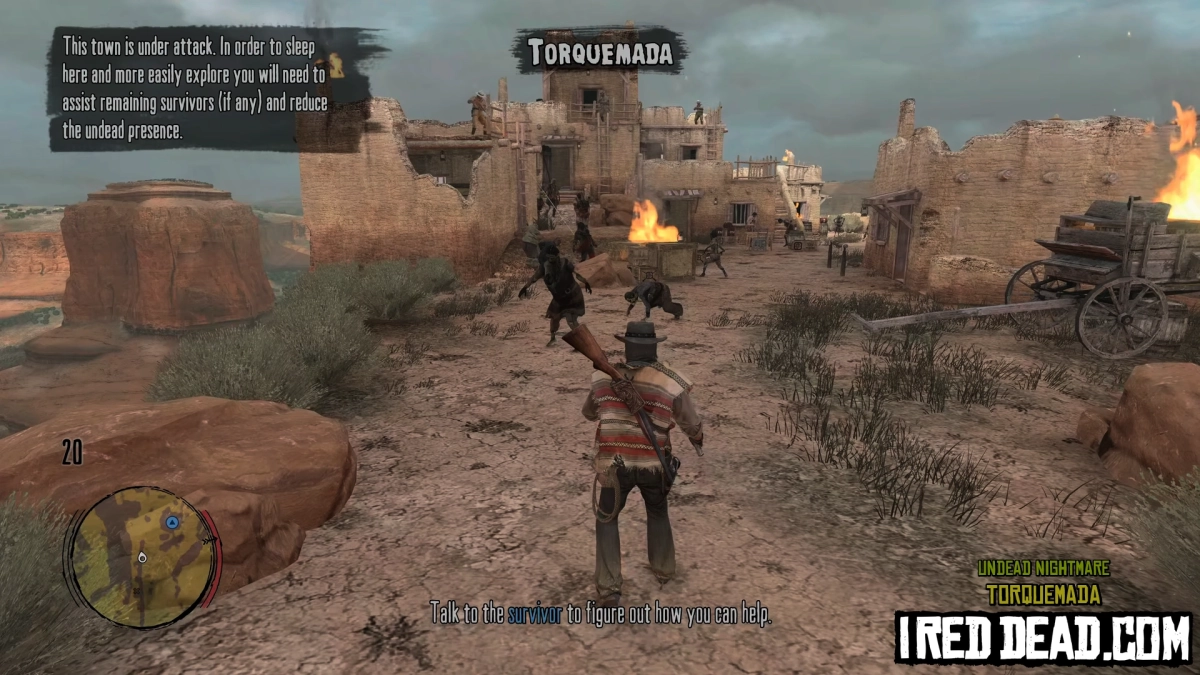
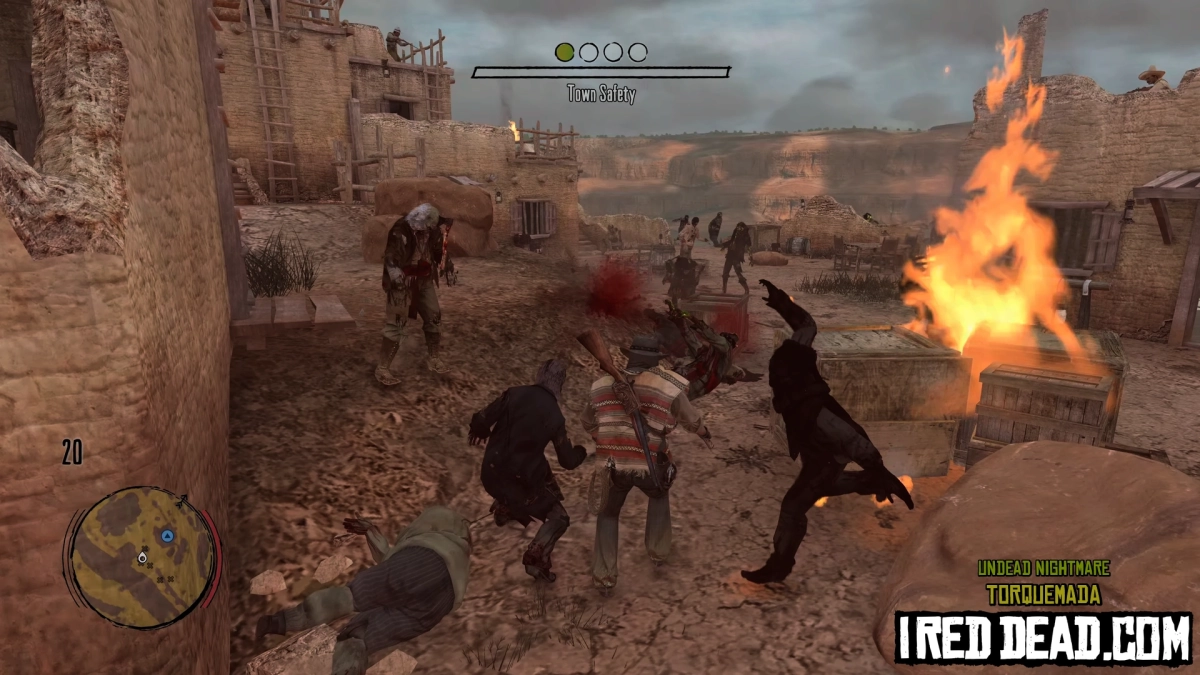
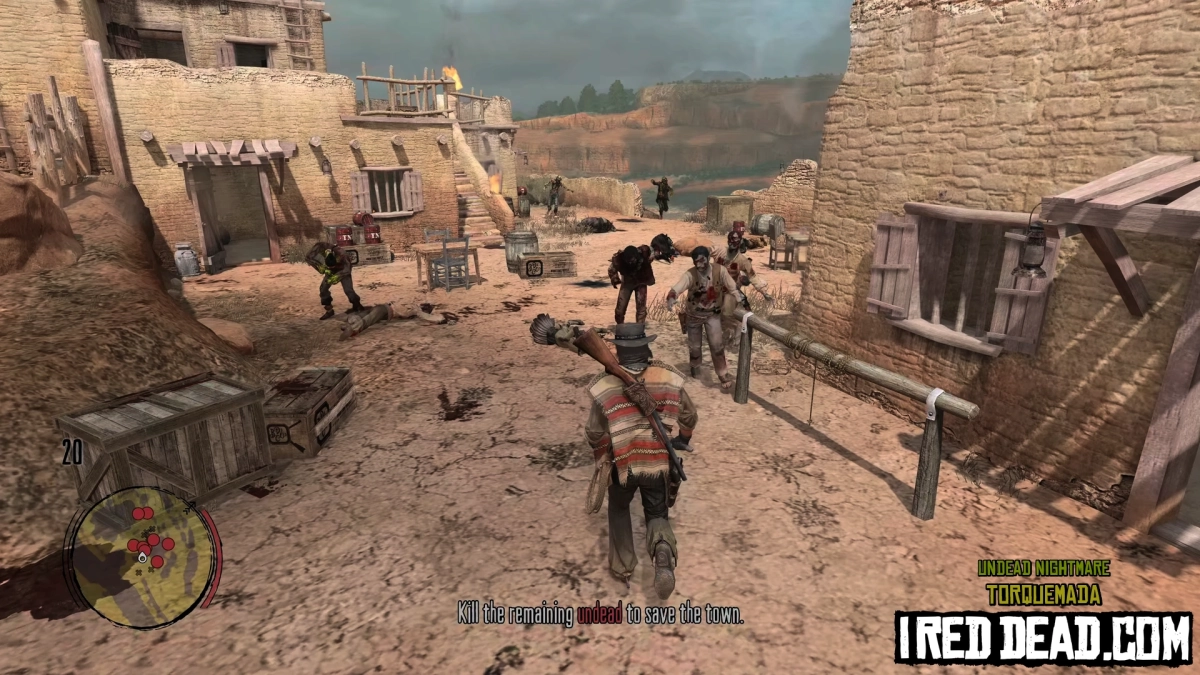
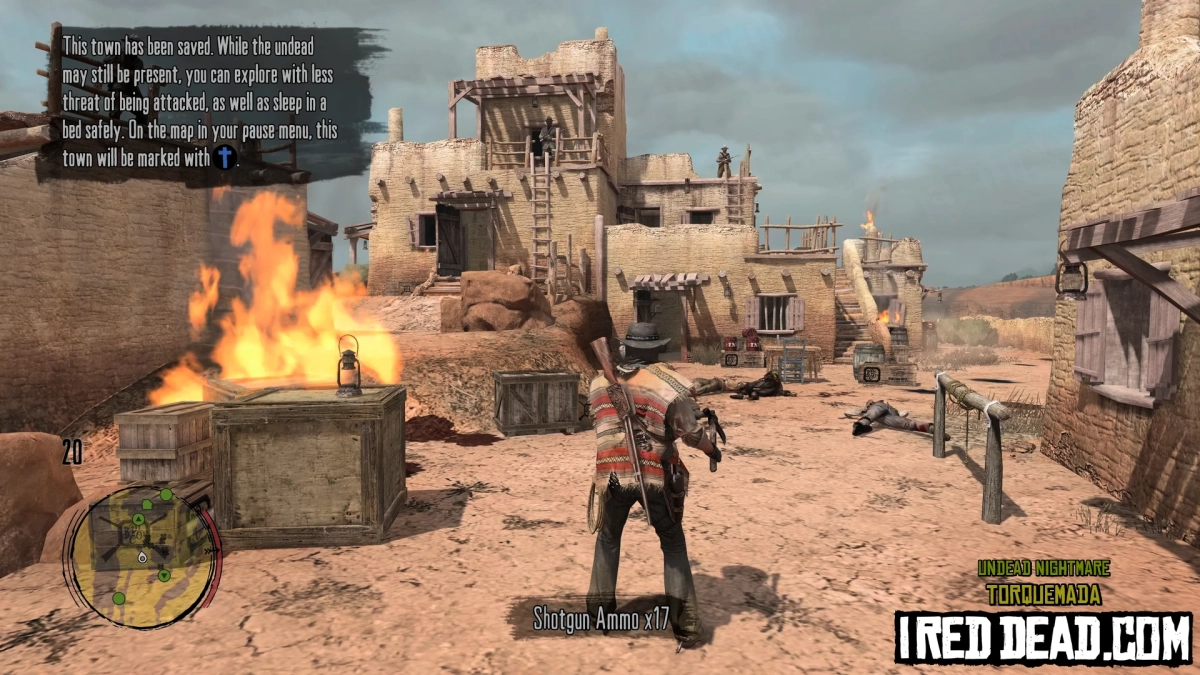
Help the locals clear out the undead and take back their homes. There are 20 towns to save in Undead Nightmare.
Fort Mercer, El Presidio, and Casa Madrugada are Safe Zones. Each town has its own difficulty and rewards including weapons among other items found in chests.
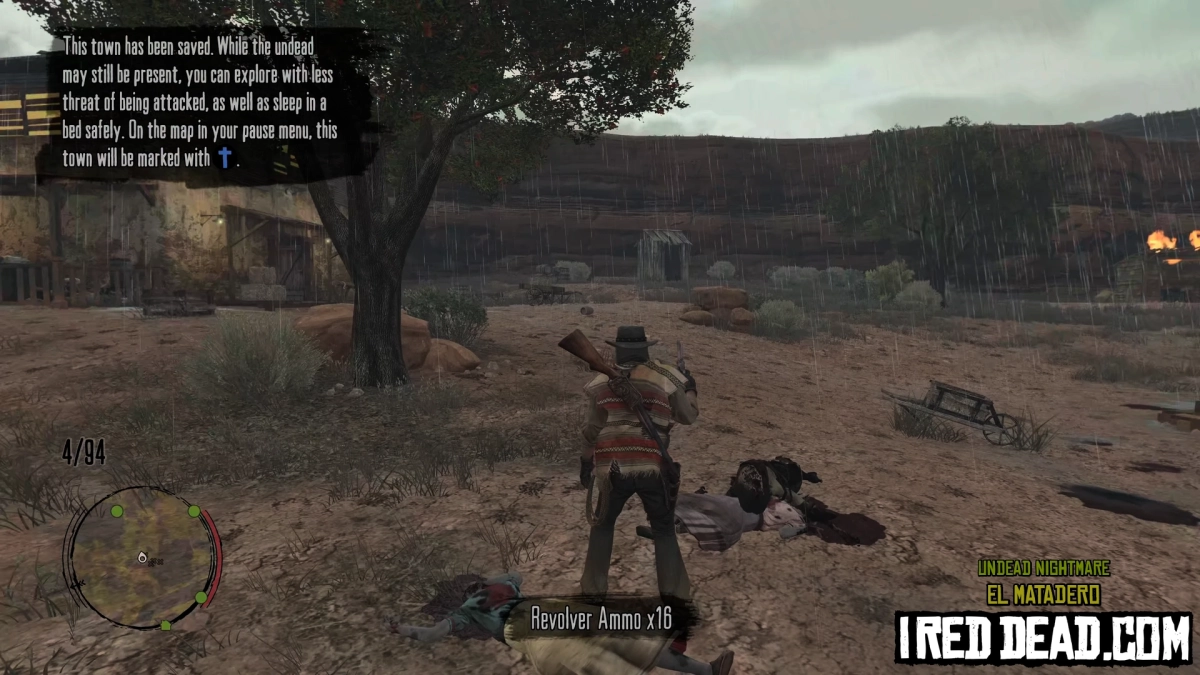
After saving a town it will occasionally become overrun again so look out for the warning messages and check your map once in a while. The survivors cannot hold off the zombies forever and when they all die the town is lost. You can still save it after that but the safe status will only be temporary and there will be no chests to gain ammo or other items from.
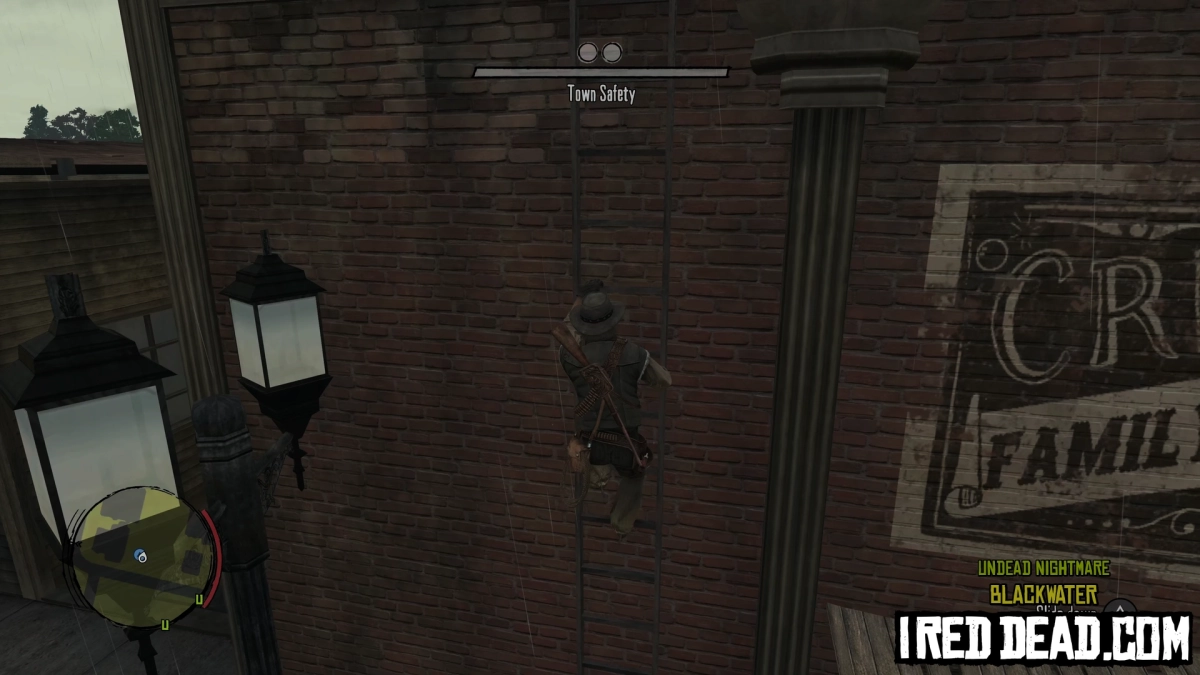
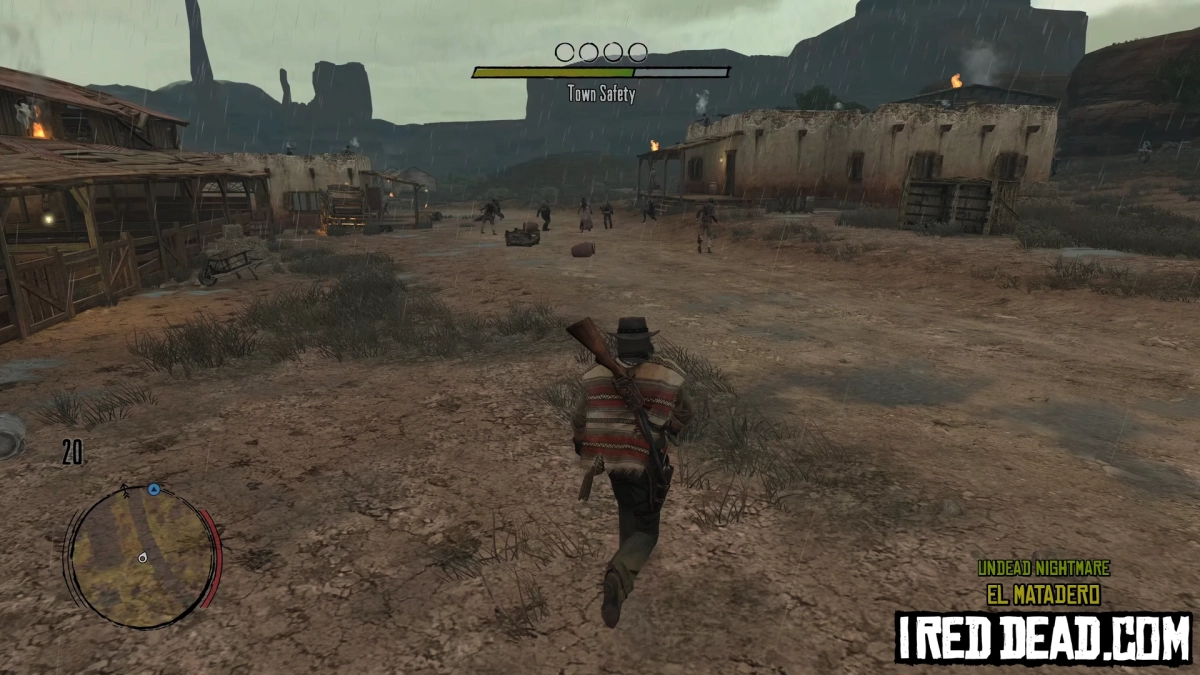
The towns needing help are listed alphabetically below along with their stats. Difficulty (•) is the amount of circles you need to fill (five undead kills each, not including the final wave of undead). Ammo chests (•) are scattered around the town and marked with a green dot on your radar after the town is saved. Most towns also yield a weapon upon completion. Also listed are the number of survivors (♀) and any other forms of weaponry on location in the town:
Table of Contents
Town Overview
| Location
|
•
|
•
|
Weapon Reward
|
♀
|
On-site Weapons
|
|
|
|
|
|
|
|
| Agave Viejo
|
3
|
2
|
Dynamite
|
3
|
|
| Armadillo
|
6
|
4
|
None
|
6
|
|
| Blackwater
|
2
|
1
|
None
|
3
|
|
| Chuparosa
|
7
|
4
|
Schofield Revolver
|
7
|
|
| Cochinay
|
1
|
1
|
Bolt Action Rifle
|
1
|
TNT crates, Dutch's machine gun
|
| El Matadero
|
4
|
3
|
Dynamite
|
5
|
TNT crates in buildings, machine gun on roof
|
| Escalera
|
8
|
5
|
Buffalo Rifle
|
7
|
|
| Gaptooth Breach
|
6
|
4
|
Dynamite
|
6
|
TNT crates
|
| Las Hermanas
|
9
|
5
|
None
|
8
|
|
| MacFarlane Ranch
|
5
|
6
|
None
|
5
|
|
| Manzanita Post
|
2
|
2
|
Tomahawk
|
3
|
|
| Nosalida
|
2
|
2
|
Henry Repeater
|
2
|
|
| Pacific Union RR
|
2
|
2
|
Rolling Block Rifle
|
3
|
TNT crates
|
| Plainview
|
3
|
2
|
None
|
3
|
|
| Rathskeller Fork
|
4
|
2
|
Explosive Rifle
|
2
|
Machine gun on roof
|
| Ridgewood Farm
|
2
|
2
|
Springfield Rifle
|
2
|
|
| Tesoro Azul
|
3
|
3
|
Double-action Revolver
|
3
|
|
| Thieves' Landing
|
4
|
4
|
Fire Bottles
|
4
|
|
| Torquemada
|
4
|
4
|
Pump-Action Shotgun
|
4
|
TNT crates
|
| Twin Rocks
|
3
|
3
|
Volcanic Pistol
|
3
|
|
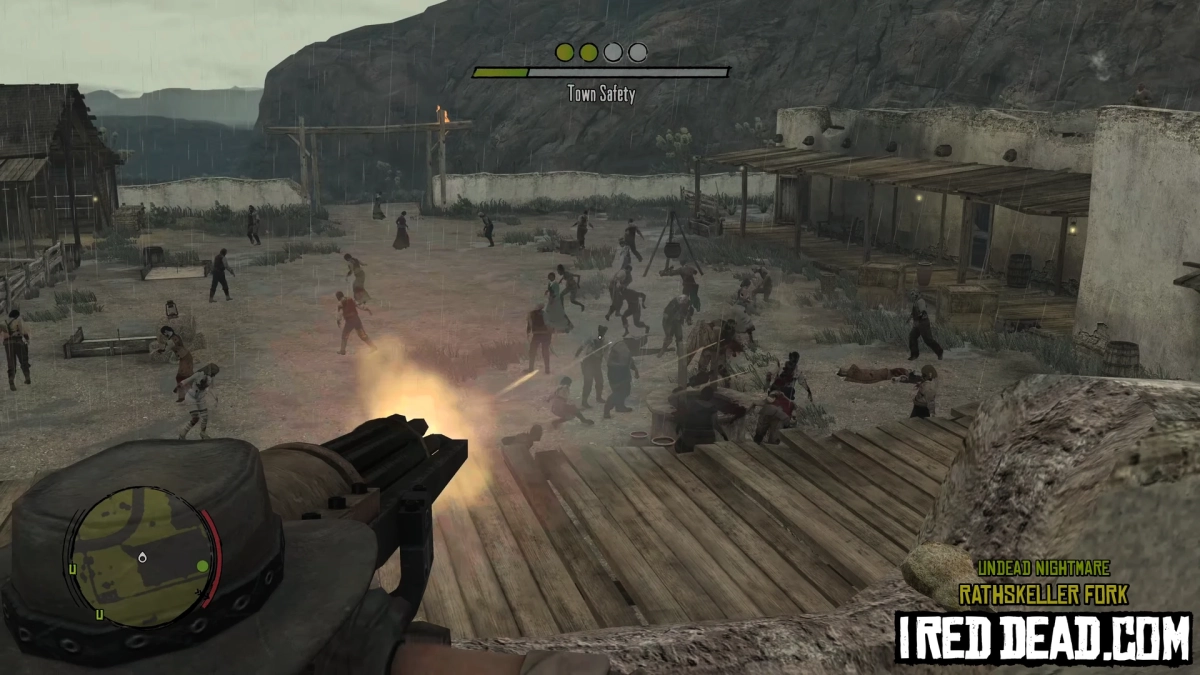
Each town presents its own advantages and disadvantages. Most have plenty of high elevations (such as buildings) to get above the undead hordes. Many also have open areas to take out multiple zombies at a time with dynamite or other large area weapons including bait to allow for easy shots at the undead.
Try to keep away from the survivors when possible. The zombies usually spawn near you so this will help prevent survivors from dying either from the zombies or your own friendly fire. A great example is Blackwater. Hang out in the more vacant south end of town. It's open and far away from the survivors.
Having an Apocalypse Horse such as War and especially Death can make saving towns much easier by simply riding through the zombie hordes to damage or kill them.
West Elizabeth Towns To Save
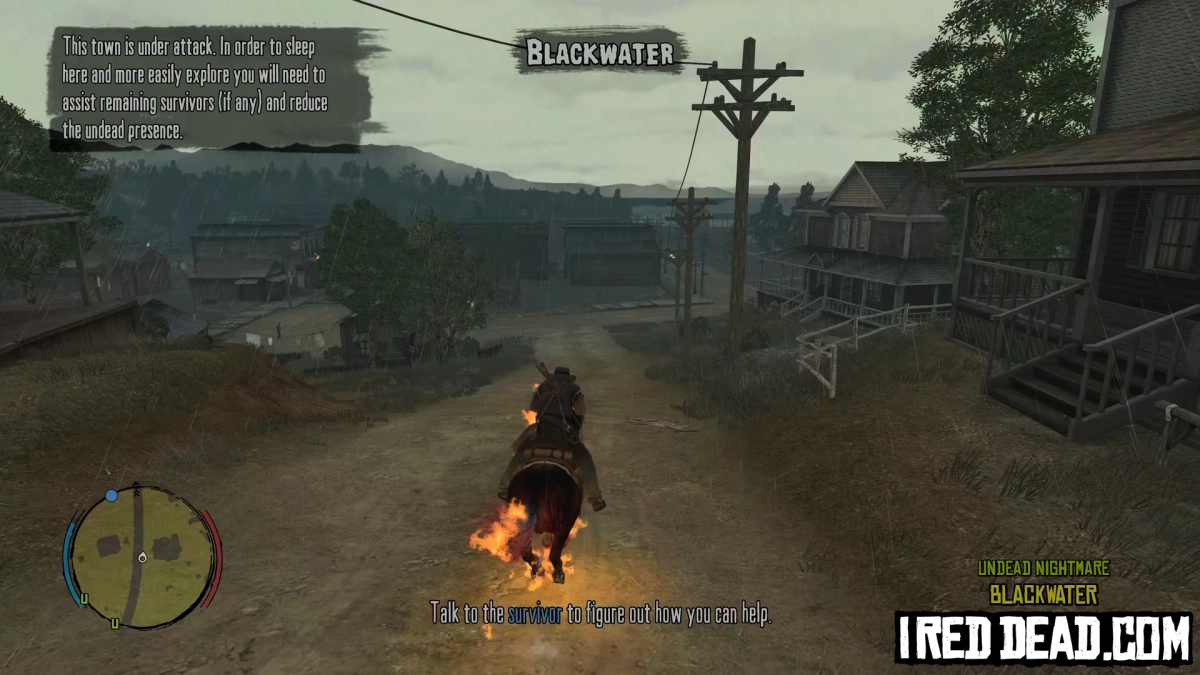
Blackwater
You'll save Blackwater during the 2nd story mission "Curious Tales from Blackwater", however it can (and likely will) be attacked again as you play through the rest of the game, so you may need to save it again.
- Circles To Fill: 2
- Ammo Crates: 1
- Survivors: 3
- Requested Ammo: Sniper Rifle Ammo
- Reward: None
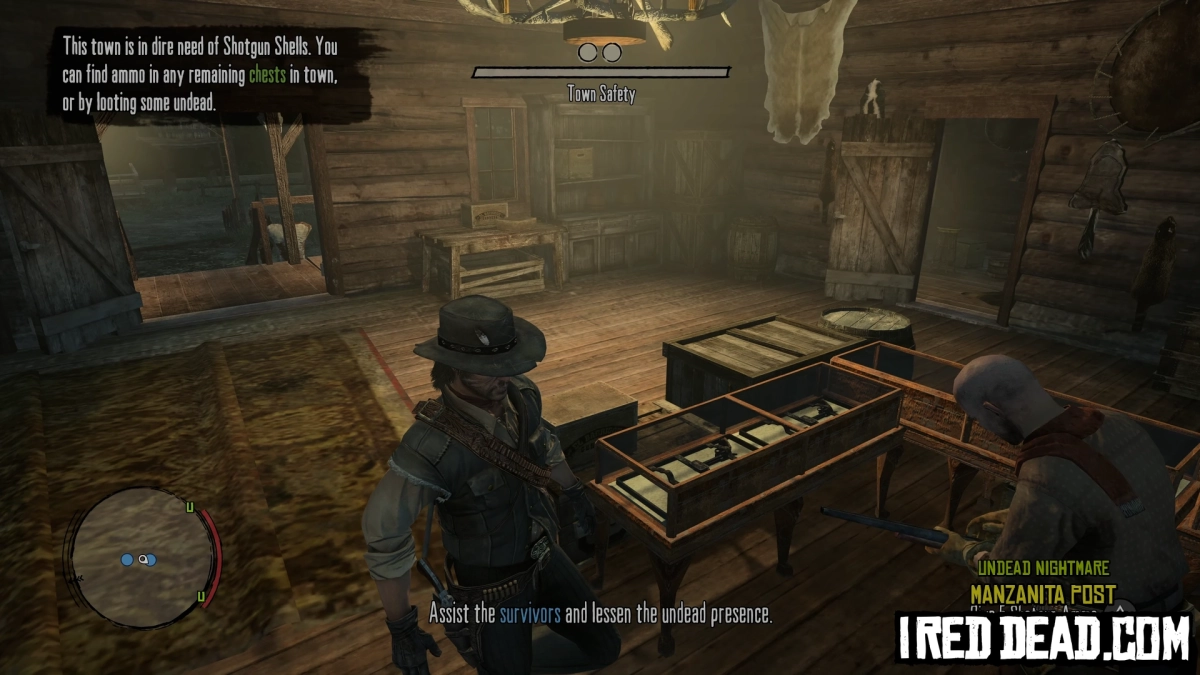
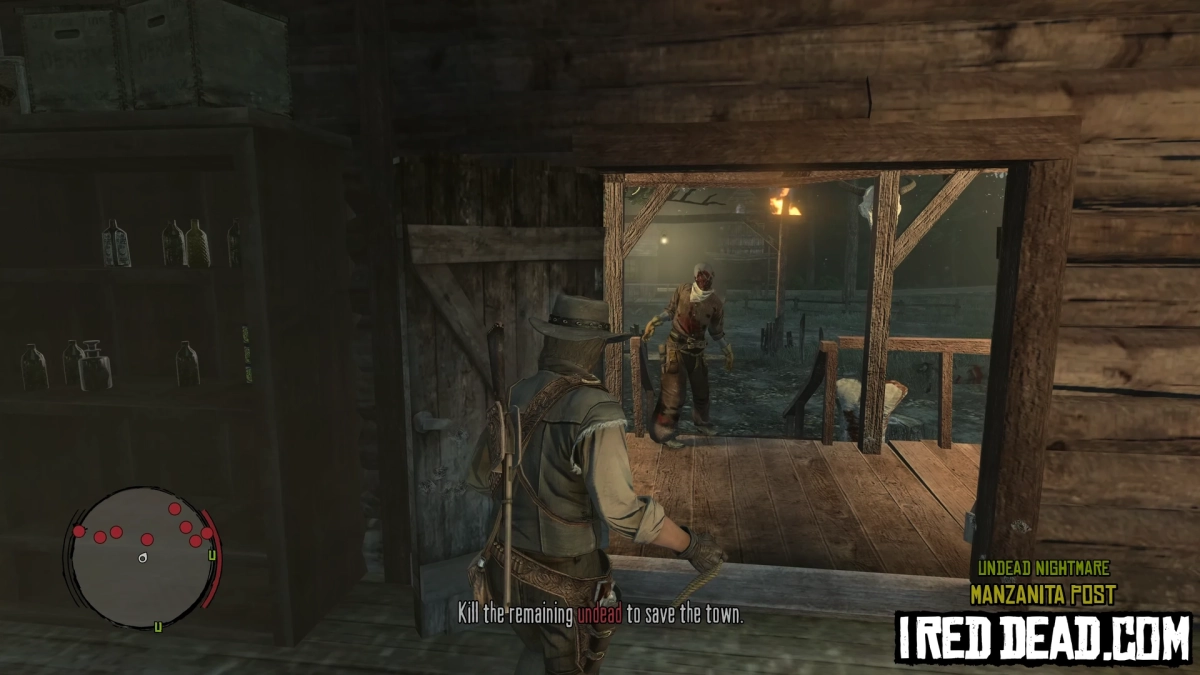
Manzanita Post
Manzanita Post will be displayed on the map the first time you enter Tall Trees after completing "Curious Tales from Blackwater".
- Circles To Fill: 2
- Ammo Crates: 2
- Survivors: 3
- Requested Ammo: Shotgun Shells
- Reward: Tomahawk
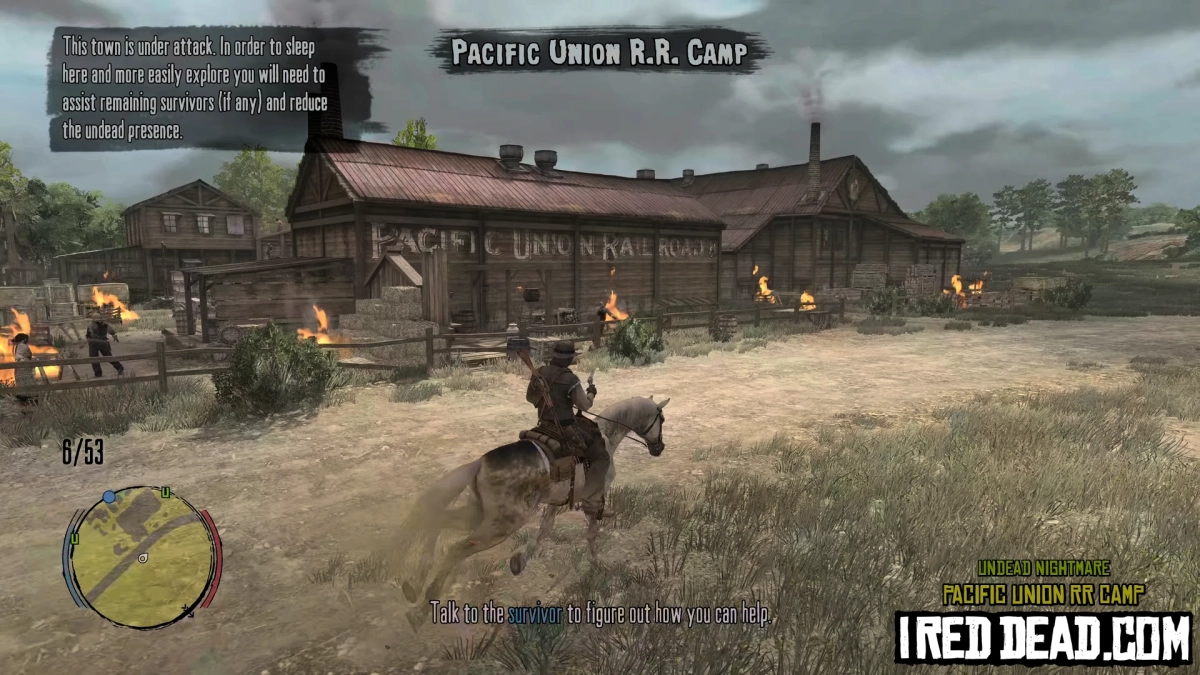
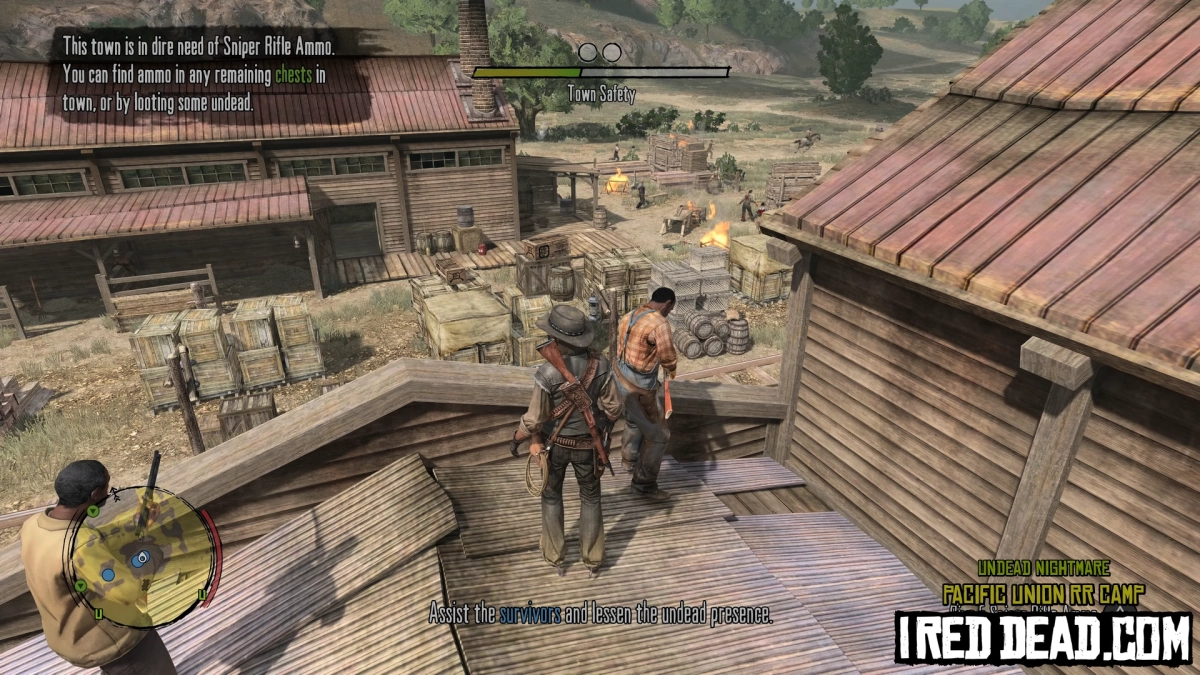
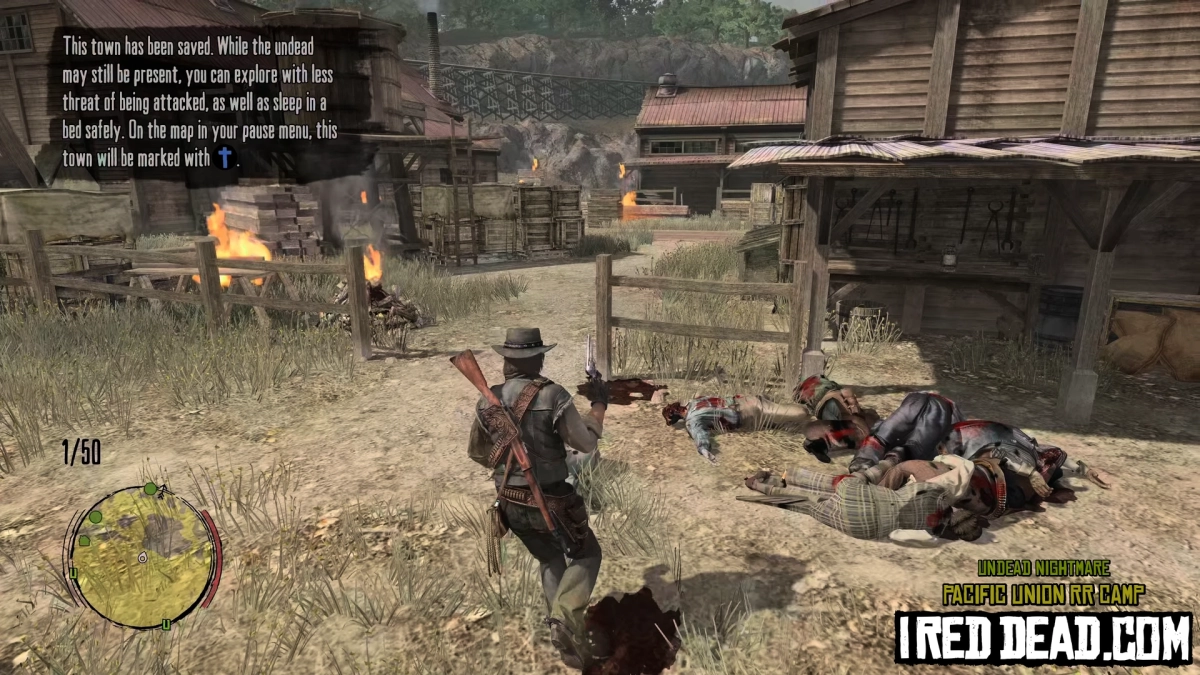
Pacific Union RR Camp
The Pacific Union RR Camp will be displayed on the map the first time you enter Tall Trees after completing "Curious Tales from Blackwater".
- Circles To Fill: 2
- Ammo Crates: 2
- Survivors: 3
- Requested Ammo: Sniper Rifle Ammo
- Reward: Rolling Block Rifle
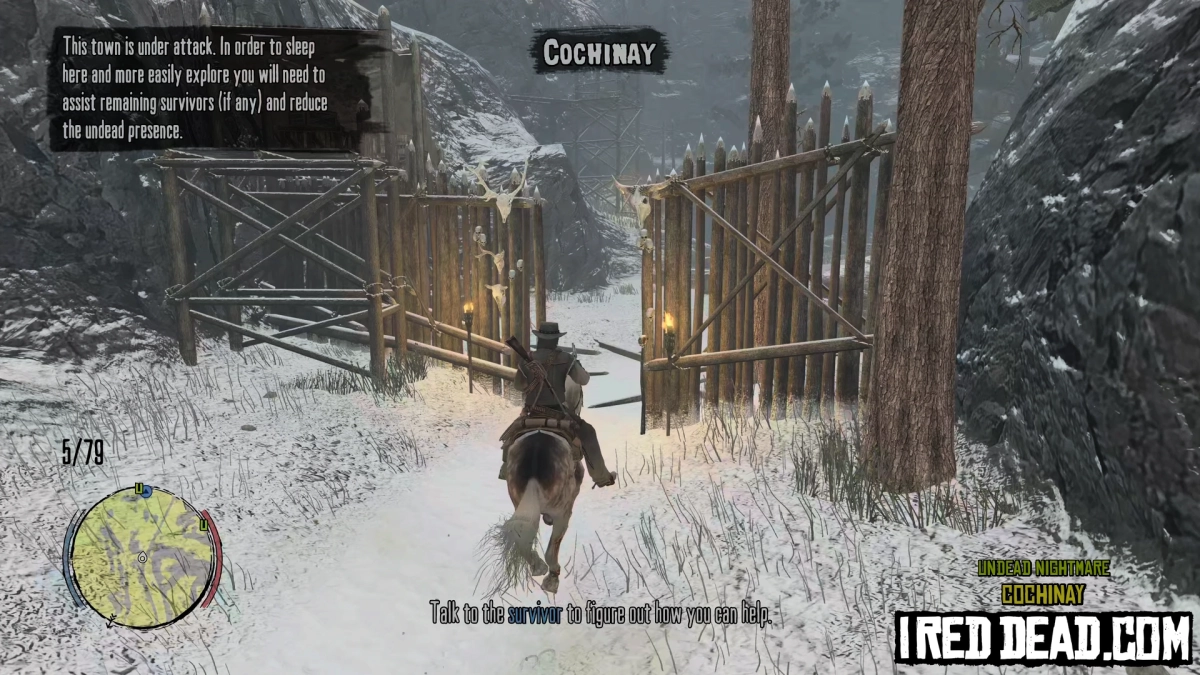
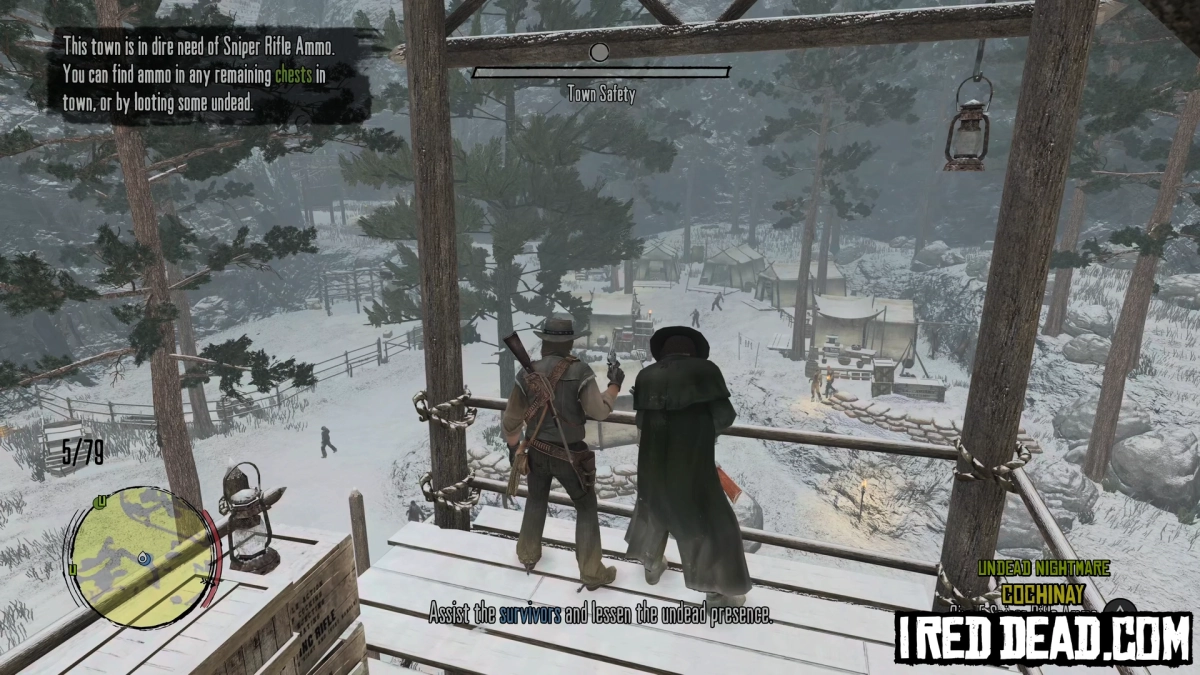
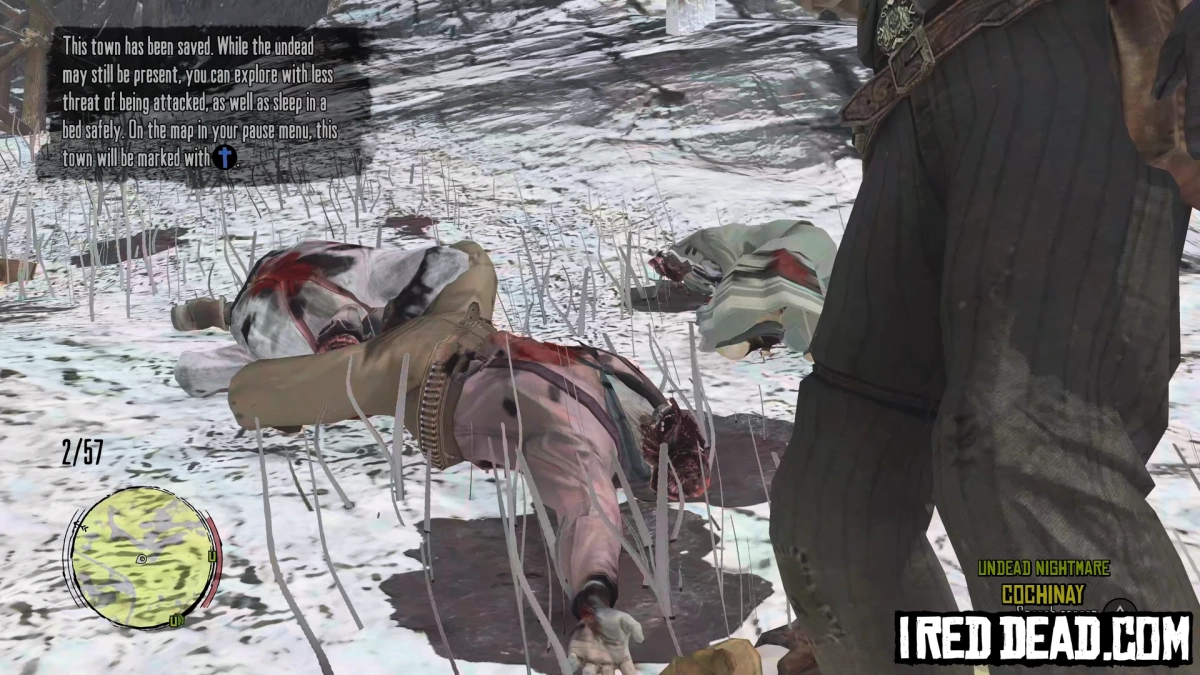
Cochinay
Cochniay will be displayed on the map the first time you enter Tall Trees after completing "Curious Tales from Blackwater".
- Circles To Fill: 1
- Ammo Crates: 1
- Survivors: 1
- Requested Ammo: Sniper Rifle Ammo
- Reward: Bolt Action Rifle
New Austin Towns To Save
Thieves' Landing
Thieves' Landing will be displayed on the map the first time you enter Hennigan's Stead.
- Circles To Fill: 4
- Ammo Crates: 4
- Survivors: 4
- Requested Ammo: Revolver Ammo
- Reward: Fire Bottles
MacFarlane's Ranch
MacFarlane's Ranch will be displayed on the map the first time you enter Hennigan's Stead.
- Circles To Fill: 5
- Ammo Crates: 6
- Survivors: 5
- Requested Ammo: Repeater Ammo
- Reward: None
Armadillo
Armadillo will be displayed on the map the first time you enter Cholla Springs.
- Circles To Fill: 6
- Ammo Crates: 4
- Survivors: 6
- Requested Ammo: Revolver & Repeater Ammo
- Reward: None
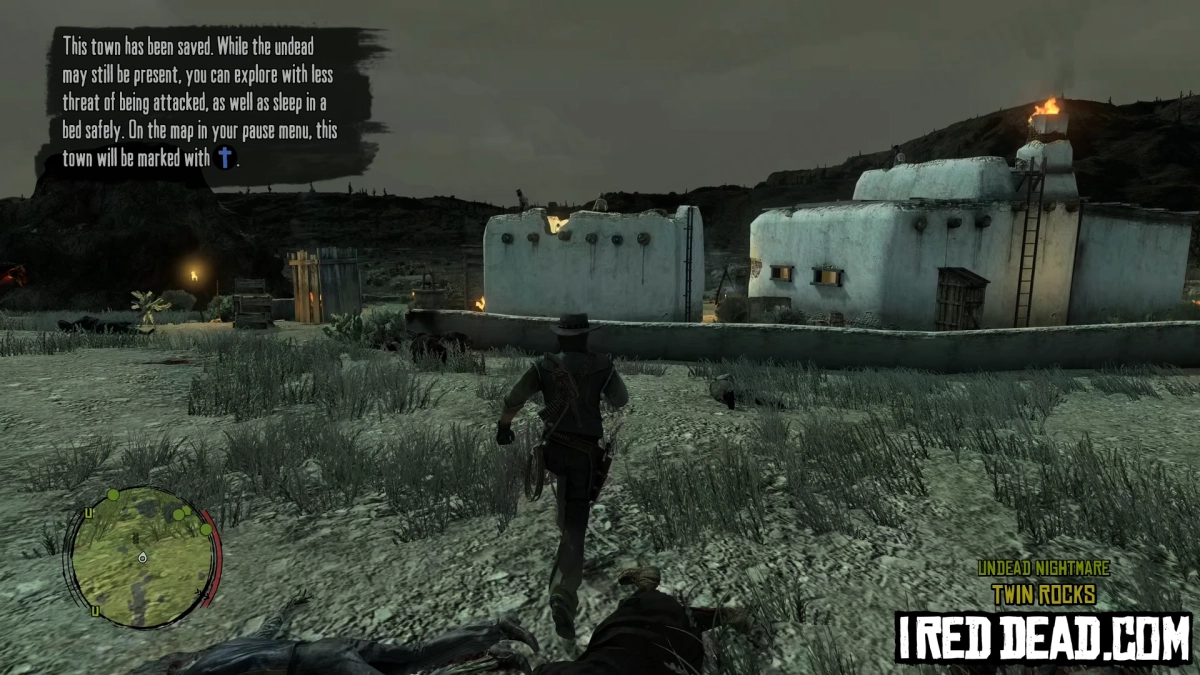
Twin Rocks
Twin Rocks will be displayed on the map the first time you enter Cholla Springs.
- Circles To Fill: 3
- Ammo Crates: 3
- Survivors: 3
- Requested Ammo: Pistol Ammo
- Reward: Volcanic Pistol
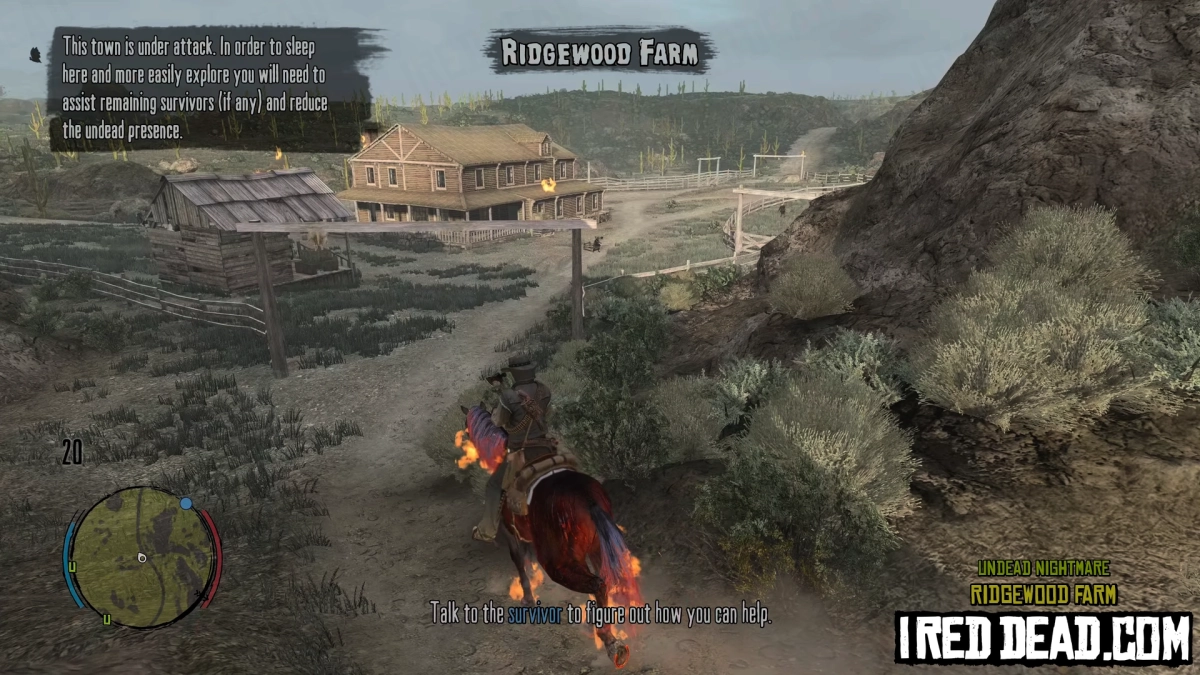
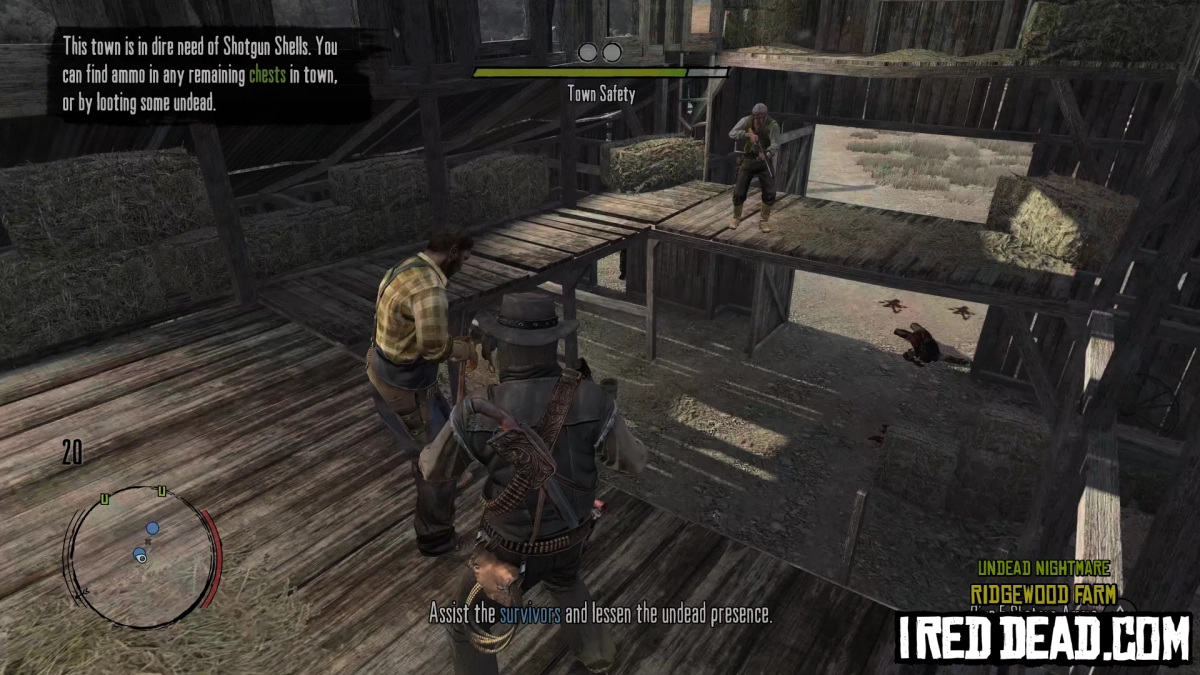
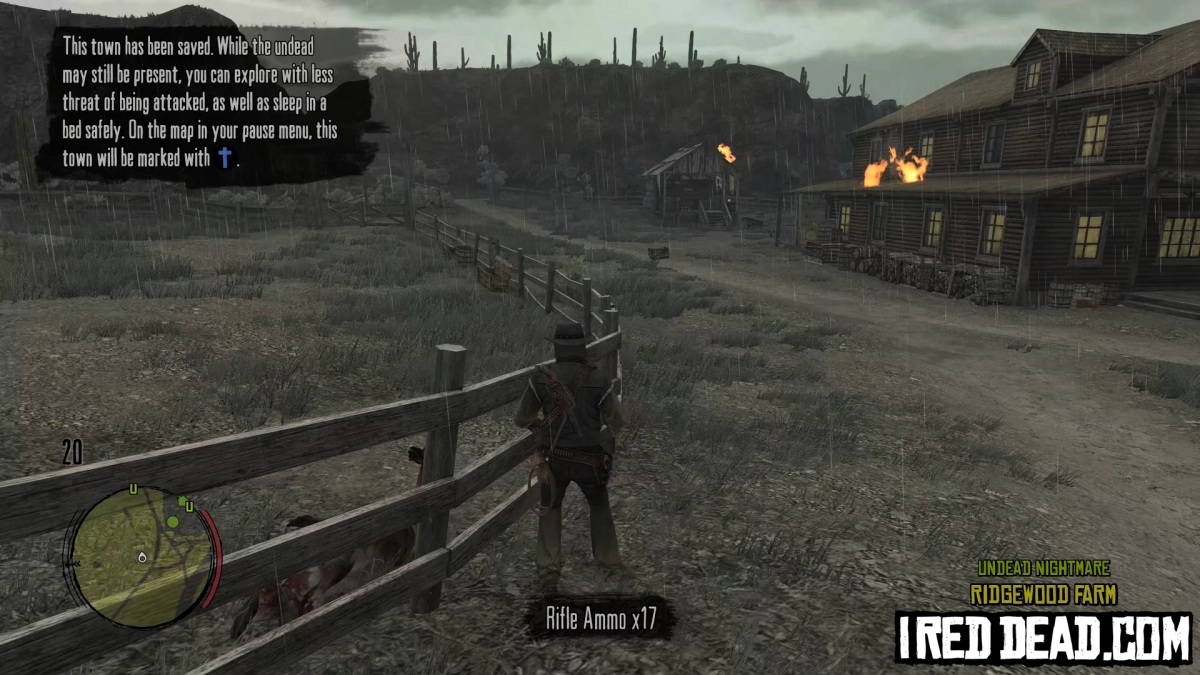
Ridgewood Farm
Ridgewood Farm will be displayed on the map the first time you enter Cholla Springs.
- Circles To Fill: 2
- Ammo Crates: 2
- Survivors: 2
- Requested Ammo: Shotgun Shells
- Reward: Springfield Rifle
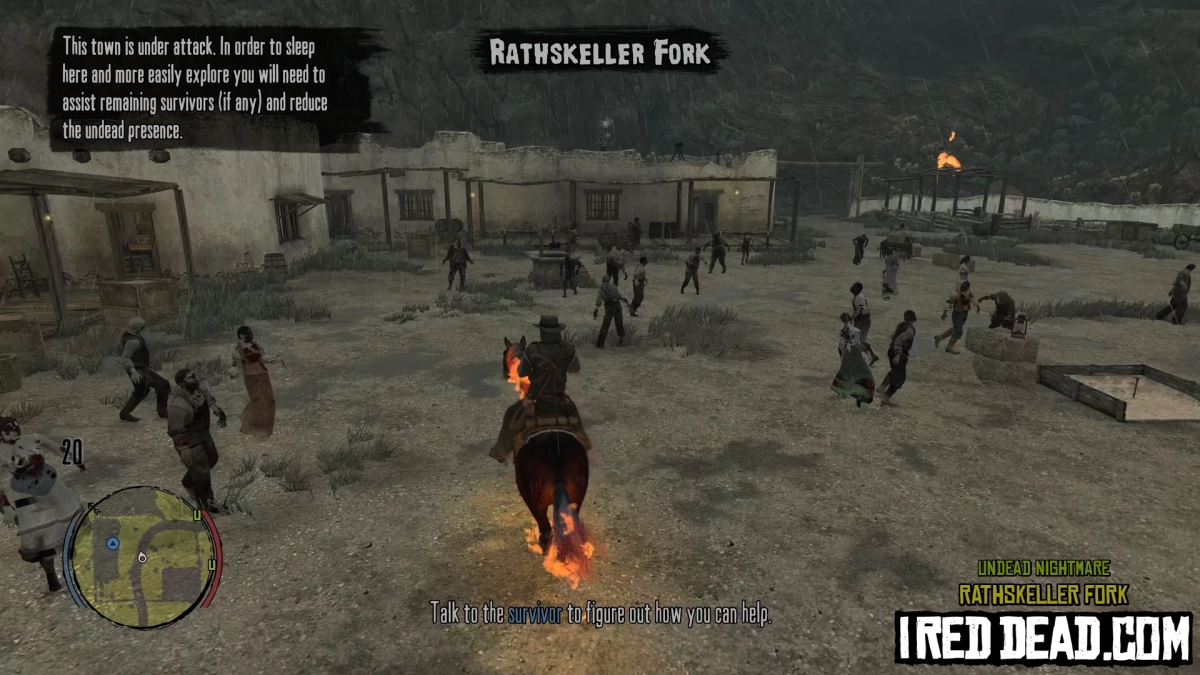
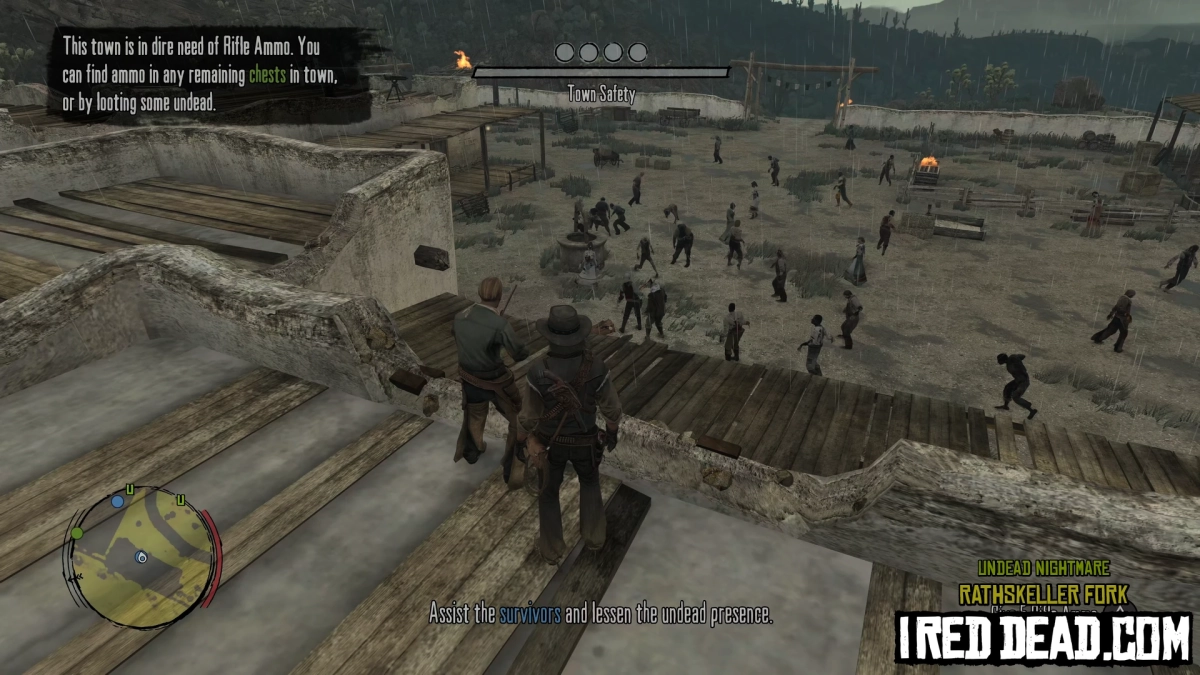
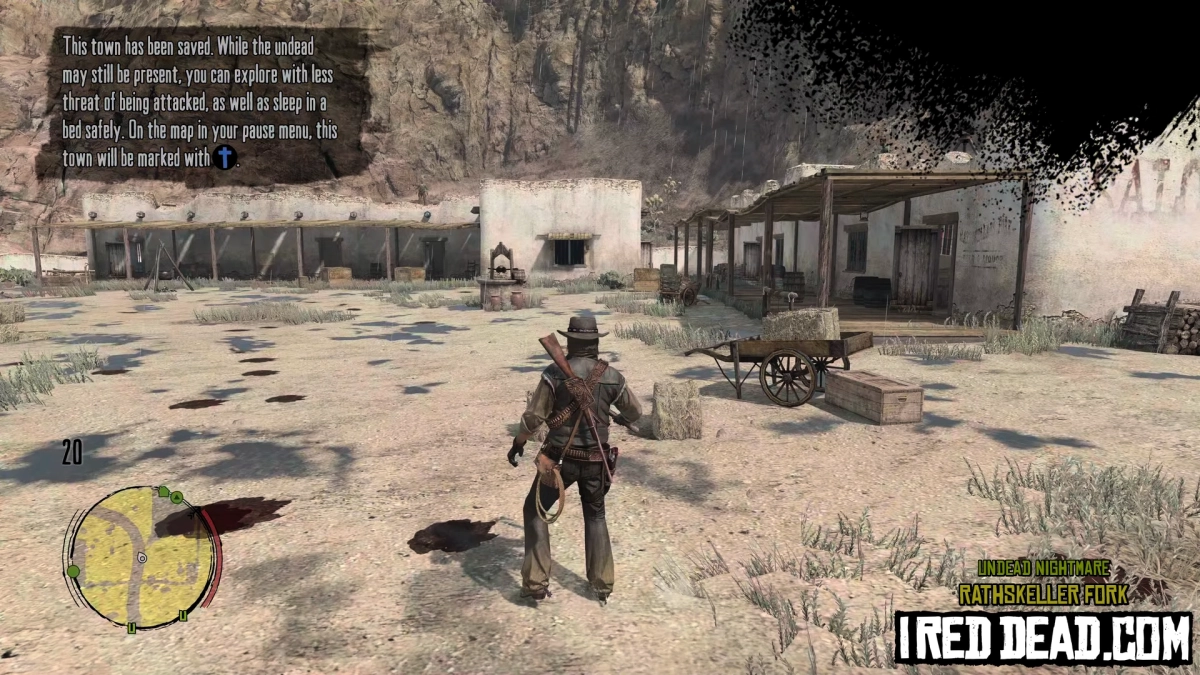
Rathskeller Fork
Rathskeller Fork will be displayed on the map the first time you enter Gaptooth Ridge.
- Circles To Fill: 4
- Ammo Crates: 2
- Survivors: 2
- Requested Ammo: Rifle Ammo
- Reward: Explosive Rifle
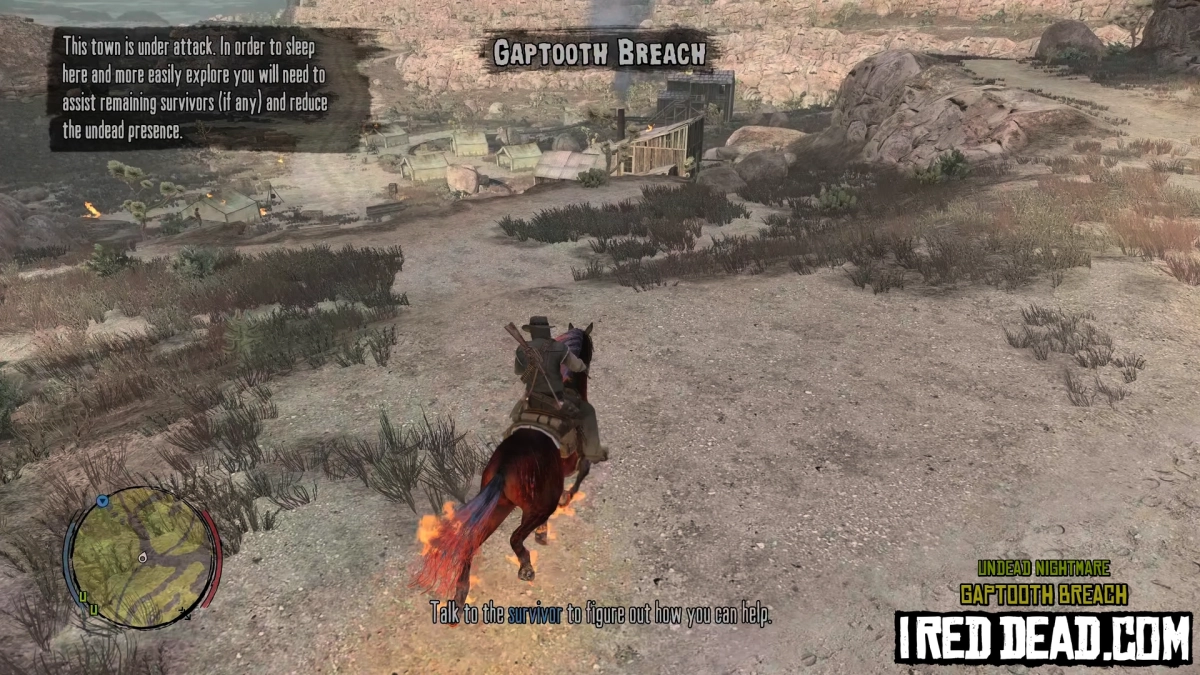
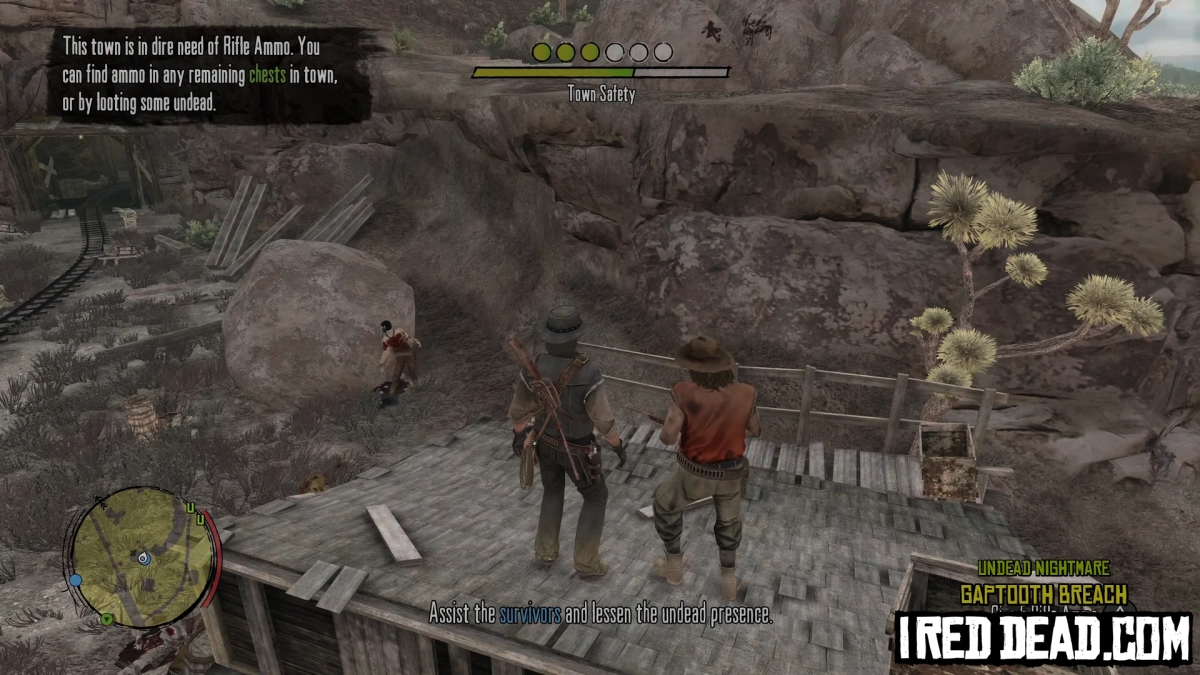
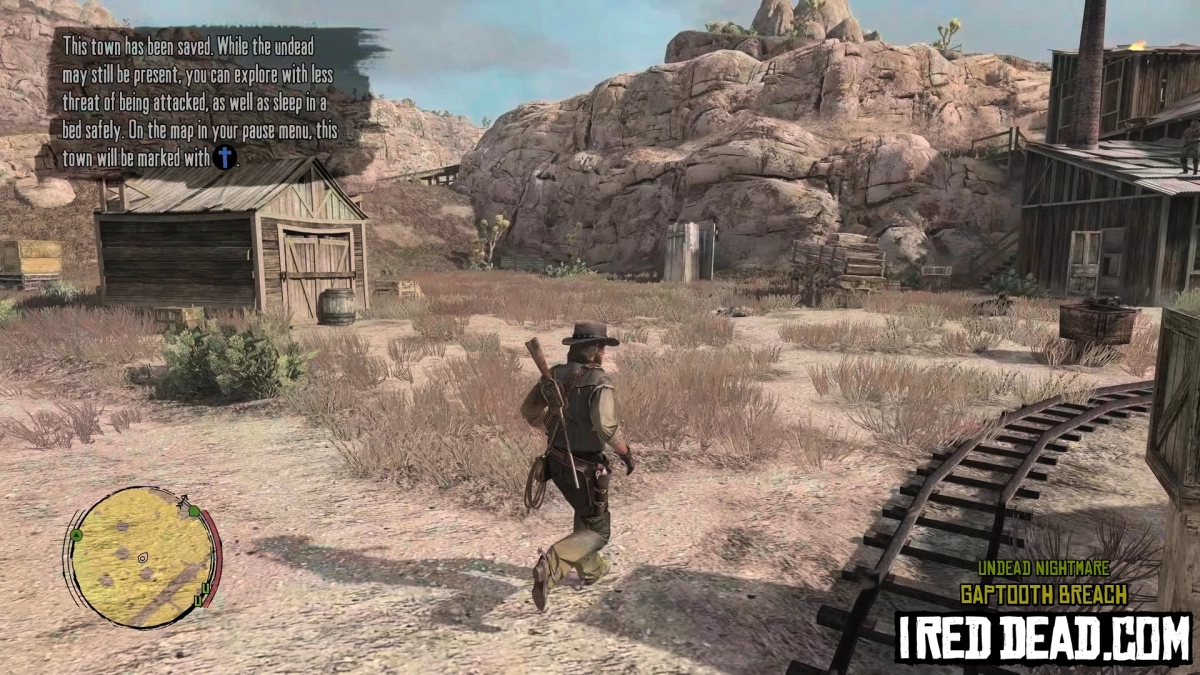
Gaptooth Breach
Gaptooth Breach will be displayed on the map the first time you enter Gaptooth Ridge.
- Circles To Fill: 6
- Ammo Crates: 4
- Survivors: 6
- Requested Ammo: Rifle Ammo
- Reward: Dynamite
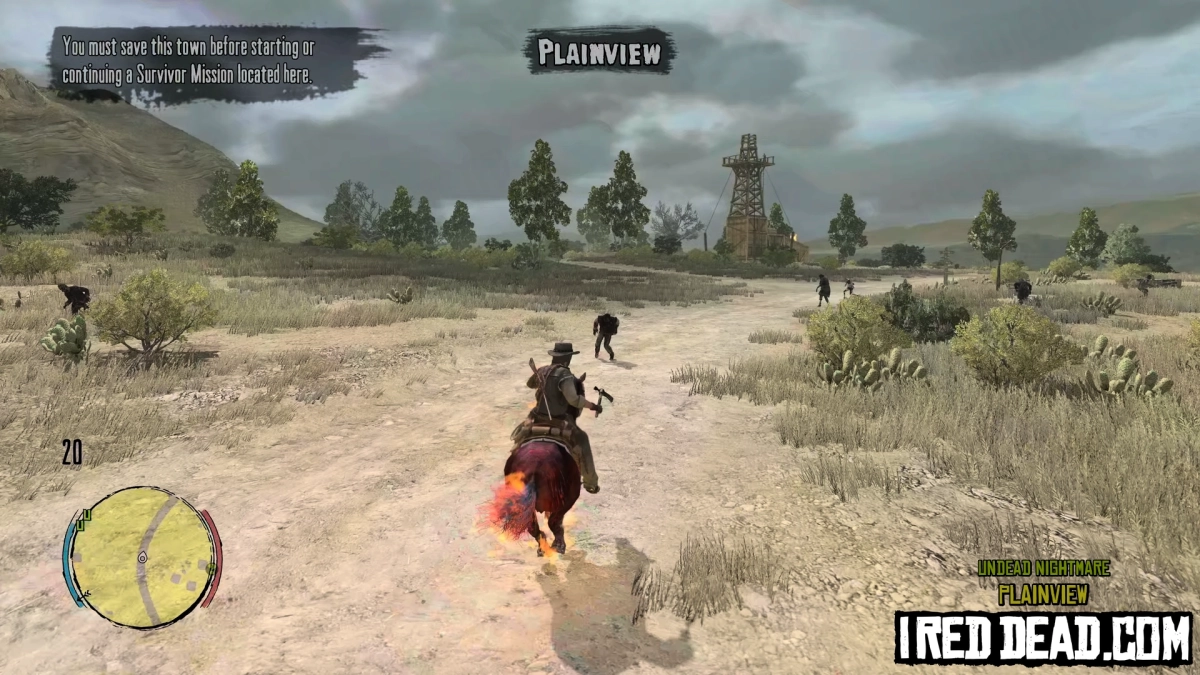
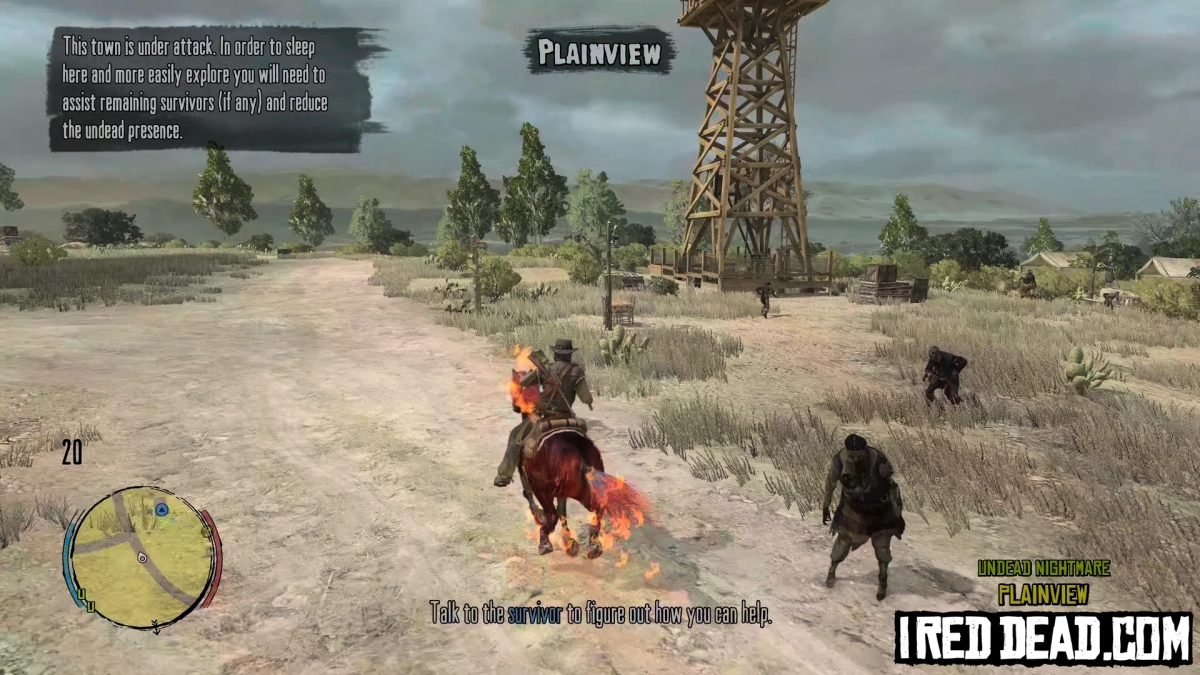
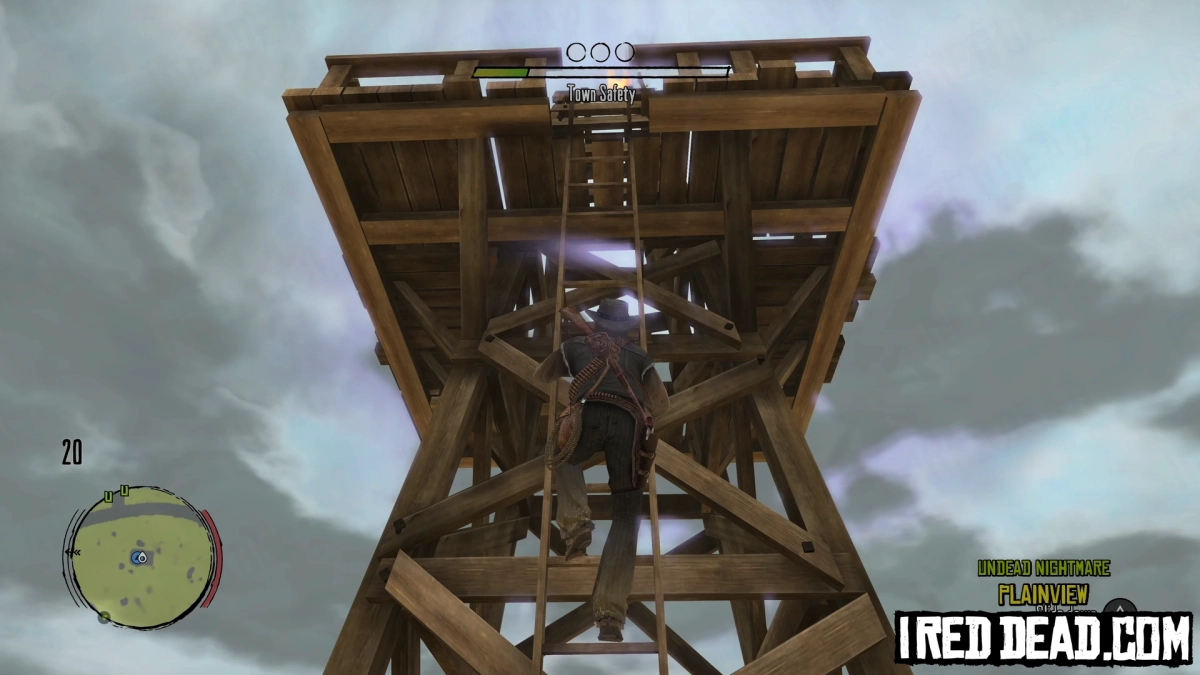
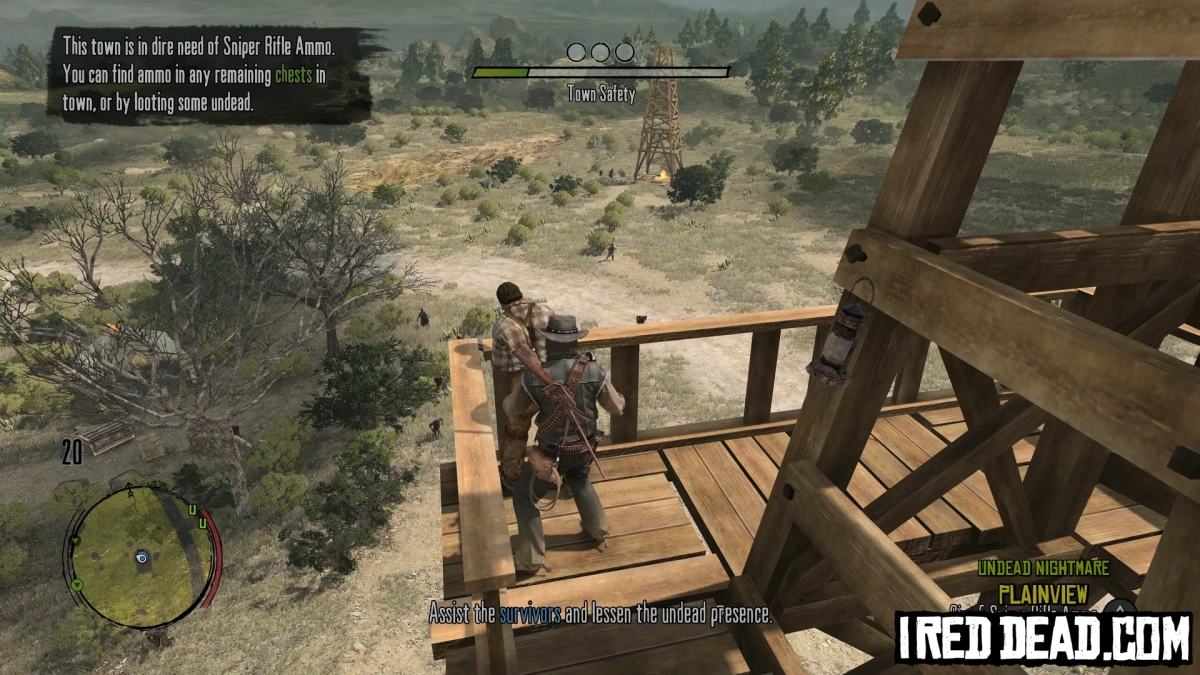
Plainview
Plainview will be displayed on the map the first time you enter Rio Bravo.
- Circles To Fill: 3
- Ammo Crates: 2
- Survivors: 3
- Requested Ammo: Sniper Rifle Ammo
- Reward: None
Nuevo Paraiso Towns To Save
Nosalida
Nosalida will be displayed on the map the first time you enter Punta Orgullo.
- Circles To Fill: 2
- Ammo Crates: 2
- Survivors: 2
- Requested Ammo: Repeater Ammo
- Reward: Henry Repeater
Escalera
Escalera will be displayed on the map the first time you enter Punta Orgullo.
- Circles To Fill: 8
- Ammo Crates: 5
- Survivors: 7
- Requested Ammo: Revolver Ammo
- Reward: Buffalo Rifle
Tesoro Azul
Tesoro Azul will be displayed on the map the first time you enter Punta Orgullo.
- Circles To Fill: 3
- Ammo Crates: 3
- Survivors: 3
- Requested Ammo: Revolver Ammo
- Reward: Double-action Revolver
Chuparosa
Chuparosa will be displayed on the map the first time you enter Perdido.
- Circles To Fill: 7
- Ammo Crates: 4
- Survivors: 7
- Requested Ammo: Revolver & Sniper Rifle Ammo
- Reward: Schofield Revolver
Las Hermanas
Las Hermanas will be displayed on the map the first time you enter Perdido.
- Circles To Fill: 9
- Ammo Crates: 5
- Survivors: 8
- Requested Ammo: Rifle Ammo
- Reward: None
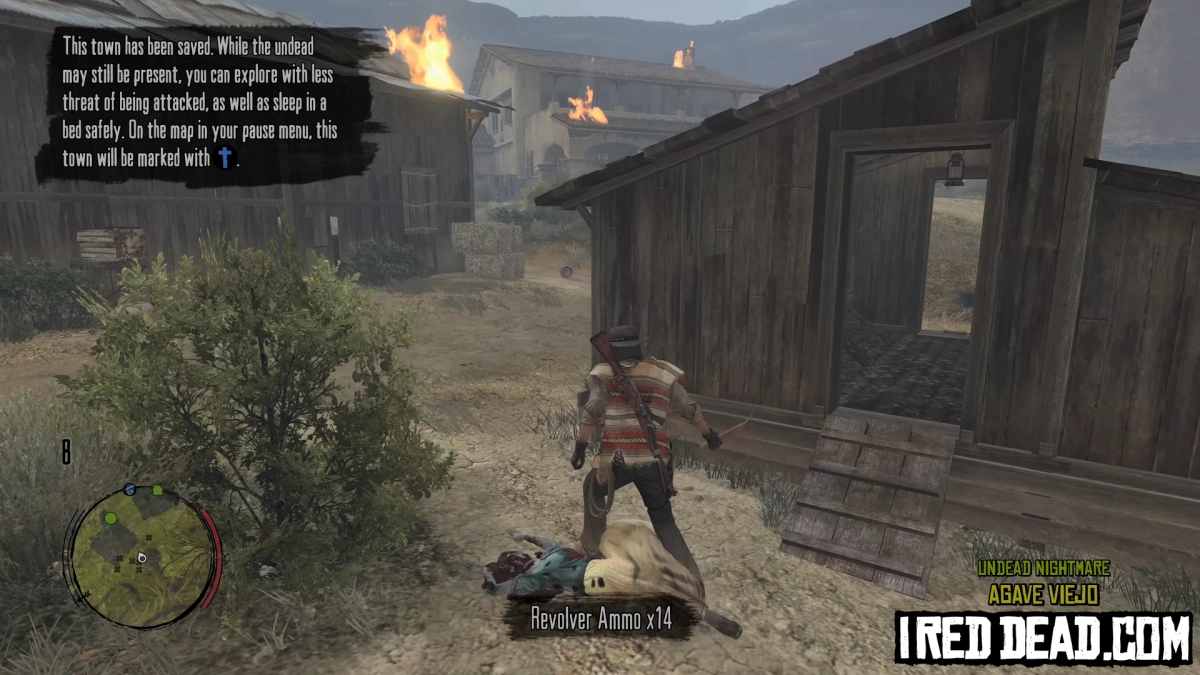
Agave Viejo
Agave Viejo will be displayed on the map the first time you enter Perdido.
- Circles To Fill: 3
- Ammo Crates: 2
- Survivors: 3
- Requested Ammo: Revolver Ammo
- Reward: Dynamite
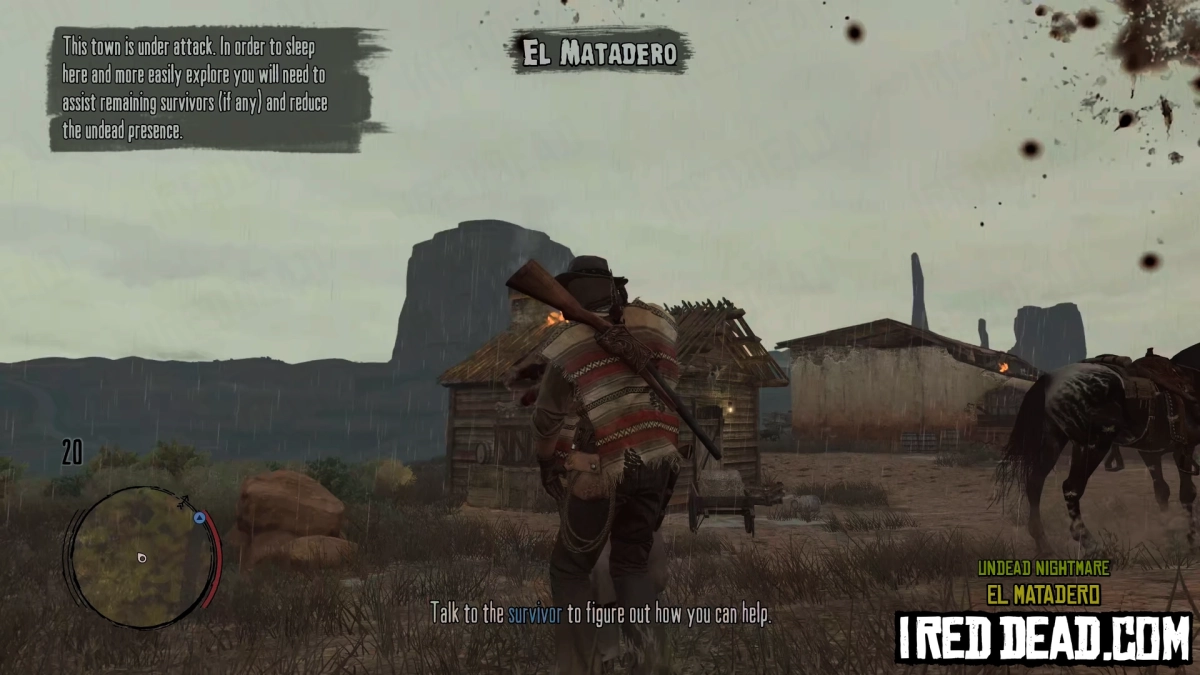
El Matadero
El Matadero will be displayed on the map the first time you enter Diez Coronas.
- Circles To Fill: 4
- Ammo Crates: 3
- Survivors: 5
- Requested Ammo: Pistol Ammo
- Reward: Dynamite
Torquemada
Torquemada will be displayed on the map the first time you enter Diez Coronas.
- Circles To Fill: 4
- Ammo Crates: 4
- Survivors: 4
- Requested Ammo: Rifle Ammo
- Reward: Pump-action Shotgun
100% Completion
Story Missions
| West Elizabeth |
| Intro |
|
| Harold MacDougal |
|
| New Austin |
| Seth Briars |
|
| Nigel West Dickens |
|
| Nuevo Paraiso |
| Mother Superior |
|
| John Marston |
|
Survivor Side-Missions
| West Elizabeth |
|
| New Austin |
|
| Nuevo Paraiso |
|
Side Objectives
This guide has been viewed 46,496 times. Thanks for your support!

