
Complete 100% Walkthrough For Red Dead Redemption

Check out our detailed guides packed with tips and screenshots for all story & stranger missions, ambient challenges, outfits, safehouses and much more.
When Red Dead Redemption launched in 2010, we created numerous guides and maps to help players achieve 100% completion. Following the game's re-release on PS4 and PS5 in the past few years, I've taken it upon myself to go through all of our content and update it, as well as create some new guides that may come in useful for fans of the game.
During this process, I captured and uploaded over 3,300 screenshots from the PS5 version of the game and they're blended into all of the content throughout our guides, hopefully giving you useful visuals to go along with our text walkthroughs.
100% Completion
First of all, we've got a 100% Checklist which allows you to check off your objectives as you edge closer to full completion. Each section contains links to our detailed guides and maps to make it as easy as possible for you to find the advice you need. You don't even need an account to use it, everything you check off is saved in your web browser so you can come back later and keep it updated.
Missions
Our story mission guides have been revamped and now contain dozens of screenshots from each mission which will certainly help refresh your memory if you haven't played the game for awhile. We've also got Gold Medal objectives and tips if you want to go for ultimate completion, although they're not actually required for anything besides a single Trophy / Achievement.
Similarly, I've broken down the Stranger side-missions into multiple parts. Each time the game saves while on a Stranger task, I considered that a separate section of the mission because you can leave it and come back to it later, so some of them have up to 6 parts to complete. Each of them are broken down with screenshots, advice and rewards.
Challenges & Collectibles
The Ambient Challenges guide is one of our longest and most popular, and it has been fully updated with new tips, including helpful screenshots and maps. Check it out for instructions on how to complete all 10 levels of the Survivalist, Master Hunter, Sharpshooter and Treasure Hunter challenges so you can unlock the Legend of the West outfit.
We've also included the previously 'DLC Only' Tomahawk and Explosive Rifle challenges. They're optional and not required for 100%, but they're now available to everyone by default.
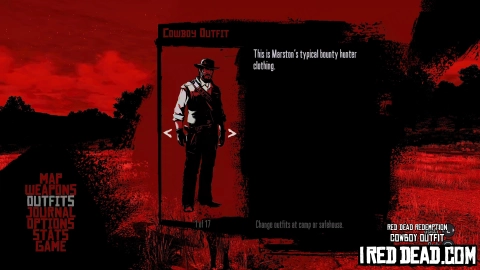
Collecting all of the Outfits is a time consuming process, but our guide helps break down every step along the way so you can collect each and every one of the scraps to fill your wardrobe. Not all of the outfits are required towards 100%, but some come with useful benefits that make them worth finding.
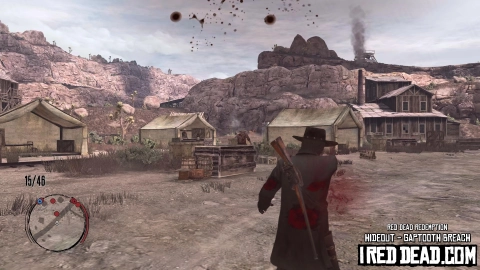
You'll be able to breeze your way through the Gang Hideouts with our guide full of tips on all 8 of them - including the optional Solomon's Folly hideout which was originally exclusive to the PS3 but is available for everyone now - albeit not required for 100% completion.
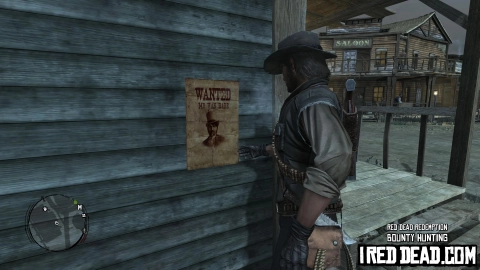
Learn the basics and track down the locations of the 20 Bounty Hunter locations you'll need to complete. The bounty targets don't actually matter, you just need to complete one at each location.
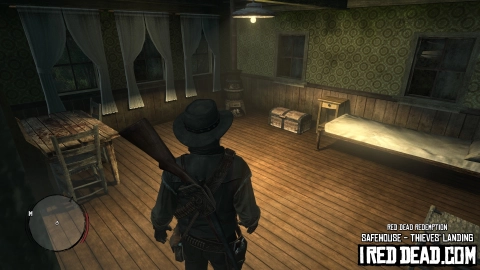
Although a guide isn't really needed, you'll also find info on the Safehouses you can acquire in the game. You'll need to purchase them all (excluding the rental properties) for 100% completion anyway. There's one secret safehouse you'll only have one chance at owning so don't miss out.
Side Tasks
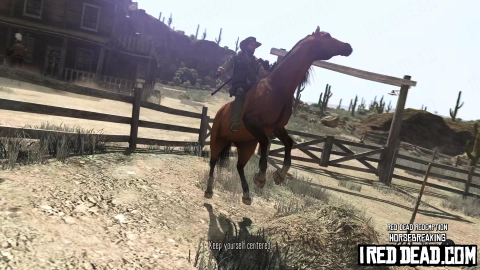
Although they're mostly self explanatory, there are dedicated guides for the Horsebreaking and Nightwatch Jobs which you'll need to complete a couple of times towards 100%.
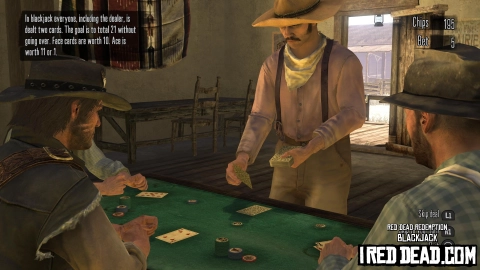
We also have detailed hints and tips to help you win big at all 6 of the gambling activities and minigames including Arm Wrestling, Blackjack, Five Finger Fillet, Horseshoes, Liar's Dice and Poker.
One of the more obscure objectives towards achieving 100% is to visit every one of the 94 discoverable towns and locations. This is pretty easy if you buy the 9 county maps from General Stores around the world as they'll be unlocked automatically when you use them, but if you want to know where all 94 of them are located so you can head there manually, we've got a detailed map and list of destinations for your viewing pleasure.

Buying, Selling & Acquiring Items
Another new batch of guides relates to the items you can find and purchase in the game.
Our "Hunting Prices" guide has been reworked into Item Selling Prices, with screenshots of all 102 of the items you can acquire from animal parts - both basic and legendary - to plants and treasures. It's dynamic too, so select your Honor Ranking from our dropdown and it'll update automatically to display the selling price based on any bonuses or penalties you may incur, as well as highlighting the best place to sell each item for the most profit.
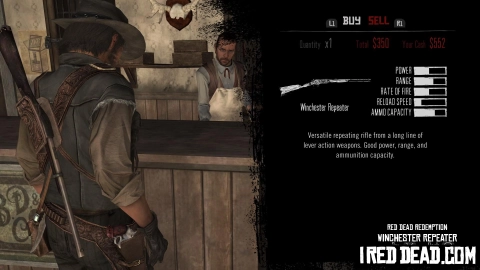
Our Shop Items guide lists every single item you can purchase in the game - including their prices and where you can buy them, plus any unlock criteria.
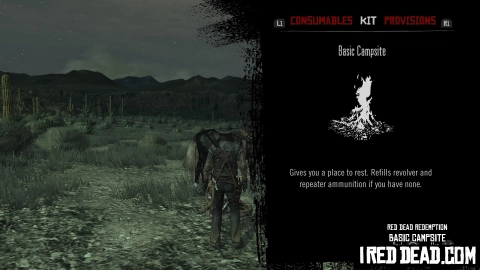
Our Kit Items guide breaks down the important items you'll pick up along the way, including some lesser known items you'll only acquire for mere minutes during specific missions.
I also created a quick guide which explains how to unlock and acquire all 28 of the weapons in the game. Some of which you'll never uncover unless you know exactly where to look. Only 5 of them are actually required for 100% completion.
Miscellaneous Reading
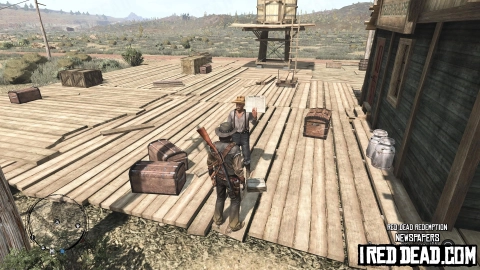
A Newspaper guide has been created to display all 9 of the papers you can acquire throughout the story, with their articles written up for easier viewing.
While covering everything there is to see and do, I also threw together an Honor Rankings guide so you can see the benefits of each rank and some suggestions on things to do to lower or increase your honor rating.
Exploiting The Game
There are three fairly major exploits which can help you progress in the game a lot quicker than you're supposed to.
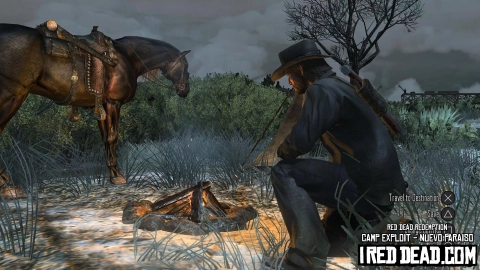
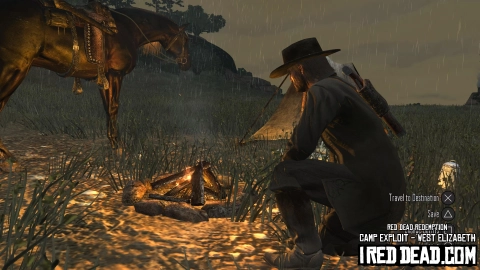
Setting up a camp in the exact right spot will allow you to teleport to Nuevo Paraiso (Mexico) or West Elizabeth right at the start of the game. This allows you to complete most of the ambient challenges, unlock safehouses and acquire weapons you're not supposed to get until very late in the story, making your playthrough much easier.
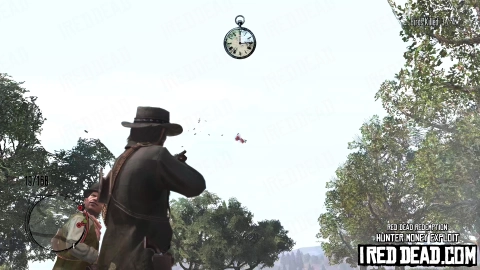
You can also abuse an exploit with a side quest where you're tasked with shooting birds for a bet to make a huge amount of money. Our guide for this also includes a calculator, so if you enter the starting wager and your current money value, we'll show you exactly how many times to purposely fail the challenge before you win for maximum profits.
As you can see, we've covered practically everything you can do in the game, which explains why it took over 3000 screenshots to illustrate the way through our 100+ guides.
Let us know if there's anything else you'd like us to cover. Otherwise it's time for a short break then on with the updates to our Undead Nightmare content!
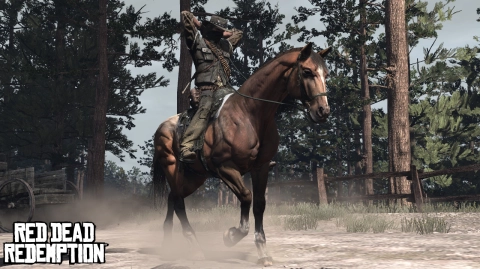
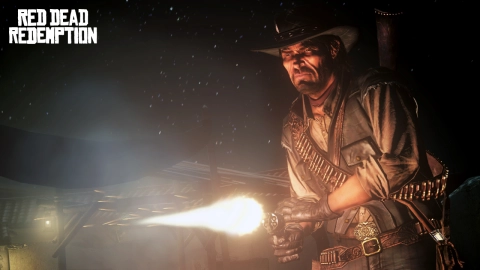
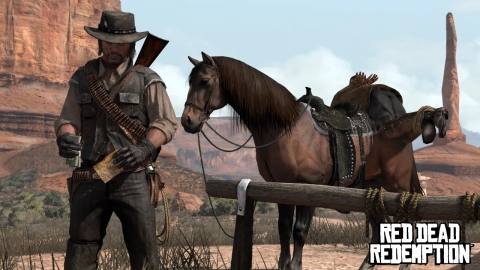
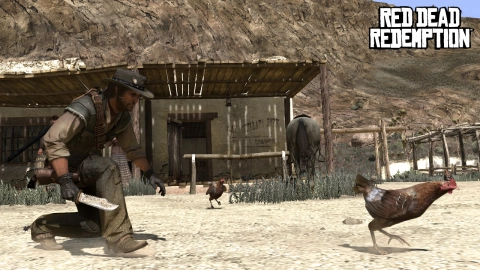
Screenshots
Check out a variety of random screenshots. Hopefully they're enough to inspire you to play through this masterpiece of a game once again!


